Backyard Grilling Station Ideas and Setup
A grilling station is just a grill until you build the rest of it out — counter space so you’re not balancing a platter on the railing, light so you can see whether the chicken’s done, and a setup that survives more than two winters. I’ve cobbled together backyard cook spaces the cheap way and the right way, and the difference comes down to a handful of decisions you make up front. This guide walks through the parts that matter: the grill itself, countertops and prep space, lighting, the smart tools actually worth buying, eco-friendly materials, and the maintenance that keeps the whole thing running.
As an Amazon Associate, Backyard Superstar earns from qualifying purchases at no extra cost to you.
Start With the Grill — It’s the Centerpiece
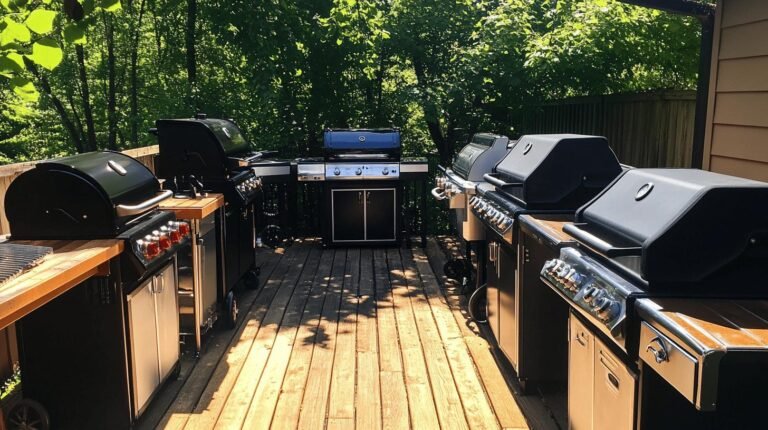
Everything else in your station orbits the grill, so spend here first and build around it. The good news: you don’t need to drop two grand to cook well. You need to match the grill to how often you actually cook and how long you want it to last.
If you’re just getting a station off the ground, the Char-Broil Performance Series 4-Burner is the budget pick I point friends to. You get four burners, a side burner, and around 550 square inches of cooking space — enough for a full cookout — usually in the $250–$450 range. The honest tradeoff: the steel is thinner than premium grills, so cover it and clean it or it’ll rust out in a few seasons. Plan on a long assembly afternoon, too.
For most people, the Weber Spirit II E-310 is the one I’d actually buy. Three stainless burners putting out about 32,000 BTUs, porcelain-enameled cast-iron grates that hold heat for good sear marks, and Weber’s parts support means you can keep it alive for a decade. It runs roughly $500–$770 depending on the season. It’s the sweet spot between “cooks great” and “still here in ten years.”
If you’re building a station you plan to live in every weekend, the premium pick is the Weber Genesis S-335. Three burners plus a dedicated sear station and a side burner, a built-in prep table, and stainless construction throughout, generally landing around $1,600–$1,700. It’s a lot of money, but if you’re feeding a crowd and cooking year-round, the extra capacity and the side burner earn their keep.
Not sure gas is even your move? It’s worth reading up before you commit — I break down the appliance choice in the gas grills pros and cons guide, the charcoal grills guide, and the kamado grills guide. Pick the fuel first; build the station around it.
Countertops and Prep Space

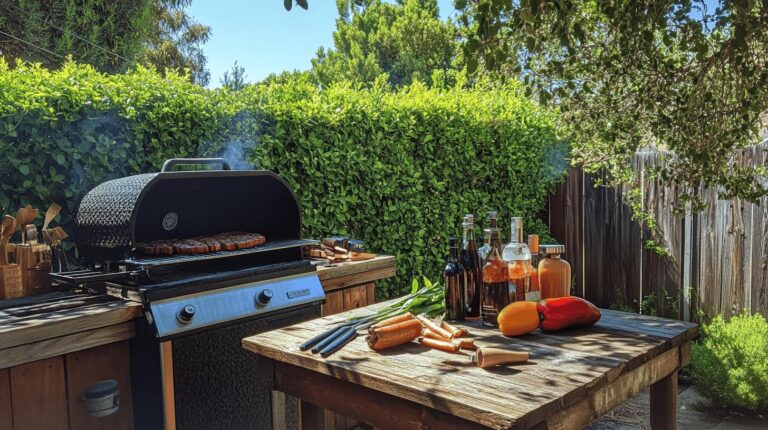
Counter space is the upgrade people skip and then regret. You need somewhere to set the raw platter, the seasoning, the tongs, and the cold drink — all at once, all within reach of the grill.
If you’re building a permanent station, the countertop material sets the tone. Here’s how the common choices stack up:
- Granite — heat-resistant, scratch-resistant, and basically indestructible once sealed. The most forgiving stone for an outdoor cook.
- Concrete — fully customizable shape and color, very strong, handles temperature swings well. Great if you want a specific look.
- Bluestone and flagstone — natural, earthy, and they tie the station into a stone patio. Need annual sealing.
Whatever stone you pick, seal natural surfaces once a year, wipe spills before they set, and skip abrasive cleaners. That’s the whole maintenance story for countertops.
Not ready to pour concrete or set stone? You don’t have to. A rolling prep cart gives you the same working surface without the build. The Keter Unity XL is the one I’ve seen hold up best — a weather-resistant resin cabinet with a stainless-steel top, around 78 gallons of enclosed storage for your tools and propane, hooks for utensils, and casters so you can roll it from the kitchen door to the grill. It’s the easiest way to add real prep space to a station when a built-in counter isn’t in the budget yet.
Lighting That Pulls Its Weight
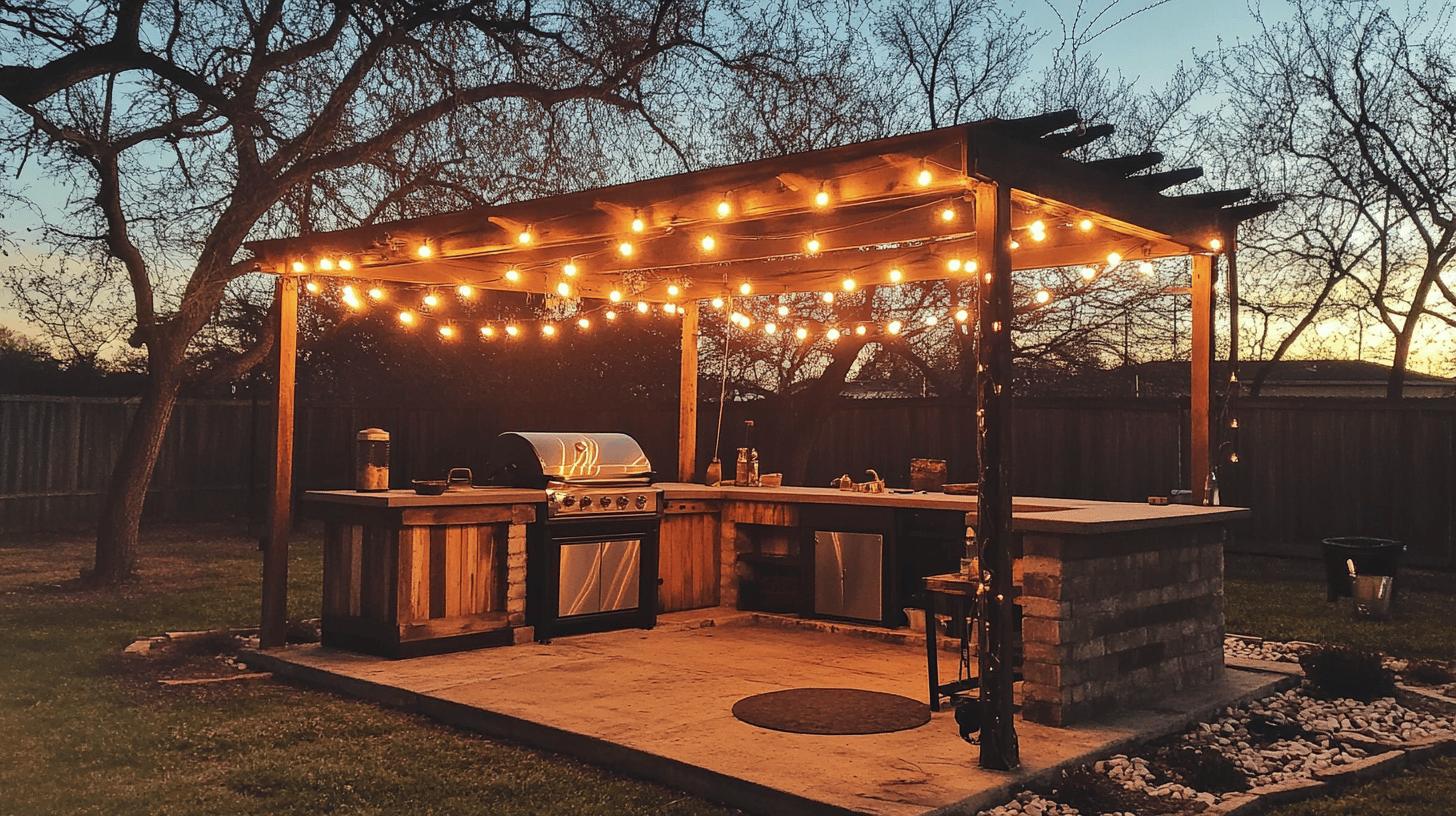
Cooking in the dark is how steaks get ruined. Your station needs two kinds of light: task light right over the grates so you can read doneness, and ambient light so the space feels like somewhere you want to hang out after the food’s off.
For task lighting, a clip-on grill light or a small directional LED aimed at the cooking surface does the job. For ambient light, string lights are the easy win. I run Brightech Ambience Pro string lights over my own cook space — they’re weatherproof (the company rates them through rain, snow, and wind), the Edison-style bulbs throw a warm glow instead of a harsh white, and at roughly $45–$60 for a 48-foot run they’re cheap for how much they change the feel of the space. Solar versions exist if you don’t want to run a cord.
A few lighting habits that pay off:
- Put task lights on their own switch so you’re not lighting the whole yard just to check a burger.
- Hang string lights high enough that nobody walks into them — eight feet or so.
- Solar path lights along the walk to the station keep people from tripping in the dark.
Smart Tools Worth the Money
You can spend a fortune on outdoor “smart” gear, and most of it is a gimmick. The one piece of tech that genuinely makes you a better cook is a good wireless thermometer. It’s the difference between guessing and knowing.
The MEATER Plus is the one I recommend most. It’s a single fully wireless probe — no wires running out of the lid — that connects to an app on your phone with a range up to about 165 feet, so you can walk away, pour a drink, and get an alert when the meat hits temperature. The app estimates how long the cook has left, which takes the anxiety out of timing sides. It runs around $100, and it pays for itself the first time it saves you from an overcooked roast.
If you want a couple more tech touches that actually earn a spot in the station, these are worth it:
- A weatherproof outdoor outlet or charging station so phones and probes stay powered.
- A Bluetooth speaker rated for outdoor use — music makes the space, and you don’t need a built-in marine system to get it.
- Smart plugs for your string lights so they come on at dusk on their own.
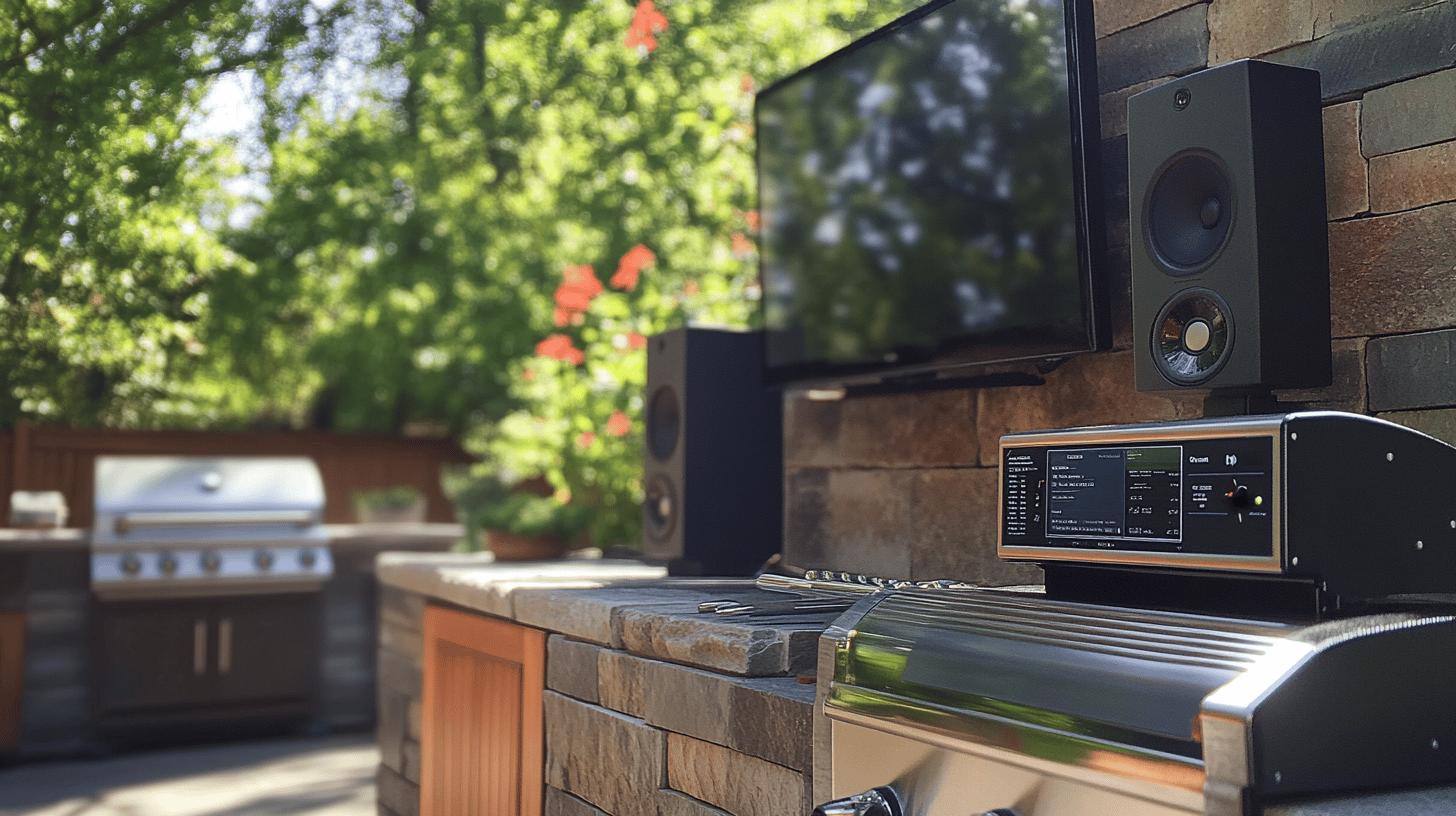
Skip the outdoor TVs and built-in stereo rigs unless entertaining is the whole point of the space. They’re a lot of money to weatherproof, and they don’t make the food any better.
Eco-Friendly Materials and Touches

Building greener doesn’t mean building uglier — some of the best-looking stations I’ve seen lean hard on reclaimed and recycled materials.
- Reclaimed wood for shelving and trim — character you can’t fake, and it keeps lumber out of the landfill.
- Recycled-content composite decking for the surround — no splinters, no annual staining, holds up to weather.
- Solar-powered lighting so your ambiance doesn’t show up on the power bill.
- Energy-efficient outdoor fridge if you’re adding cold storage — look for an ENERGY STAR rating.
None of this costs more than the conventional version once you factor in the years you’re not re-staining or replacing things.
Maintenance That Keeps It Running
A station that gets a little attention lasts years longer than one that doesn’t. None of this is hard — it’s just a rhythm.
After every cook: burn off the grates on high for ten minutes, then brush them clean. Wipe down the counter. Empty the grease tray when it’s getting full.
Monthly during grilling season: wipe stainless surfaces with the grain using a soft cloth and a stainless cleaner (skip anything with chlorine). Check gas connections by brushing on soapy water — bubbles mean a leak. Re-seal natural stone if water stops beading.
Once a year: deep-clean the grill, pull and scrub the grates and flame tamers, inspect burners for rust-through and replace if needed, and seal stone countertops. Treat any wood elements with a weather-resistant sealant. Replace a propane regulator and hose that’s more than five years old regardless of how it looks — that’s a safety call, not a cosmetic one.
Material-specific quick notes: lubricate hinges and drawer slides on metal cabinets, store small accessories indoors over winter, and keep everything under a fitted cover when it’s not in use. A good cover is the cheapest insurance you’ll buy for the whole station.
Watch for: rust spots, cracks in stone or concrete, loose fittings, deteriorating seals, and any sign of gas-line wear. Catch those early and you avoid the expensive version of the problem later.
Want to build more of the station yourself instead of buying it piece by piece? The DIY grilling station ideas guide walks through framing, surfaces, and storage you can put together over a weekend.
Recommended gear for your grilling station
As an Amazon Associate, Backyard Superstar earns from qualifying purchases at no extra cost to you.
- Top pick grill — Weber Spirit II E-310 ($$). Best value for most stations — great sear, parts support, lasts a decade.
- Budget pick grill — Char-Broil Performance Series 4-Burner ($). Gets a station cooking cheap; cover it to fight rust.
- Premium pick grill — Weber Genesis S-335 ($$$). Sear station, side burner, and prep table for year-round cooks.
- No-build prep surface — Keter Unity XL ($$). Stainless top and enclosed storage on casters — instant counter space.
- Ambient lighting — Brightech Ambience Pro String Lights ($). Weatherproof warm-glow bulbs that make the space feel finished.
- Smart tool worth it — MEATER Plus Wireless Thermometer ($$). Fully wireless probe that alerts your phone — the one piece of tech that improves results.
FAQ
What’s the most important part of a backyard grilling station?
The grill, then counter space. The grill is what you’re building around, so buy the best one that fits how often you cook and how long you want it to last. Right after that, prep surface — having somewhere to set platters, tools, and seasonings within reach of the grates changes the whole experience.
How much does it cost to build a backyard grilling station?
It scales with your choices. A simple setup — a budget four-burner grill, a rolling prep cart, and string lights — can come together for under $600. A permanent station with a mid-range grill, stone countertops, built-in storage, and dedicated lighting runs into the low thousands. A premium build with a high-end grill, side burner, outdoor fridge, and custom hardscape can climb well past that. Start with the grill and add over time.
What countertop material is best for an outdoor grilling station?
Granite is the most forgiving — heat- and scratch-resistant, and nearly indestructible once sealed. Concrete is the choice if you want a custom shape or color. Bluestone and flagstone look great with a stone patio but need annual sealing. All natural stone wants a yearly seal and pH-neutral cleaners.
Do I need a wireless thermometer if my grill has a built-in gauge?
The lid gauge tells you the air temperature inside the grill, not the temperature of the food — those are very different numbers. A wireless probe like the MEATER Plus reads the actual internal temp of the meat and alerts your phone when it’s done, which is what keeps you from overcooking. It’s the single tool that most reliably improves results.
How do I protect my grilling station over winter?
Cover everything with a fitted, weatherproof cover. In freezing climates, disconnect the propane tank and store it outside (never in an attached garage). Seal stone before the cold sets in, store small accessories indoors, and brush heavy snow off covers so the weight doesn’t damage anything underneath.
Can I build a grilling station without a permanent countertop?
Absolutely. A rolling prep cart like the Keter Unity XL gives you a stainless work surface and enclosed storage without pouring concrete or setting stone, and you can move it out of the weather when you’re done. It’s the easiest way to get real prep space into a station on a budget.