How to Build a Backyard Obstacle Course
A backyard obstacle course is the rare project that pays off the moment it’s done — kids will run it until they’re worn out, and they’ll keep coming back to beat their own time. The best part is that you don’t need a big yard or a contractor’s skill set. With a weekend, some basic materials, and a bit of planning, you can build a course that grows with your kids. Here’s exactly how.
As an Amazon Associate, Backyard Superstar earns from qualifying purchases at no extra cost to you.
Plan Before You Build
Resist the urge to start hammering. Walk your yard first and map a rough loop or zig-zag that uses what’s already there — trees for hanging obstacles, a slope for a scramble, an open stretch for a sprint. Think about flow, so kids move naturally from one obstacle to the next without crossing paths or doubling back into each other. And picture the ages using it: a course for five-year-olds looks very different from one for ten-year-olds, so design for your actual crowd and leave room to add harder obstacles later.
Gather Your Materials
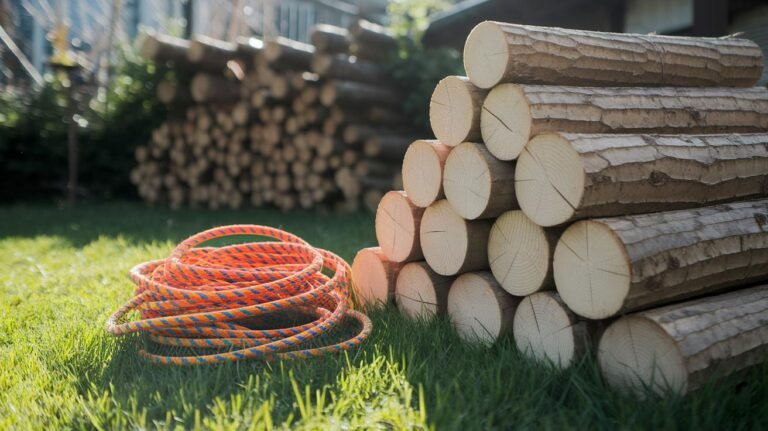
You can build a great course on almost any budget. Salvaged tires, logs, and pallets cost nothing and make excellent obstacles, while a few purchased pieces — PVC for hurdles, rope for climbing, or a ready-made ninja kit — fill in the rest. Rather than repeat it all here, I’ve put the complete rundown in a dedicated guide to the best materials for a DIY obstacle course, including what to buy versus salvage and the safety hardware that matters.
Obstacle Ideas That Actually Work
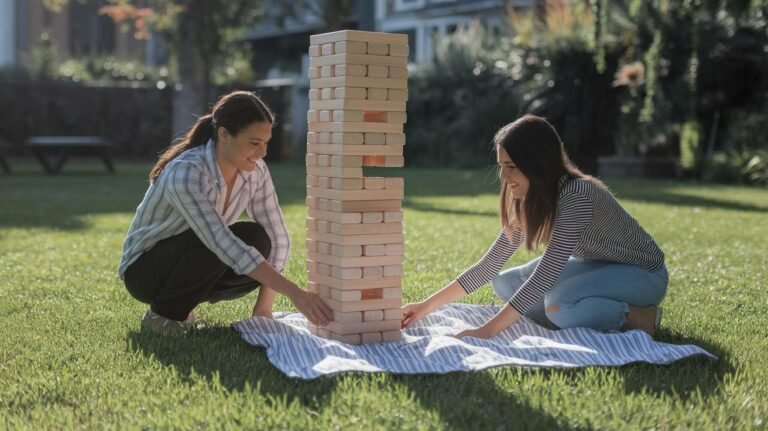
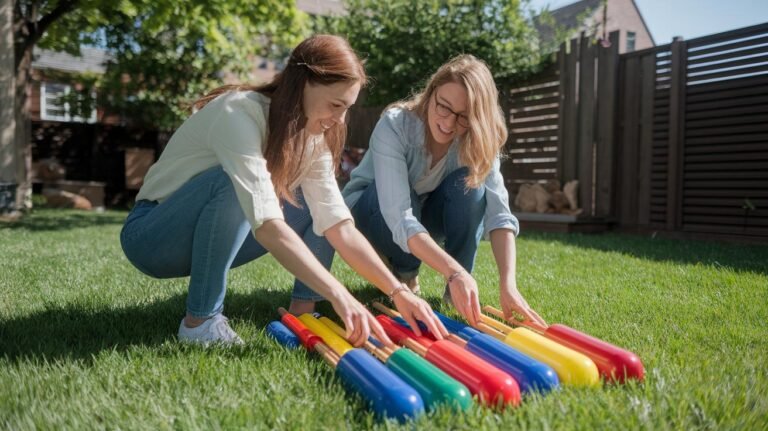
The best courses mix movement types so kids use their whole bodies. Build in something to climb (a cargo net, a low A-frame), something to balance on (a beam or a line of stepping “stones”), something to go under or through (a crawl tunnel, pool-noodle limbo, tires to step through), and something for agility (weave poles, a hopscotch grid, a short sprint). Five or six varied obstacles make a more fun loop than ten similar ones. If you want a true ninja-warrior centerpiece, my backyard ninja course guide goes deep on the hanging stuff.
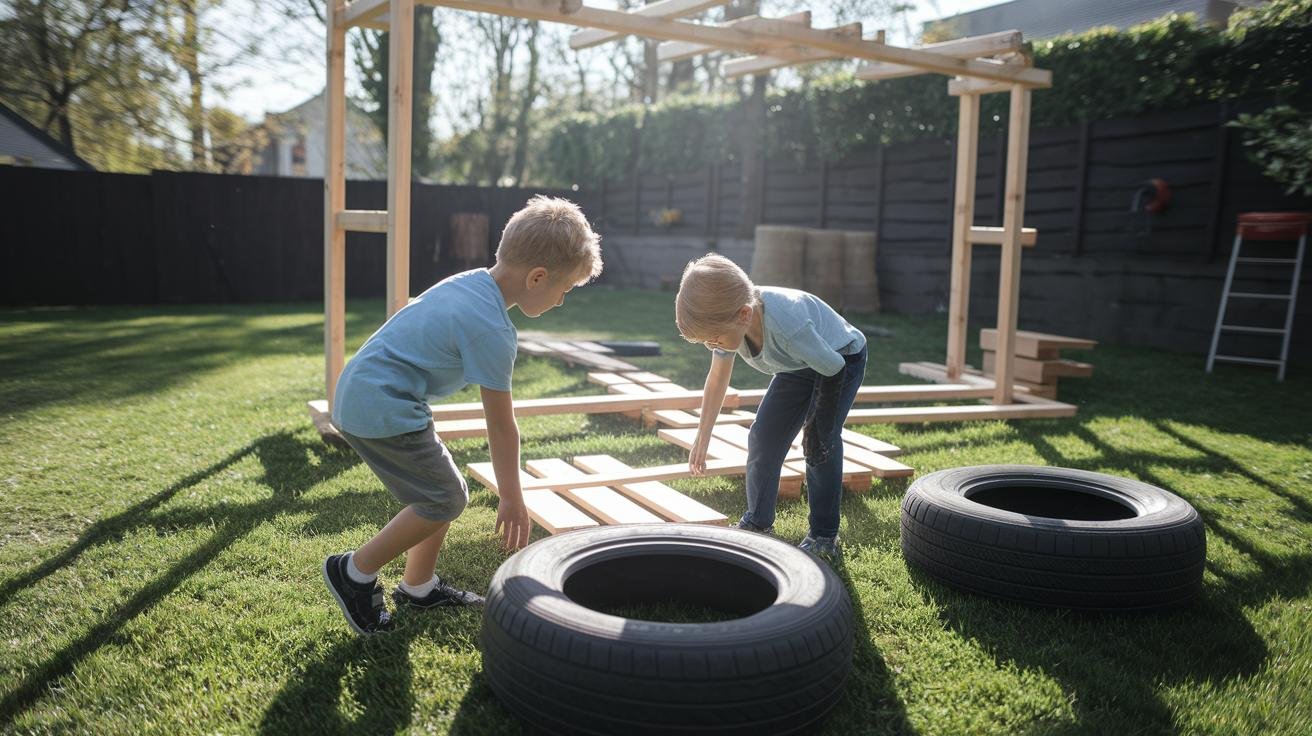
Build It, Step by Step
- Mark the layout with stakes or flags and walk it once empty to confirm the flow feels right.
- Set the anchored obstacles first — anything hung from trees or sunk into the ground — since everything else arranges around them.
- Add the freestanding pieces, checking each is stable and won’t tip when a kid hits it at speed.
- Lay the soft fall zones — mulch, rubber chips, or mats — under and around anything elevated.
- Test every obstacle yourself before turning the kids loose, and watch them run it once to catch anything that needs tweaking.
Tight on Space? No Problem
A small yard just means a smarter layout. Build a loop that circles the perimeter, or a there-and-back course that uses the same strip twice. Go vertical with hanging and climbing obstacles that take up little ground, choose compact pieces like a single balance beam over sprawling ones, and lean on foldable or movable obstacles you can store between uses. A course doesn’t need to be big to wear kids out — it needs to be varied.
Keeping It Safe and Standing
A course lives outdoors and takes a beating, so a quick routine keeps it safe. Every week or so, walk it and check that anchors are tight, ropes aren’t fraying, and wood hasn’t splintered or rotted; tighten, sand, or replace anything sketchy on the spot. Top up the fall-zone mulch as it compacts and scatters, and after big storms give everything a once-over before the next run. Ten minutes of upkeep prevents the wobbly-obstacle injuries that end the fun.
Frequently Asked Questions
How much does a backyard obstacle course cost?
Anywhere from nearly free (salvaged tires, logs, pallets) to a few hundred dollars if you add ready-made ninja gear and lumber.
What obstacles are best for young kids?
Low, soft, and simple — pool-noodle limbo, tires to step through, a low balance beam, and a hopscotch grid. Save tall climbing for older kids.
Can I build one in a small yard?
Yes — use a perimeter loop or there-and-back layout and lean on vertical, compact, and movable obstacles.
Plan the flow, mix up the obstacles, build it sturdy on a soft surface, and keep it maintained — and you’ll have a course your kids treat as the best thing in the backyard, all summer long.