How to Zone a Patio for Dining and Lounging
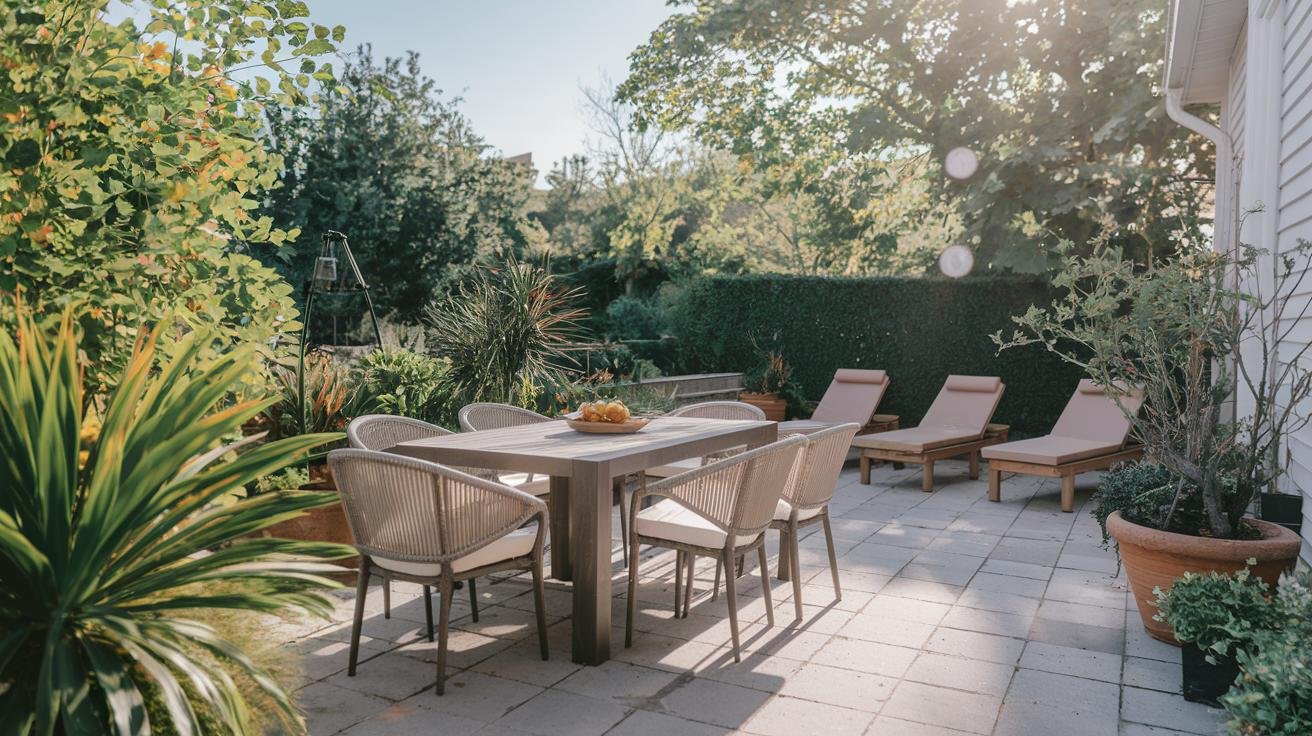
One patio, two jobs. You want a spot to eat and a spot to sink into a cushion with a drink, and right now they’re probably fighting over the same square of concrete — chairs bumping, the coffee table doing double duty as a dinner table, nobody quite sure where to sit. The fix isn’t more space. It’s zoning: giving the dining area and the lounge area each its own footprint, surface, and light so the patio reads as two rooms instead of one cluttered one. Here’s how I lay it out, from the first tape-measure pass to the final string of lights — and the gear that actually does the work.
As an Amazon Associate, Backyard Superstar earns from qualifying purchases at no extra cost to you.
Start With a Simple Zoning Map
Before you move a single chair, get the patio on paper. Run a tape measure down the length and across the width, and note anything fixed that you have to design around — steps, a railing, a downspout, the door swing, the spot where the hose bib sticks out. Two minutes of measuring saves you from buying a dining set that won’t physically fit.
Now sketch it. I draw the patio outline to rough scale on graph paper, then drop in a circle for the dining zone and another for the lounge zone, leaving a clear three-foot lane between them so people can walk through without turning sideways. Mark your outlets and spigots on the sketch too, so cords and hoses don’t end up crossing a walkway later.
That’s the whole roadmap, and it’s worth doing in this order:
- Measure the patio’s real length, width, and any height changes.
- Assign one area to dining and one to lounging.
- Plan a different floor surface or border for each zone.
- Place dividers — planters, a screen, a rug edge — on the line between them.
- Position furniture so there’s an open path through the middle.
- Layer in lighting, then the soft stuff: pillows, a few potted herbs, lanterns.
If you’d rather not freehand it, snap a photo of your sketch and drop it into one of the free online patio planners — you can drag furniture icons to scale and test a couple of layouts before you commit. Either way, the goal is the same: know where each zone lives before you spend a dollar.
Choose Flooring That Sets Dining Apart From Lounging
The fastest way to make two zones read as separate is to change what’s underfoot. You don’t need to re-pour the whole patio — even a texture or color shift in part of the surface tells your eye “new room.”
If you are laying or refreshing the surface, pavers are the friendliest option: flat stones or brick that set into place and stay slip-resistant, and they’re DIY-friendly if you’re patient with the base. Porcelain or ceramic tile gives you a sleeker, more even surface but wants more upkeep — you’ll scrub the grout lines now and then. Both sit in the low-to-mid cost range per square foot.
Decking brings warmth that stone can’t. Natural wood feels great underfoot and looks rich, but it needs sealing and the occasional sanding. Composite boards — wood fiber blended with plastic — cost more up front but skip the warping and the yearly maintenance, so you save the labor over time. Decking generally runs in the higher cost range per square foot than pavers or tile.
The cheapest, fastest separator of all is a rug. Drop a smaller rug under the dining table to keep chair legs from catching, and a larger one under the lounge seating so the sofa and coffee table feel anchored together. A reversible, weatherproof outdoor rug like the GENIMO 8’x10′ Outdoor Rug handles sun and a hose-down and flips for a second look, which makes it an easy budget pick to mark a zone without touching the slab (budget range, $). Just make sure whatever you pick is rated for full sun and moisture — indoor rugs mildew fast out here.
Arrange Furniture for Two Distinct Zones
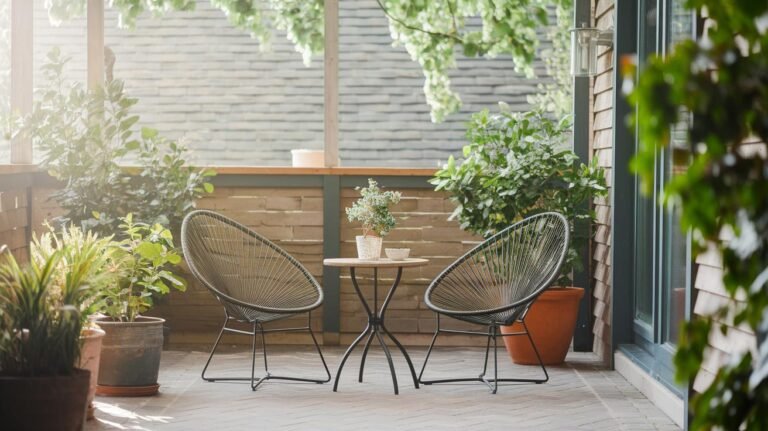
Furniture is what makes each zone usable, and the trick is matching the piece to the space you measured. If the dining footprint is at least 10 by 10 feet, a round table seats four comfortably and has no sharp corners to bump in a tight spot; a 48-inch round is the sweet spot. In a narrower run, a rectangular table tucks against a wall or railing and gives you the same seats with a smaller swing. A compact, all-weather set like this 5-piece round patio dining set with woven chairs is sized right for a small-to-mid patio and gets the eating zone done in one purchase (mid range, $$).
Whatever you place, leave about two feet of clearance behind every chair to any edge, planter, or wall. That gap is the difference between sliding out to grab a drink and doing the awkward squeeze-and-apologize. For more on spacing seats so conversation actually flows, I dig into it in my guide to arranging patio furniture for conversation.
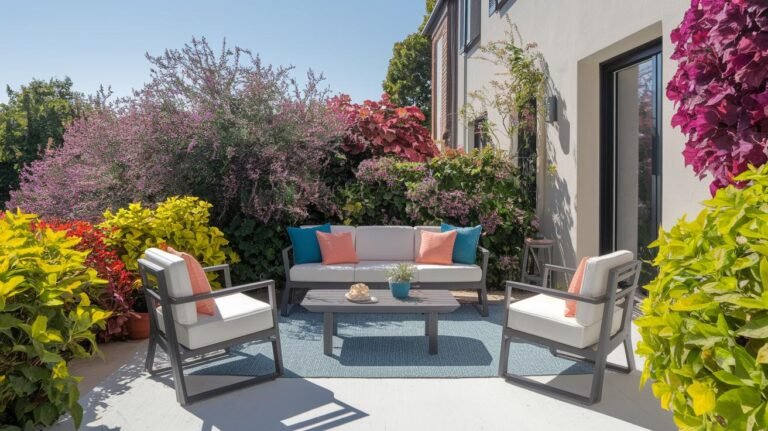
For the lounge zone, think low and soft. A modular sectional lets you shape the seating to your corner and rearrange it when you want, and a piece like the Pamapic 7-piece outdoor wicker sectional set comes with a coffee table so the whole nook lands together — it’s the premium anchor of the two zones (premium range, $$$). Angle the seating around a coffee table that sits roughly 18 to 20 inches high so drinks and feet have somewhere to go.
If you’re not sure how to orient it all, here are six layouts that work, depending on your shape:
- Parallel: dining and lounge seating face each other across the path for a balanced look.
- L-shape: a corner sofa on one side, the table set at a right angle to it.
- U-shape: seating on three sides for bigger groups and easy eye contact.
- Back-to-back: the dining table set just behind the sofa’s back, so the sofa itself becomes the divider.
- Clustered pods: a couple of small seating groups around a low table for casual hangouts.
- Bar-height counter: a slim bar table that doubles as the dividing line and a serving spot.
Add Dividers Between the Dining and Lounge Areas
A divider is what stops the two zones from blurring back together. The good ones separate the space without walling it off, so the patio still feels open.
Contrasting rugs do quiet duty here — a warm tone under the table, a brighter one in the lounge, and your eye reads two areas even though the floor is continuous. For something with height, a row of tall planters makes a living half-wall. Fill them with grasses or trailing greenery and they soften the edge while adding plants you’d want anyway. A matched pair like the La Jolíe Muse 20-inch tall planters (set of 2) is an easy way to draw the line between zones (budget-to-mid range, $$).
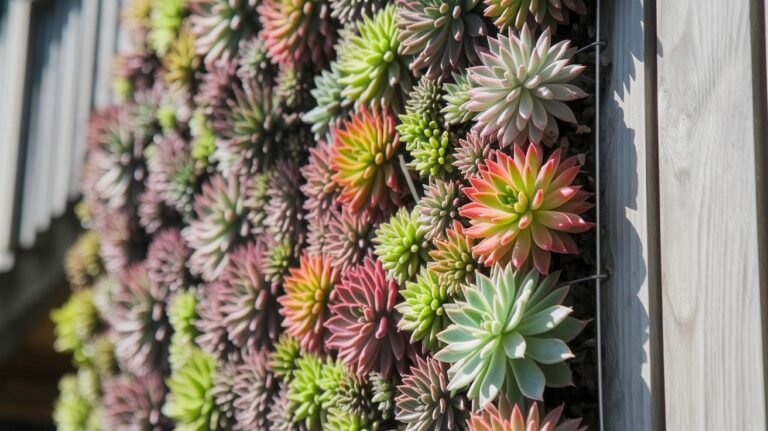
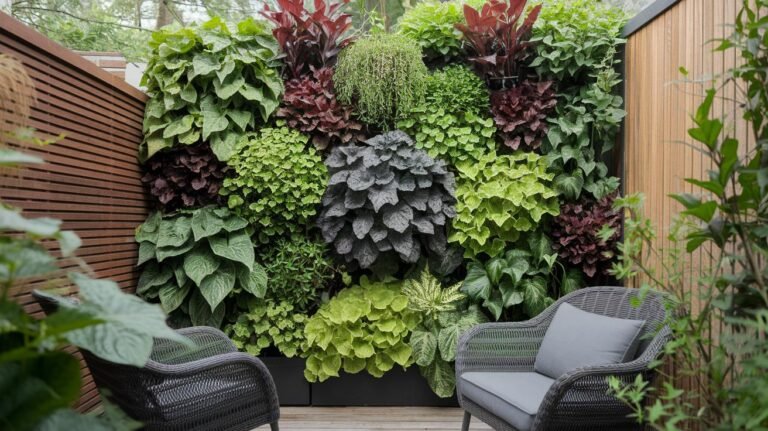
Want more enclosure? A freestanding pergola turns the lounge into its own outdoor room while keeping the sky overhead — drape it with lights or let a vine climb it. Sheer outdoor curtains on tension rods give you soft, movable walls you can open or close, and they add a little privacy; I go through fabric and color picks in my rundown on outdoor curtains for patio. And a lattice trellis with a climbing plant gives you a peek-through green screen — basically a vertical garden on a patio wall that divides and decorates at once.
Layer Your Patio Lighting by Zone
Lighting is the zoning tool people forget, and it’s the one that makes the patio usable after dark. The move is to light each zone for what happens there, in three layers.
Task light over the dining table. This is your bright, functional layer — an overhead LED pendant or a wall sconce so you can actually see your plate. Aim for somewhere around 300 to 500 lux and hang the fixture roughly six to eight feet up so it lights the table without glaring in anyone’s eyes.
Ambient light over the lounge. Softer and lower, this is the mood layer. A run of warm string lights crisscrossed above the seating gives you a gentle glow — call it around 150 lux, enough to read a little but not enough to feel like an office. A commercial-grade, waterproof set like the Brightech Ambience Pro outdoor string lights holds up to weather and is the workhorse I’d start with (budget range, $). Hang them high enough that nobody walks into the strand.
Accent light for depth. A small spot or uplight aimed at a planter, a vine, or a section of wall keeps the space from looking flat once the sun’s down. It’s the finishing layer, not the main event.
Put all three together and the dining zone gets crisp, clear light while the lounge stays low and inviting — and if you can put either on a dimmer, you can shift the whole patio from dinner-party to wind-down without moving a thing.
Plan Safe, Open Traffic Flow Between Zones
Two good zones still fail if you can’t move between them. Keep at least a three-foot path open between the dining set and the lounge seating — wide enough to carry a tray through without doing the side-shuffle. Here’s the cheap test: stand up, pretend you’re holding a full tray, and walk the loop from table to sofa to door. Anywhere you have to turn your shoulders, slide the furniture back until you don’t.
Mind the doors, too. Keep furniture about two feet clear of anything that swings, so an opening door isn’t catching a chair back or surprising someone in a cushion.
Then handle the power safely, because this is the part that actually matters. Any outdoor outlet near the dining or lounge zone should be a GFCI outlet — the kind that cuts power instantly if it senses moisture — and that’s electrical work worth handing to a licensed electrician if you’re adding one. Run string-light and heater cords so they don’t cross a walkway; tuck them along an edge, bury rated conduit where you can, or lay an outdoor-rated cord cover over any cable that has to cross a path. No one should be stepping over a cord to get to dinner.
Tie the Zones Together With Color and Budget Décor
Two zones shouldn’t look like two unrelated yard-sale finds. Pull them together with one simple palette repeated in both. I like a three-color combo — say a deep navy, a warm mustard, and a natural teak or wood tone — carried across cushions, a table runner, and a planter or two. When the same colors show up in both areas, your brain reads “one patio, two rooms” instead of “mismatched piles of furniture.”
Small accents do a lot of this work for little money. Weather-resistant throw pillows in your palette, a runner across the dining table, and a few flameless lanterns clustered as a centerpiece warm the whole space up at night. A set like these Homemory solar flickering lanterns (2-pack) charge in the sun and glow on their own after dark — no cords, no batteries to babysit (budget range, $).
And you don’t have to buy everything. Repurpose wooden crates as side tables, build a simple planter screen from inexpensive lumber and outdoor fabric, and hunt the remnant bin for outdoor fabric cuts to make your own runners and cushion covers. If you want a true focal point for the lounge zone on a budget, a compact fire feature pulls seating around it like nothing else — I’ve rounded up options in my backyard fire pit ideas. Swap the pillows and runner with the seasons and the patio feels new without a new budget.
Recommended gear for zoning your patio
As an Amazon Associate, Backyard Superstar earns from qualifying purchases at no extra cost to you.
- Easiest zone marker — GENIMO 8’x10′ Reversible Outdoor Rug ($). Weatherproof and flippable — defines a zone without touching the slab.
- Dining zone — 5-Piece Round Patio Dining Set ($$). A round table that seats four with no sharp corners for tight patios.
- Lounge zone — Pamapic 7-Piece Outdoor Wicker Sectional Set ($$$). Modular seating plus a coffee table — the lounge nook in one box.
- Living divider — La Jolíe Muse 20″ Tall Planters (Set of 2) ($$). A matched pair to draw the line between zones with greenery.
- Ambient lighting — Brightech Ambience Pro Outdoor String Lights ($). Commercial-grade, waterproof glow for the lounge layer.
- Finishing glow — Homemory Solar Flickering Lanterns (2-Pack) ($). Cordless, sun-charged accents that tie the palette together at night.
FAQ
How do I start zoning my patio for dining and lounging?
Start by measuring the patio and noting fixed features like steps, railings, and the door swing. Sketch the space to rough scale, assign one area to dining and one to lounging, leave a three-foot path between them, then choose flooring and dividers before you add furniture.
What’s the best way to measure and map my patio?
Measure the length, width, and any height changes, and mark outlets and spigots on your sketch so cords and hoses don’t cross walkways. Draw a circle for the dining zone and one for the lounge zone, then test the layout on graph paper or a free online patio planner before buying anything.
How do I pick flooring to separate the dining and lounge areas?
Change the surface or texture between zones so your eye reads them as separate rooms. Pavers and tile sit in the lower-to-mid cost range, wood and composite decking run higher, and the cheapest option is simply laying a different outdoor rug under each zone.
How do I arrange furniture for clear dining and lounge zones?
Match the piece to the space: a round table seats four with no corners in a tight dining footprint, while a modular sectional shapes the lounge. Leave about two feet of clearance behind every chair, and angle lounge seating around a coffee table roughly 18 to 20 inches high.
What’s the best way to divide the two areas without closing them off?
Use dividers that separate without walling off: contrasting rugs, a row of tall planters, a freestanding pergola over the lounge, sheer outdoor curtains on tension rods, or a lattice trellis with a climbing plant for a peek-through green screen.
What lighting should I use for each zone?
Light each zone for its job in three layers: bright task light (around 300–500 lux) over the dining table from a pendant or sconce, softer ambient string lights (around 150 lux) over the lounge, and small accent lights aimed at plants or a wall for depth.
How do I keep traffic flowing safely between zones?
Keep at least a three-foot path open between the dining and lounge areas and about two feet of clearance from any swinging door. Use GFCI outlets for outdoor power, and route cords along edges or under rated cord covers so nothing crosses a walkway.