Budget-Friendly Pergola Designs for Any Backyard
A pergola doesn’t have to cost thousands. I’ve built a few of these, and an 8×8-foot backyard frame with pressure-treated posts, six beams, and a half-day of work usually lands me under $400 in materials. Go with reclaimed lumber or pallet wood instead, and the same footprint can come in under $100. The trick is picking the right material for your climate and skill level, sizing the build to your yard, and skipping the upgrades that don’t move the needle. Here’s how I plan, build, decorate, and maintain a budget pergola without cutting corners on the parts that actually matter.
As an Amazon Associate, Backyard Superstar earns from qualifying purchases at no extra cost to you.
Pergola Cost Breakdown and Where to Find Materials
Material choice, size, and where you buy it from drive almost all of the cost. A typical 8×8-foot pergola runs $150 to $500 for materials depending on what you build it from — and you can come in well under that with reclaimed wood. Here’s the material-by-material breakdown:
| Material Type | Cost Range | Pros | Cons |
|---|---|---|---|
| Pressure-treated wood | $$ | Strong, takes stain well, widely available | Needs resealing every 2–3 years |
| Vinyl | $$ | Low maintenance, weatherproof, won’t warp | Limited color options, can look plasticky up close |
| Metal (aluminum or steel) | $$–$$$ | Durable, sleek modern look, no rot | Gets hot in direct sun; metal beams flex more than wood |
| Reclaimed wood / pallets | $ | Rustic look, lowest cost | Requires sanding, sorting for damage, and sealing |
Reclaimed wood wins on price if you’re willing to put in the prep time. For most builds where you want a balance of durability and cost, a pressure-treated wood frame is the workhorse pick.
Where to Source Materials Affordably
The same lumber can vary 30% in price depending on where you buy it. A few places worth checking before you commit:
- Big-box stores (Home Depot, Lowe’s, Menards): pressure-treated lumber and hardware packs of brackets, screws, and lag bolts. The most reliable but also the most expensive option for full-price stock.
- Online pergola kits: prefabricated kits with everything precut to fit; the disadvantage is you can’t swap a single beam if you damage it during install.
- Salvage yards and architectural-salvage shops: reclaimed beams often go cheap. Inspect for rot, nails, and warping before you take anything home.
- Pallet distributors and warehouses: ask specifically for “damaged” or “broken” pallets — many warehouses pay to dispose of them and will hand them over free. One pallet yields enough slats and supports for a small pergola section.
- Craigslist and Facebook Marketplace: leftover lumber from finished construction projects shows up cheap with free pickup. Search “treated lumber” or “leftover construction” and filter to your area.
Step-by-Step DIY Pergola Build (8×8 ft)
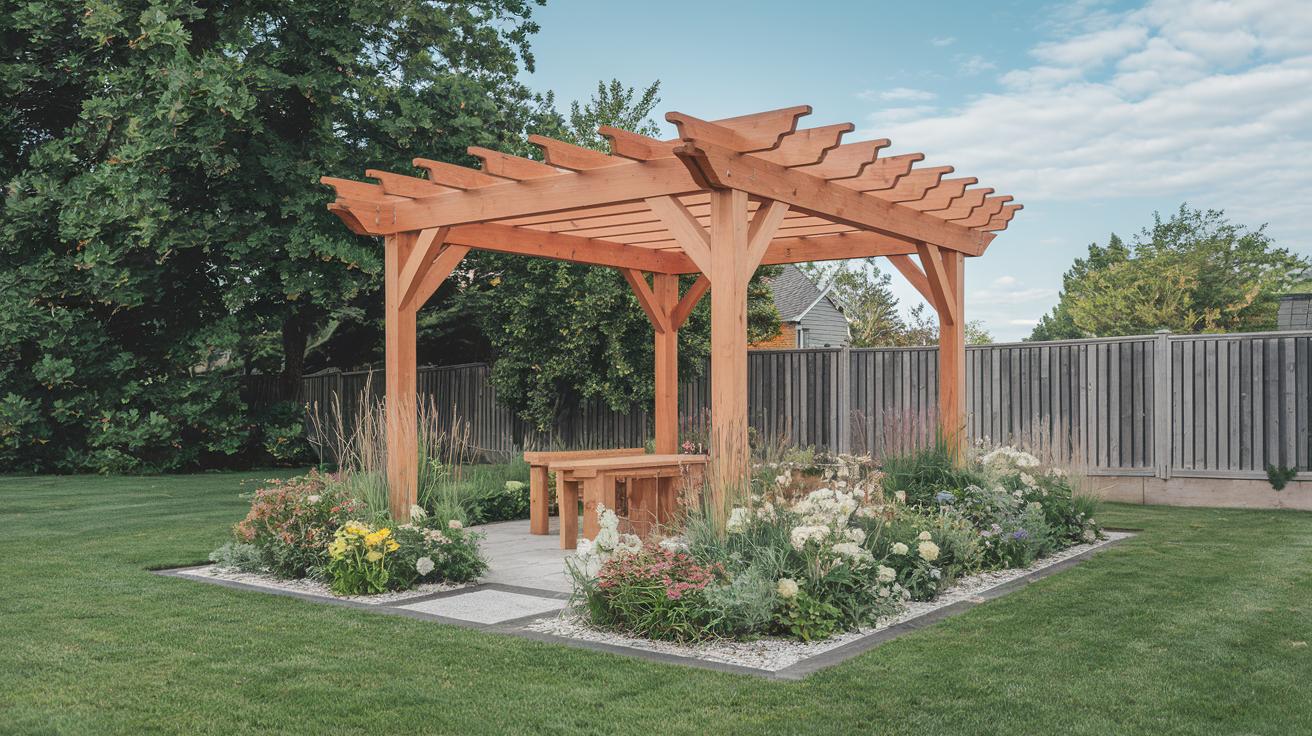
The standard 8×8-foot pergola is the most beginner-friendly build. Four corner posts, six top beams, and eight rafters — manageable in a long weekend with basic tools. The first one I built took me two days only because I re-set a crooked post; do it right the first time and it’s a weekend.
What you’ll need:
| Material | Quantity |
|---|---|
| Pressure-treated 4×4 posts, 10 ft long | 4 |
| 2×6 lumber beams, 10 ft long | 6 |
| 2×4 lumber rafters, 8 ft long | 8 |
| Quick-set concrete (50 lb bags) | 8–10 bags |
| Hardware: lag screws, post bases, deck screws | 1 set |
| Tools: circular saw, power drill, 4 ft level, tape measure, post-hole digger | As needed |
The build, step by step:
- Mark the footprint. Stake out an 8×8-foot square and clear any rocks, roots, or sod inside it. Rake the area level so the posts sit at consistent height.
- Dig and set the posts. Dig four post holes at the corners, each at least 2 feet deep (deeper in frost-prone climates — check your local frost line). If you’re setting posts into existing concrete or a slab instead of digging, an adjustable standoff base like the Simpson Strong-Tie ABU44Z adjustable post base ($, sold in 4-packs) bolts down and holds the post an inch off the surface so the end grain never sits in standing water — the single most common way a wood post rots out from the bottom. Brace each post, check it’s plumb on two adjacent sides, then pour quick-set concrete and let it cure overnight.
- Attach the side beams. Use post bases and lag screws to fix three 2×6 beams along each side, sandwiching the posts between them. Pre-drill every bolt hole to prevent the wood from splitting.
- Add the rafters. Cut eight rafters from the 2×4 lumber and notch the ends if you want a clean fit over the beams. Space them evenly — roughly 12 inches apart — and secure each with two deck screws driven through the rafter into the beam below.
- Add lattice or cross-bracing (optional). Tack a lattice panel between the rafters for more shade, or add a diagonal cross-brace at each corner for extra stability in wind.
- Sand and finish. Run a power sander over every cut edge and corner. Brush on an outdoor wood sealer or stain — let the first coat dry a full 24 hours before the second.
Three things that matter more than people realize on a first build:
- Check each post is plumb on two sides — not just one — before the concrete sets. Crooked posts cascade into every other measurement.
- Pre-drill every bolt hole. Splitting a beam at the bracket means starting over on that piece.
- Add a diagonal brace at each corner if your yard gets significant wind. It’s a few dollars in lumber and the difference between a pergola that lasts ten years and one that loosens after the first big storm.
Upcycled and Salvage Material Ideas
If the goal is the lowest-possible cost — or you want a pergola that doesn’t look like every other one on the block — upcycled materials get you there. Each of these substitutes for a standard pergola part at a fraction of the retail price.
- Bamboo poles: Light, surprisingly strong, and grown locally in many parts of the country. Brush on an outdoor-rated polyurethane to keep them from splitting in sun and rain.
- DIY shade sails: Pick UV-resistant outdoor fabric, heat-seal the hem edges, and clip to the rafters with stainless carabiners. If you’d rather skip the sewing, a ready-made rectangle like the ColourTree rectangle sun shade sail ($$$) comes hemmed with stainless D-rings at the corners and blocks most UV — a single sail covers most of an 8×8-foot pergola top.
- Salvaged galvanized pipes: Plumbing-grade galvanized steel pipes make industrial-looking pergola supports. Sand any rust off, hit them with a rust-inhibiting primer, and bolt them to wood posts or directly to a deck frame.
- Reclaimed shutters, doors, or barn wood: Sand the old finish off, apply outdoor acrylic paint or stain, and use them as side panels or a screen at one end for a partial-shade wall.
- Thrifted chains, hooks, and brackets: Sand off any rust, clear-coat, and use to hang planters, string lights, or fabric panels from the rafters.
- Pallet wood: A few pallets disassembled into individual slats can substitute for new rafter stock. If you’re going pallet-heavy, my garden hammock frame plans for pallet wood cover the bracket choices and prep work that hold up outdoors.
Whatever you upcycle, the prep matters more than the source. Clean every surface, sand rough spots smooth, prime any metal, and apply two thin coats of outdoor sealer or paint instead of one thick coat. Done right, salvaged materials hold up just as well as new lumber for a fraction of the price.
Simple Pergola Layouts for Small Yards
A pergola can absolutely work in a tight yard — sometimes better than in a bigger one, because the structure defines the space rather than getting lost in it. A few layouts that work in compact footprints:
- Corner Retreat (6×6 ft): Four posts, six rafters, an open-lattice top. Fits a single lounge chair, a small side table, and a couple of herb pots. Best for a back-corner spot where two fences meet.
- Arched Shade (8×6 ft): Standard rectangle but with curved top beams — sold pre-curved by most pergola kit makers, or cuttable from straight 2×8 stock with a jigsaw. Reads more like garden architecture than a flat-top pergola.
- Vine Tunnel (8×8 ft): Two rows of posts with crossbeams spaced 18 inches apart. Plant morning glory, jasmine, or clematis at the base of each post and let them grow up and over for a living canopy. Takes one full season to fill in.
- Bench Alcove (7×5 ft): A compact pergola with a built-in bench along one side. Partial-lattice top gives dappled shade over the seat. Good for a tight side yard or near a back door.
- Deck-Attached (any size): Skip the in-ground posts entirely and bolt the side beams directly to an existing deck or to brick walls with lag screws. Cuts the cost of concrete and post-setting and leaves the yard untouched.
For more compact layouts that work in tight urban spaces, my roundup of modern pergola design ideas for urban gardens covers a few smaller-footprint variations and material choices that read more contemporary.
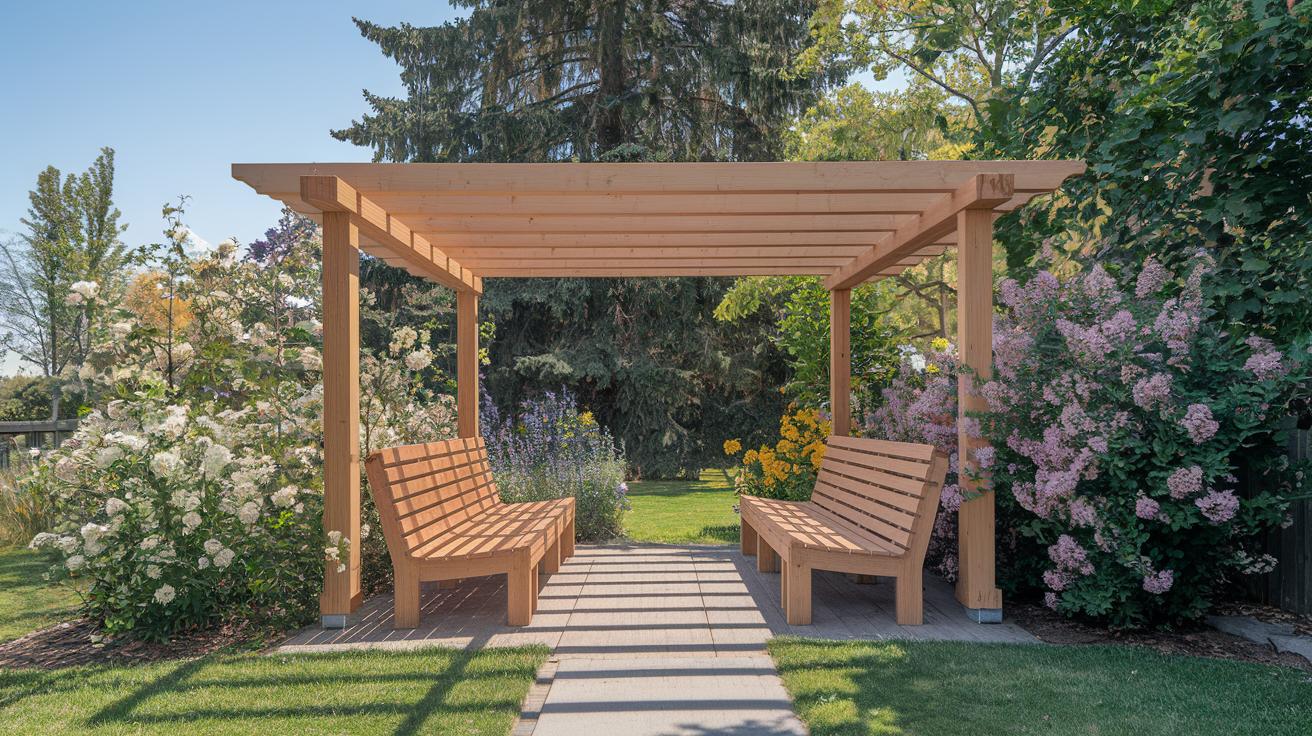
Affordable Ways to Style and Decorate Your Pergola
The bare frame is just the starting point. The styling is what turns a pergola from an outdoor structure into a place you actually want to sit. None of these need to cost much:
- String lights or fairy lights: Drape along the rafters or run vertically down the posts. A solar set like the Brightech Ambience Pro solar string lights ($$) skips the extension-cord problem entirely — the shatterproof Edison bulbs charge off a small panel and the 27-foot run covers an 8×8 frame with room to spare. My pergola lighting ideas for evening ambiance cover specific bulb types and placement patterns that hold up outdoors.
- Outdoor curtains: Weather-resistant fabric panels clip to the side rafters. A waterproof set like NICETOWN outdoor patio curtains ($$) comes with rustproof grommets and blocks afternoon sun and wind. Tie them back for an open feel, or close them for privacy.
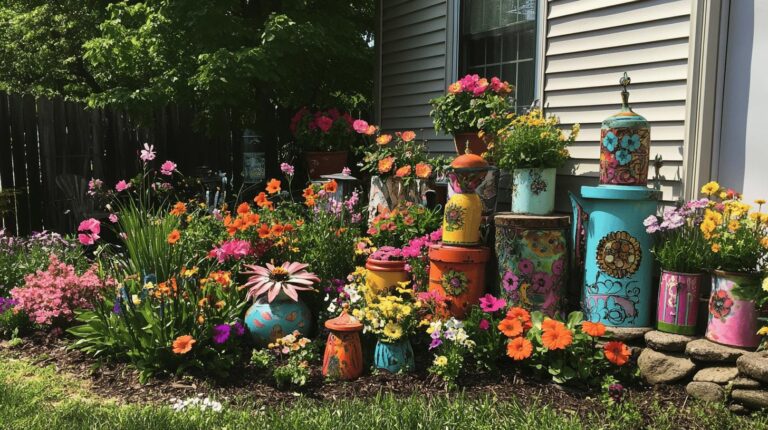
- Hanging planters: Woven baskets or thrifted ceramic pots filled with trailing herbs (oregano, lemon thyme), flowering annuals, or trailing ivy. Two or three is usually plenty.
- Fabric canopies or shade cloth: UV-resistant fabric stretched between the top beams cuts direct sun dramatically. Easier and cheaper than a solid roof — the same ColourTree shade sail mentioned above doubles as a top canopy.
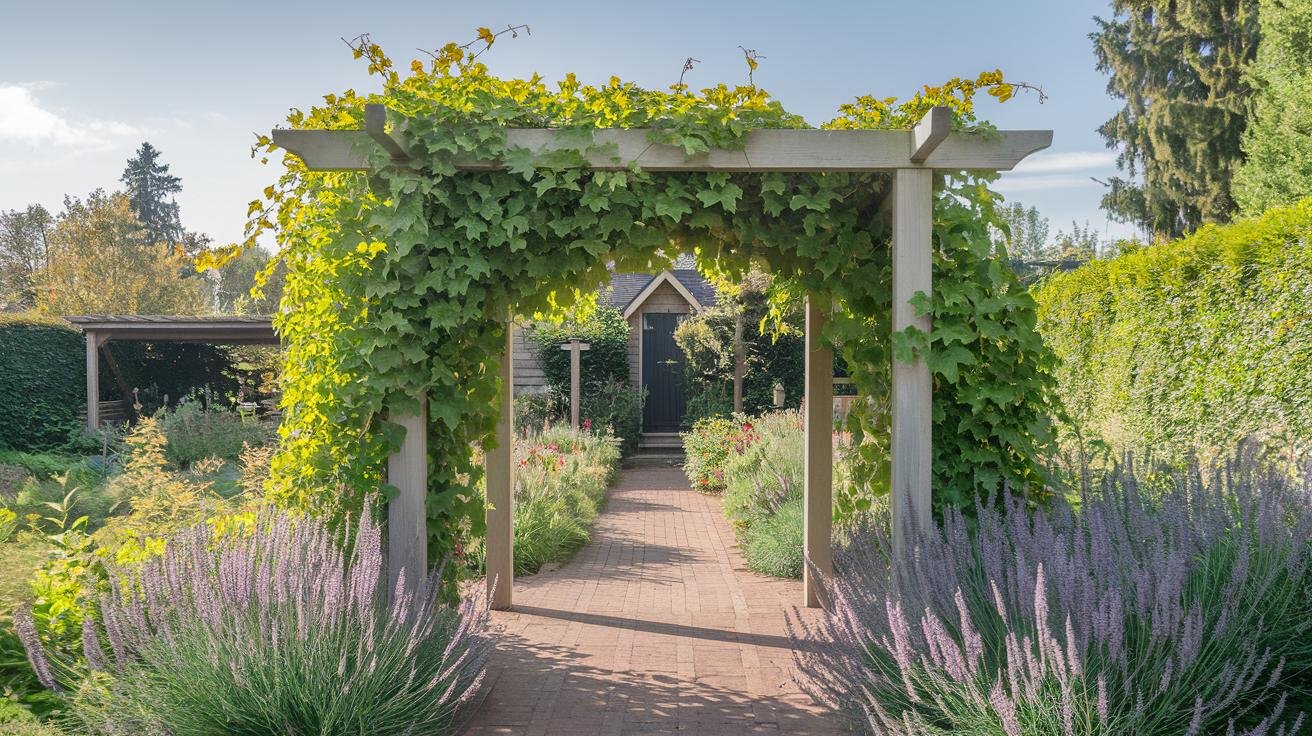
- Climbing vines: Living roof coverage that improves every year. Best picks: jasmine for fragrance, clematis for flowers, hops for fast vertical growth, wisteria if you have a sturdy frame and patience. See best climbing plants for vertical gardens for which species suit which growing zones.
- Fresh paint or stain: A single can of outdoor-rated stain transforms a tired pergola. Match the deck or trim color for a coordinated look, or go contrasting for a feature-piece effect.
The decorating that ages best is the lightest-touch decorating. One string of lights, one set of curtains, two planters, one climbing vine — that’s enough. Adding more usually just makes the pergola harder to maintain and busier to look at.
Pergola Maintenance and Weatherproofing

A pergola you maintain once a year lasts 10–15 years. One you ignore lasts 3–5. The annual checklist is short:
- Reseal the wood every 1–2 years. More often in wet or coastal climates. A penetrating sealer like Thompson’s WaterSeal Penetrating Timber Oil ($$) soaks in, beads water, and slows UV bleaching — without it, exposed wood grays and develops surface cracks within a year. One gallon covers a typical 8×8 frame with some left over.
- Re-stain every 2 years. Stain refreshes color and adds a second layer of moisture protection. Skip if your semi-transparent or solid stain hasn’t faded.
- Inspect fasteners annually. Walk around with a wrench and check every lag bolt and bracket screw. Replace anything rusted or loose — a single loose bracket shifts load to the others and starts a cascade.
- Clean and recoat fabric. Twice a year for canopies and shade sails. Wash with mild soap and a soft brush, then reapply a waterproofing spray once dry.
- Trim climbing plants every 6 months. Overgrown vines trap moisture against the wood and accelerate rot. Cut back enough that air can move through the structure.
- Clear ground drainage annually. Make sure water isn’t pooling around the post bases. Standing water at the footings is the single fastest way to rot a pergola from the bottom up.
For longest service life on a new build, choose cedar or composite boards if your budget allows — both naturally resist rot and need less frequent resealing than standard pressure-treated lumber.
Picking a Pergola That Fits Your Budget and Yard
The right pergola for a tight budget isn’t the cheapest one you can build — it’s the one that matches how you’ll actually use the space and what you’re willing to maintain. For most backyards, a standard 8×8-foot pressure-treated wood pergola is the sweet spot: big enough for two lounge chairs and a side table, simple enough to build in a weekend, and standard enough that replacement parts are easy to find five years down the road. Scale up for a dining area, scale down for a corner reading nook, or substitute reclaimed materials if the look and the savings matter more than the construction speed.
Whatever you build, the 30 minutes spent measuring the yard, checking the ground level, and double-checking that your posts are plumb matters more than the brand of lumber. Get those right, do the annual maintenance, and a budget pergola will outlast most of the patio furniture you put under it.
Recommended gear for this project
As an Amazon Associate, Backyard Superstar earns from qualifying purchases at no extra cost to you.
- Budget essential — Simpson Strong-Tie ABU44Z Adjustable Post Base (4-pack) ($). Keeps post end-grain off the ground so it never rots from the bottom.
- Best value — Brightech Ambience Pro Solar String Lights (27 ft) ($$). Solar Edison bulbs, no extension cord, covers an 8×8 frame.
- Privacy & shade — NICETOWN Waterproof Outdoor Curtains (2 panels) ($$). Rustproof grommets, blocks afternoon sun and wind.
- Top pick — weatherproofing — Thompson’s WaterSeal Penetrating Timber Oil (1 gal) ($$). The once-a-year coat that takes a pergola from 3–5 years to 10–15.
- Premium shade — ColourTree Rectangle Sun Shade Sail ($$$). Hemmed, UV-blocking canopy that drops onto the rafters with no sewing.
Common Questions About Budget Pergolas
How much does a budget-friendly pergola cost?
Material costs for a standard 8×8-foot pergola range from $150 to $500 depending on the material. A pressure-treated wood frame from a big-box store typically lands in the mid range. Reclaimed wood or pallet builds can come in under $100 if you have time to source and prep the materials.
What materials are cheapest for a DIY pergola?
Reclaimed wood and shipping pallets are the cheapest source materials, often free or close to it with some sanding and sealing required. For new lumber, pressure-treated 4×4 posts and 2×6 beams are the most affordable durable option for an 8×8-foot build.
How do I build a pergola on a budget?
An 8×8-foot pergola needs 4 corner posts, 6 top beams, and 8 rafters. Set the posts in concrete or on adjustable post bases, attach beams with brackets and lag screws, space rafters about 12 inches apart, then sand and seal. Total build time is one long weekend with basic tools.
What upcycled materials work for a pergola?
Bamboo poles, salvaged galvanized pipes, pallet wood, reclaimed shutters or barn wood, and thrifted hardware all substitute for standard pergola parts. The key is prep work — clean, sand, prime any metal, and apply two thin coats of outdoor sealer before assembly.
What are simple pergola designs for small yards?
Compact layouts that work in tight yards include a 6×6-foot corner retreat, an 8×6-foot arched pergola, a vine tunnel using climbing plants for the roof, a bench alcove with a built-in seat, and a deck-attached pergola that bolts to existing structures and skips the in-ground posts.
How can I decorate a pergola affordably?
String lights, outdoor curtains, hanging planters, fabric canopies or shade cloth, and climbing vines all add character without much spend. One of each is usually plenty — over-decorating makes a pergola harder to maintain.
How do I maintain and weatherproof a budget pergola?
Reseal wood every 1–2 years, re-stain every 2 years, inspect every fastener annually for rust or looseness, recoat fabric panels twice a year, trim climbing plants every 6 months so air can move through, and clear drainage around the post footings annually to prevent standing water.
Where can I find affordable pergola supplies?
Big-box stores like Home Depot or Lowe’s for new lumber, online retailers for prefabricated kits, salvage yards for reclaimed wood, pallet distributors for free or low-cost pallets, and Craigslist or Facebook Marketplace for leftover construction lumber.