Patio Fire Pit Maintenance and Cleaning Guide: Amazing
Have you ever noticed your patio fire pit getting buried under ash (fine, powdery wood remains)? And then rust (that orange-brown flaky stuff) starts creeping over the metal? It’s sneaky, you know? Before you realize it, cozy nights by the fire feel more like smoky chores.
But here’s the good news: a few simple steps will save you time, worry, and even that last marshmallow. Just scoop out the ash, give the catch tray a quick scrub, and scan for rust spots. Oops, I skipped mine last week and got a smoky surprise!
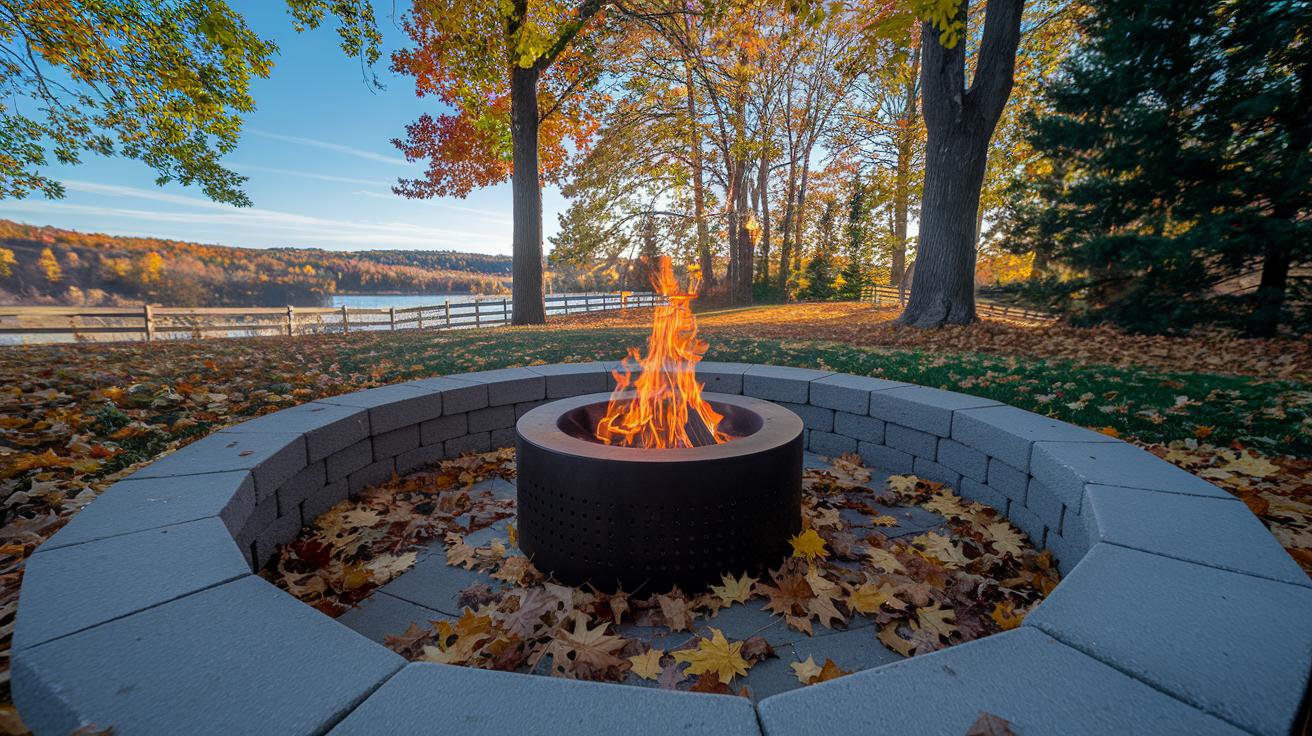
Picture a clean flame crackling, sending a warm glow across your patio and filling the air with the scent of wood smoke. Yum, right? This guide walks you through ash removal and rust checks so your fire pit’s always ready for toasty evenings and gooey s’mores.
Maintenance and Cleaning Overview
Keeping your patio fire pit clean and safe means it’s always ready for warm nights and marshmallow toasting. A quick ash (fine powder left after burning wood) sweep after each use, a monthly check for rust (when metal turns flaky and reddish), and a deeper scrub each season will help your fire pit last. Ever smelled that first wisp of smoke and thought, “I’m all set for s’mores night”?
Think of this guide as a friendly map to easy fire pit care. We’ll chat about choosing your tools, tossing out old ash, inspecting burners (the part where gas comes out), and stopping rust in its tracks. No more guesswork, just simple steps to keep your fire pit glowing year-round.
- Essential Tools and Materials for Patio Fire Pit Cleaning
- Ash Removal and Disposal Techniques for Patio Fire Pits
- Gas Fire Pit Burner Cleaning and Inspection
- Rust Prevention and Surface Protection for Patio Fire Pits
- Seasonal Maintenance Schedule for Patio Fire Pits
- Safety Inspections and Best Practices for Patio Fire Pit Maintenance
- Troubleshooting Common Patio Fire Pit Issues and Longevity Tips
Essential Tools and Materials for Patio Fire Pit Cleaning
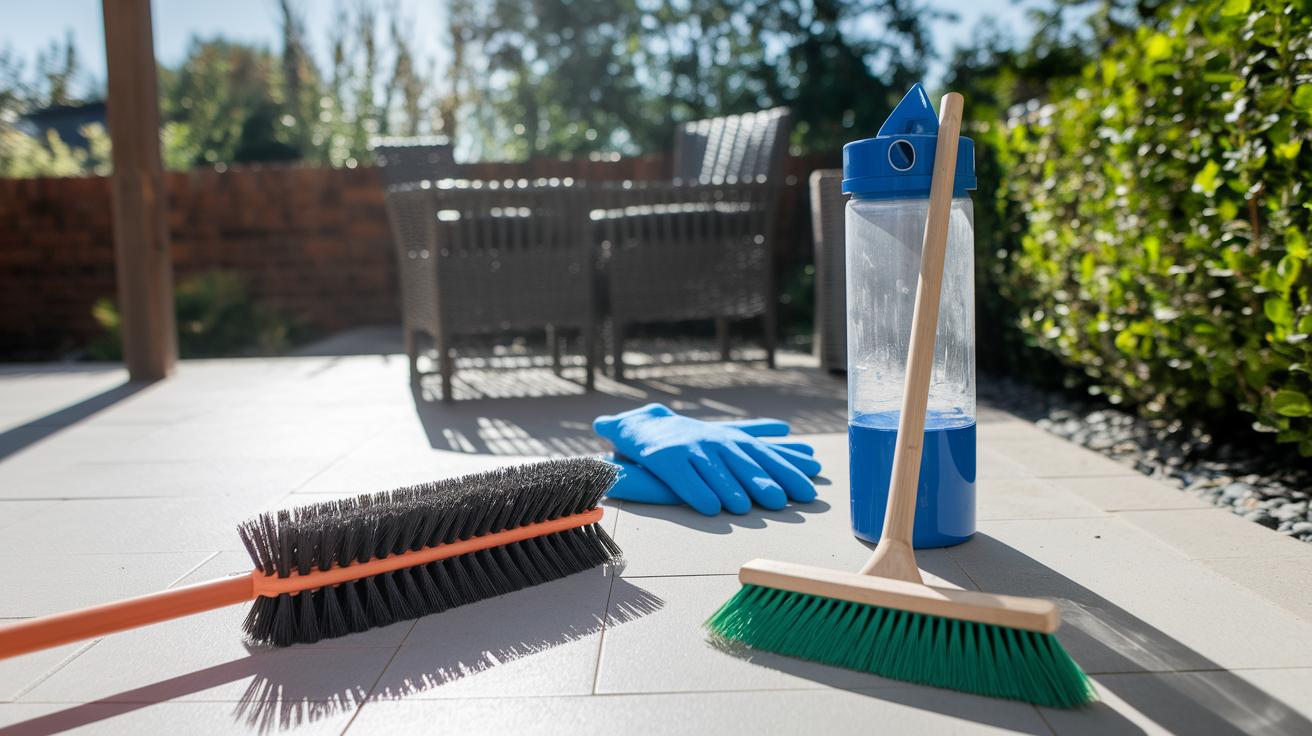
Gathering a few key tools before you start makes cleanup feel quick and even kind of fun. You’ll hear the wire brush rasping away rust and smell a hint of smoke in the air. Ready?
- Wire brush for scraping off rust spots and baked-on soot.
- Ash vacuum (a special vacuum that traps fine ash dust) for fuss-free ash removal.
- Broom and dustpan for sweeping out larger bits of burnt wood.
- Soft cloths and mild dish soap (dishwashing liquid) to wash down surfaces gently.
- Garden hose to rinse away dirt and soapy suds.
- Protective gloves to keep your hands safe from heat and grime.
- Rust-inhibitor spray (a spray that stops rust from forming) to shield metal parts.
- Water-repellent sealant (a coating that keeps water out) for stone or concrete fire pits.
- Adjustable wrench and soft brush to clean gas burner ports (small holes that feed gas).
By the way, keeping spray-on rust inhibitor and sealant close by is a game changer. Oops, I once dripped sealant on my shoes, don’t ask, but it shined up the pit like new.
With your kit at the ready, you’ll breeze through scraping metal, washing stone or concrete, clearing burner ports, and sealing surfaces against moisture. Each cleanup feels quick, satisfying, and sets you up for the next cozy night by the fire.
| Tool | Purpose | Estimated Cost |
|---|---|---|
| Wire Brush | Rust and soot removal | $10–20 |
| Ash Vacuum | Safe ash extraction | $50–150 |
| Broom & Dustpan | Debris cleanup | $5–15 |
| Cloths & Dish Soap | Surface washing | $5–10 |
| Garden Hose | Rinsing | $20–40 |
| Gloves | Hand protection | $5–10 |
| Rust Inhibitor | Corrosion prevention | $15–25 |
| Sealant | Waterproofing stone/concrete | $20–40 |
Ash Removal and Disposal Techniques for Patio Fire Pits
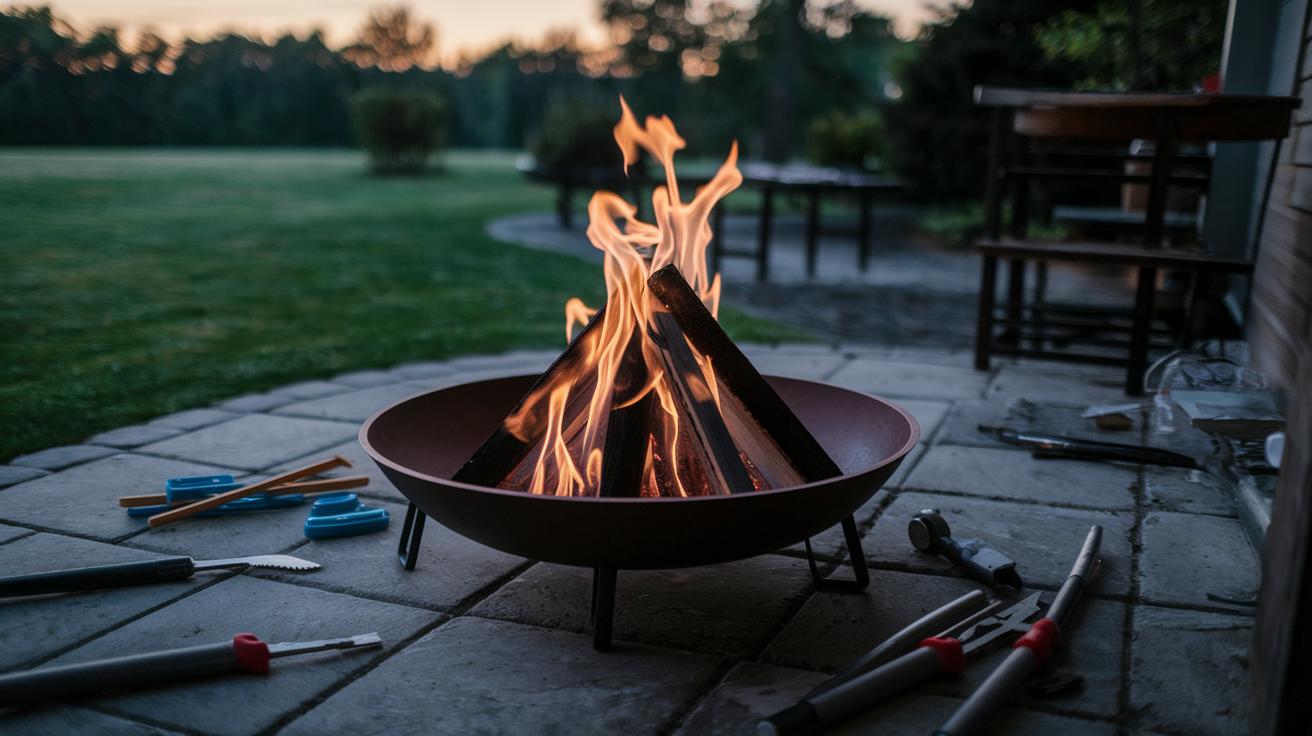
After your last fire, wait at least 12 hours. Let the ashes cool completely. If you sweep too soon, you could stir up sparks or get a face full of fine gray dust. That dust smells smoky and can choke even the lightest breeze.
Once the ash feels cold, you’re ready to clean. Grab your shop vacuum or an ash vacuum. No vacuum? No problem. A small hand broom and dustpan work too, you can just shake the dust outside.
Here’s a quick cleanup list:
- Touch the ashes (with a gloved hand) to make sure they’re cold.
- Vacuum or sweep the dust into a dustpan.
- Transfer the ash into a metal container with a tight lid.
- Set that container on stone, brick, or another nonflammable surface.
- Keep the lid on until the ash stays cool.
- Never dump hot ash in plastic or near dry leaves.
Sweep out ash right after each get-together or at least once a week in cooler months. If you skip this step, vents get clogged and fires roar unpredictably. I once scooped ashes too soon and ended up coughing on cold embers, yikes. Now I’m extra patient and let them rest overnight.
By the way, my cat loves to nap on the patio while I tidy up. Back to cleanup…
In dry areas you can sprinkle cooled ash into your compost (decayed organic matter that feeds your plants) for extra minerals. But check local rules before mixing that fine powder into your garden soil.
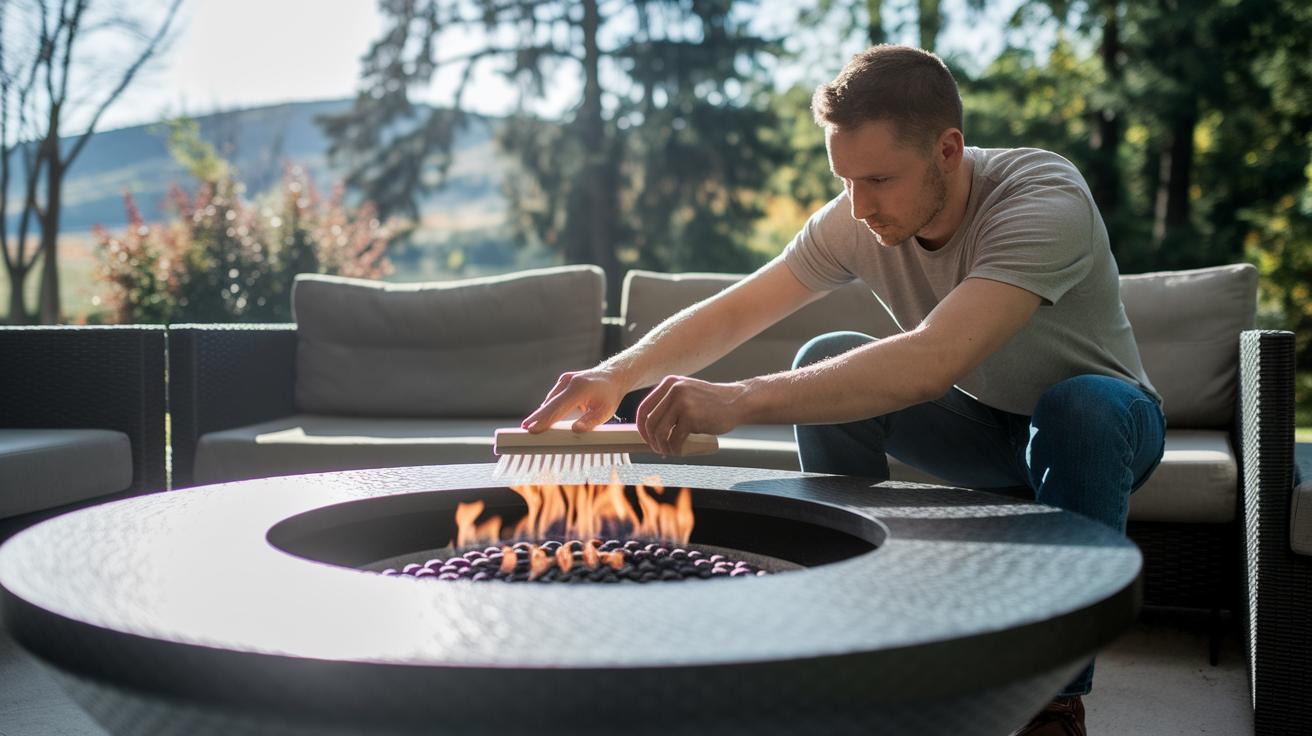
Gas Fire Pit Burner Cleaning and Inspection
Plan a little fire pit check every three to six months. It’s the best way to keep your backyard fire going strong.
Start by turning off the gas supply. Then unplug your propane tank or shut the natural gas line. Safety first, right?
Grab a soft brush and warm soapy water. Gently scrub each burner port (tiny hole that feeds gas and shapes the flame). You might see spider webs or bits of grit wash away.
Next, inspect the gas jets, ignition module (the spark maker), and hoses (rubber tubes that carry gas). Spot any cracks or sticky gunk? Give them a gentle scrub until they look clean.
Time for a leak test. Mix a squirt of dish soap and water in a spray bottle. Mist all the connections and watch for tiny bubbles. No bubbles means no leaks.
Snap everything back together nice and snug. Light the pilot and listen for a steady whoosh. An even flame means you nailed it. But if it flickers or sputters, go back and clean those ports one more time.
See how do smokeless fire pits work for more on burner design.
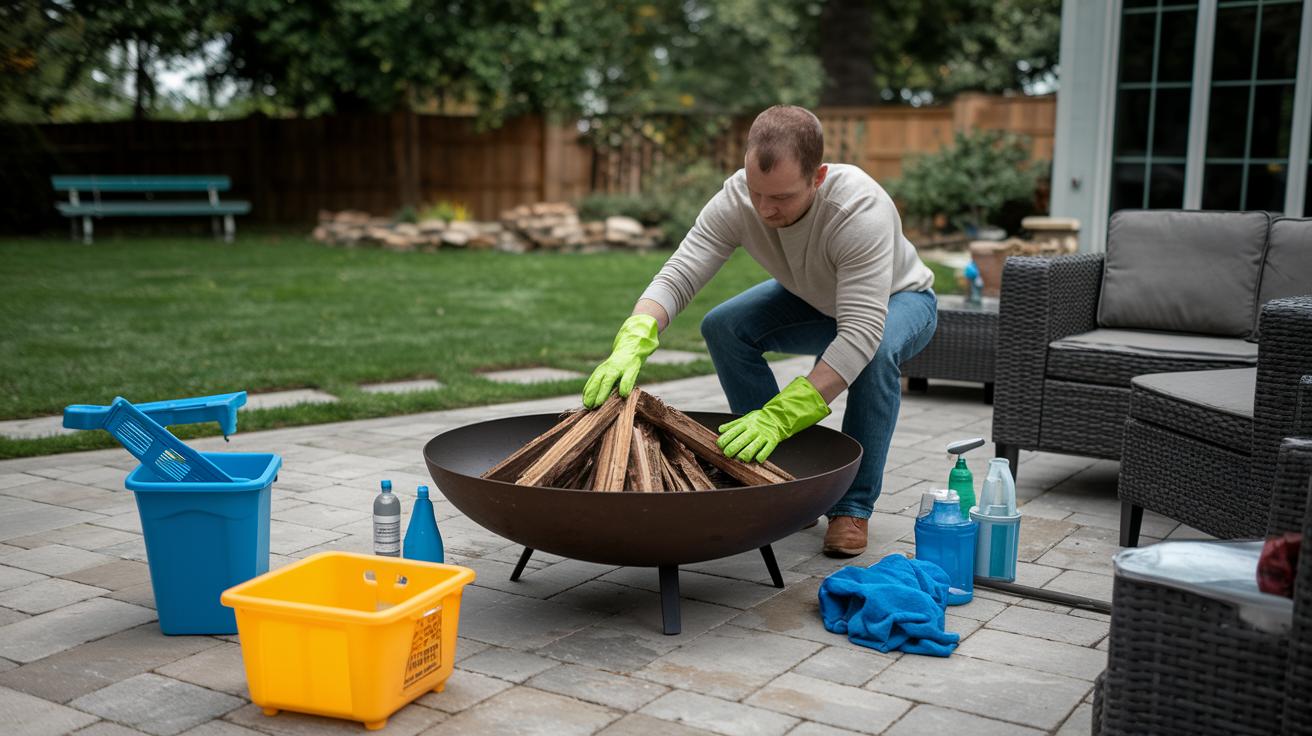
Rust Prevention and Surface Protection for Patio Fire Pits
Metal fire pits can look lonely when bits of rust take over. Grab a wire brush and start scraping those flaky red spots until shiny steel peeks through. You’ll feel the brush rasping and watch little red flakes fall away. Then blow off the dust and wipe the pit clean.
Now grab a rust inhibitor spray (spray that stops rust) or roll on high temperature paint (paint built to stand grill heat). Cover every inch. A thin coat once a year keeps moisture from turning steel into rust again. Oops I skipped last winter’s care and ended up recoating one whole side. Lesson learned.
Stone or concrete pits never rust but they suck up water. Every one to two years, add a water repellent sealant (liquid that keeps water out) to block damp spots and stains. Let it dry and your fire bowl will stay crisp and clean.
Cast iron friends love a swipe of cooking oil after a deep clean. Rub in oil with a soft cloth to seal the finish. Each season, run your hand over metal surfaces. Touch up right away before tiny spots turn into big peeling.
Seasonal Maintenance Schedule for Patio Fire Pits
| Season | Tasks | Frequency |
|---|---|---|
| Spring | Scrub the fire bowl, seal the finish (add a protective coat), check gas lines (fuel pipes) | Once |
| Summer | Brush off morning dew, pull on the cover each day, spot-check for puddles | Weekly |
| Autumn | Tighten loose bolts, sweep away fallen leaves, prep for cooler days | Monthly |
| Winter | Drain gas lines, secure the cover, whisk off snow | After storms |
Keeping your fire pit happy means a quick check every season. This chart lays out simple chores so you can focus on cozy nights instead of fussing with equipment.
Spring comes and the sun feels warm on your back. I like to scrub the fire bowl with soapy water until the metal gleams, then seal the finish (that’s a thin protective coat) to keep rust away. Don’t forget to eyeball the gas lines (those are the pipes bringing fuel). One solid once-over wakes your pit up for the year.
And in summer, mornings often bring dew or a surprise drizzle. I pull back the cover, brush off any damp spots, and snap the cover on tight. Do this once a week to dodge sneaky puddles. Trust me, dry parts mean brighter flames under the stars.
Autumn turns leaves into a crunchy carpet. Every month, I give the fire pit a once-over: tighten any loose bolts, sweep away leaves, and make small tweaks before the chill sets in. By the time you’re roasting s’mores, your setup will feel rock solid.
Winter’s chill can linger, so wait until heavy storms drift by. Drain your gas lines, secure the cover with straps, and sweep away fresh snow. That way, when you’re ready for a winter fire, your pit lights up instead of coughing on ice.
Planting this seasonal habit means more time sipping hot cider and less time shivering by a half-lit pit. I’m telling you, once you nail the routine, every fire feels as good as that first spring blaze.
Safety Inspections and Best Practices for Patio Fire Pit Maintenance
First, place your fire bowl on a non-combustible surface (a material that won’t catch fire) like stone, brick, or concrete. Make sure you have at least 10 feet of clear space around it.
Keep a fire extinguisher or a coiled garden hose nearby so you can grab it in a flash. By the way, I once tripped over my hose – oops – so tuck it neatly!
Ever had a rogue spark pop up and scare you? Inspect the spark screen and grate for holes or warping. Use a stiff wire brush to knock away ash and soot. A tight-fitting screen traps sparks and stops embers from flying when the flames shift.
Give the whole pit a gentle rock to test stability. If it wobbles, tighten any loose bolts or handles until it feels solid under your hand. A steady pit means fewer surprises when logs settle.
Now light the pilot and watch the first flicker of flame. Feel that warm glow in the cool evening air. A steady blue-orange glow means the gas flow is just right.
If the flame sputters, shut everything off. Let it rest. Then scrub or tighten connections before you try again.
Good checks now mean cozy, worry-free nights by the fire.
Quick-Fix Checklist
Need to fix your fire pit fast? Use this list to jump to the right section.
- Flames look weak or dancing unevenly? See ‘Gas Fire Pit Burner Cleaning and Inspection’ (burner is the part that sends gas to the flame). You’ll learn how to clean and check it so flames burn steady.
- Rust spots or surface corrosion showing up? See ‘Rust Prevention and Surface Protection’. It guides you through scrubbing away rust and adding a protective layer.
- Hear a hiss or smell gas? Follow the leak-test steps in ‘Gas Fire Pit Burner Cleaning and Inspection’ (it walks you safely through finding leaks).
- Notice small cracks in stone or metal? See ‘Seasonal Maintenance and Repairs’. You’ll find quick fixes to keep your pit strong.
- Loose bolts, squeaky hinges, or a spark screen that’s off track? See ‘Safety Inspections and Hardware Tightening’. It shows how to tighten and align parts so sparks stay inside.
Pick the step you need and you’ll be back to crackling fires in no time.
Final Words
In the action, we laid out how to clean, maintain, and protect your fire pit, plus the tools you need, ash-removal tips, burner care, rust prevention, seasonal checks, safety inspections, and quick fixes.
These steps make it simple to scrub away soot, test gas lines for leaks, seal metal against corrosion, and follow a year-round schedule.
With this patio fire pit maintenance and cleaning guide in hand, you’ll spend less time on chores and more time soaking up cozy, starry nights.
FAQ
What is the goal of patio fire pit maintenance?
The goal of patio fire pit maintenance is to keep your fire pit clean, safe, and protected from wear so it lasts longer and performs well each time you light a fire.
What tools and materials do I need for cleaning my fire pit?
You need a wire brush for rust, an ash vacuum or broom and dustpan for debris, mild soap and cloths for washing, a hose for rinsing, plus gloves and rust inhibitor.
How do I remove and dispose of ashes safely?
Cool ashes for at least 12 hours, scoop or vacuum them into a metal container with a tight lid, store it on a non-combustible surface, and recycle cold ash in compost if it’s safe.
How often should I clean the gas fire pit burner and inspect it?
Every 3–6 months: shut off gas, brush ports with soapy water, check connections, test for leaks with soap bubbles, then relight to confirm even flames.
How do I prevent rust and protect my fire pit’s surface?
Brush off rust spots, spray a high-temperature rust inhibitor or paint metal yearly, seal stone or concrete every 1–2 years, and oil cast iron after deep cleans.
What is the seasonal maintenance schedule for my fire pit?
Spring: deep clean and seal. Summer: weekly moisture checks and cover. Autumn: monthly bolt tightening and leaf clearing. Winter: drain gas line, secure cover, remove snow after storms.
What safety inspections and practices should I follow for fire pit upkeep?
Place the fire pit on non-combustible ground with 10 feet of clearance, test stability, clean spark screens, tighten bolts, check ignition, and keep a fire extinguisher or hose nearby.
How can I troubleshoot common fire pit issues to extend its lifespan?
Clear burner ports for weak flames, wire-brush rust spots, seal cracks with high-temp mortar, tighten loose parts, test for gas leaks, and replace damaged components promptly.