How to Hang a Hammock in a Garden Without Trees—Awesome DIY
Have you ever stared at your backyard, dreaming of a lazy hammock swing but no trees to hang one? I thought I needed giant oaks too. Turns out, two posts (sturdy wood supports) or even a freestanding stand can do the trick. By the way, a solid fence post works just as well!
Picture yourself swaying above soft grass, a warm breeze brushing your face, birds chirping nearby. It’s like a mini-vacation right at home, you know? In this guide, we’ll walk you through each easy step. You’ll learn how to pick the best spot, fasten strong bolts (metal fasteners), and test it safely so you can really relax.
Ready to build your own cozy chill spot? Let’s get started!
DIY Freestanding Hammock Stand Setup in a Garden without Trees
Want that lazy swing but no trees? A freestanding hammock stand is the trick. You can buy a ready-to-go steel frame or follow a simple plan and bolt together steel tubes with a weather-resistant powder coat (hard, rust-proof finish). Most kits span about 12-15 feet and hold up to 400 lbs. They cost roughly $80-200. You’ll need a wrench set, tape measure, level, and a clear spot about 12 ft by 5 ft.
-
Pick your spot.
Find a flat 12 ft wide by 5 ft deep patch. Clear away rocks, raised beds, hoses, and toys. -
Lay out all the pieces.
Spread out tubes, bolts, hooks, and foot pads. Tick them off against the parts list. -
Bolt together the main frame.
Start with the longest beams. Then add the crossbars. A friend helps here. -
Check it’s level.
Slide a 4 ft level under each foot pad. Add shims or tweak legs till it sits straight. -
Hook on your hammock.
Screw in eye bolts or snap on carabiners at each end, about chest height. -
Test it gently.
Sit down slowly. Listen for creaks or loose bolts, then tighten what wobbles. -
Adjust the sag.
You want the hammock to hang at roughly a 30° angle at each end so it feels like a gentle cradle.
By the way, have you felt a hammock sway on a sunny morning?
But back to our setup. You’re all set for backyard chill time.
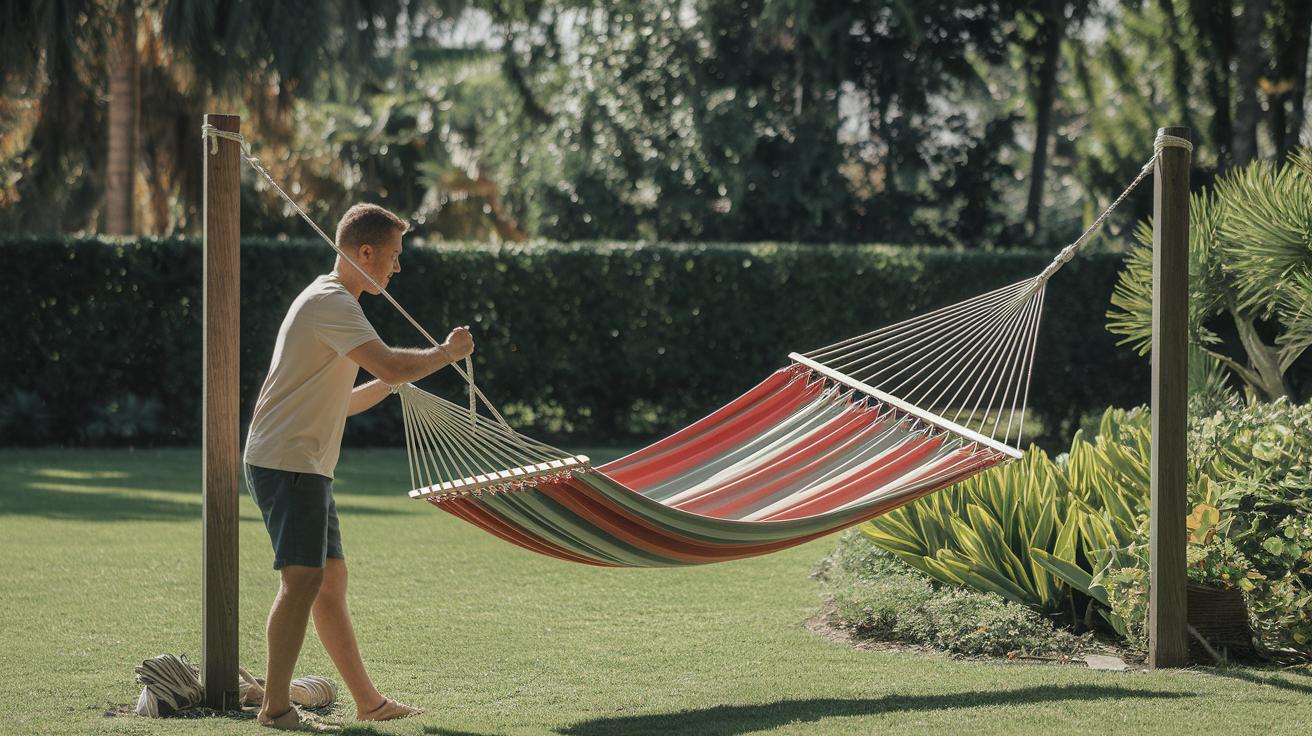
Building and Installing Support Posts for Garden Hammocks
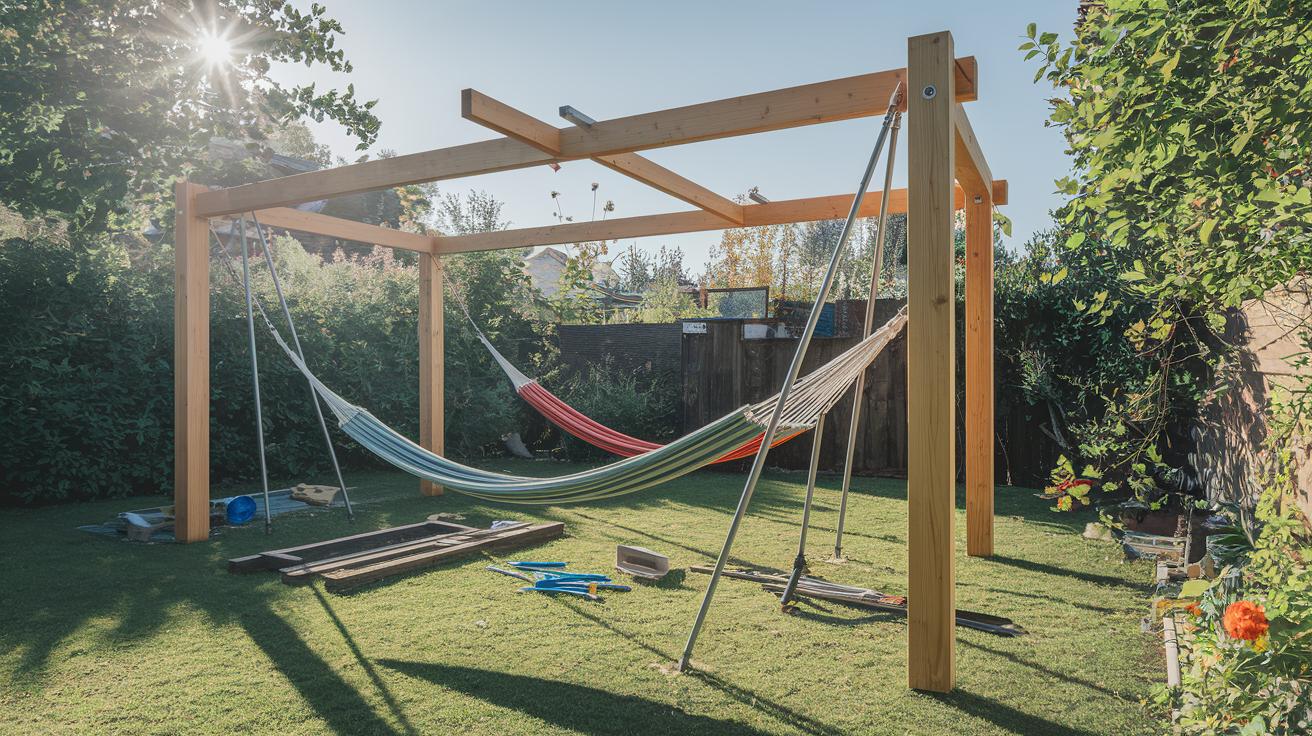
Ever thought about hanging a hammock in your own backyard? With the right posts, you’ll have a cozy spot to read or nap in the breeze. You can choose treated lumber beams, like a 4×4 or 6×6 post (wood treated to resist rot), or slim steel poles made from 1½-inch steel pipe. Each of these can hold about 500 pounds, so whether you lounge solo or double up, you’re safe.
Grab a post-hole digger, a level, a tape measure, and either a small concrete mixer or a few bags of pre-mixed concrete. For wooden beams, you’ll need footings (the concrete base) about 12 inches wide and 30 inches deep. If you go metal, make those footings 8 inches wide and 30 inches down. Space your holes 10 to 12 feet apart so your hammock hangs just right, not too tight, not too saggy.
- Use the tape measure to mark each center spot.
- Dig down 30 inches. Check depth often, you don’t want surprises!
- Mix the concrete until it’s like thick pancake batter. Pour it into the hole.
- For a sleeve system, slip a post sleeve (a removable tube) into the wet mix.
- Set your post or sleeve in place and use the level to make sure it’s straight up.
- Brace the post with stakes or scraps of wood while the concrete hardens (about two days).
- If you used sleeves, slide your post in after the mix sets, handy if you need to swap posts for winter.
- Screw an eye bolt or attach a carabiner about chest height on each post for your hammock’s hooks.
Feel the cool concrete as it cures. By the way, my dog loves to nap in the newly shaded nook under the posts. Once the concrete’s firm, give each post a gentle tug and lean on it. If it doesn’t budge, you’re clear to hang your hammock and drift off with the soft sway.
| Post Type | Material | Footing Size | Pros & Cons |
|---|---|---|---|
| Wood Beam | Treated 4×4 or 6×6 lumber | 12 in × 30 in | Warm, natural look – needs annual sealant |
| Metal Pole | 1½-in steel pipe | 8 in × 30 in | Slim and removable – can rust without coating |
Measuring Span and Setting Suspension Height for Optimal Sag
Sag is the secret to snug, cocoon-style comfort. Hang it too tight and you feel stiff. Hang it too loose and you flop. Remember from Section 1 we aimed for a 30° sag (the angle rope makes with the ground). Now let’s nail the details.
First, measure the gap between your hammock posts or stand with a laser measure for spot-on accuracy. Take your hammock’s full length and subtract two feet. So a 12-foot hammock needs about a 10-foot span. Mark those points on each post or beam.
For a relaxed 30° sag, clip on your hammock straps or rope loops about 4–5 feet above the ground. Next, hook in the turnbuckles. Tighten each side a little at a time until the middle of your hammock sits about 18 inches off the ground. If it’s too high, loosen one or both turnbuckles by a few inches. If it’s too low, give them a twist to pull the rope taut again.
Step back and eyeball both ends. They should look even and carry the weight equally. That tiny tweak makes a big difference in comfort. By the way, my cat loves to nap in the hammock while I’m fine-tuning it. Oops, almost dropped a carabiner there.
Back to Section 1 for a final hardware check before you settle in for that perfect float.
Hardware Essentials: Eye Bolts, Straps, and Anchors for Garden Hammocks
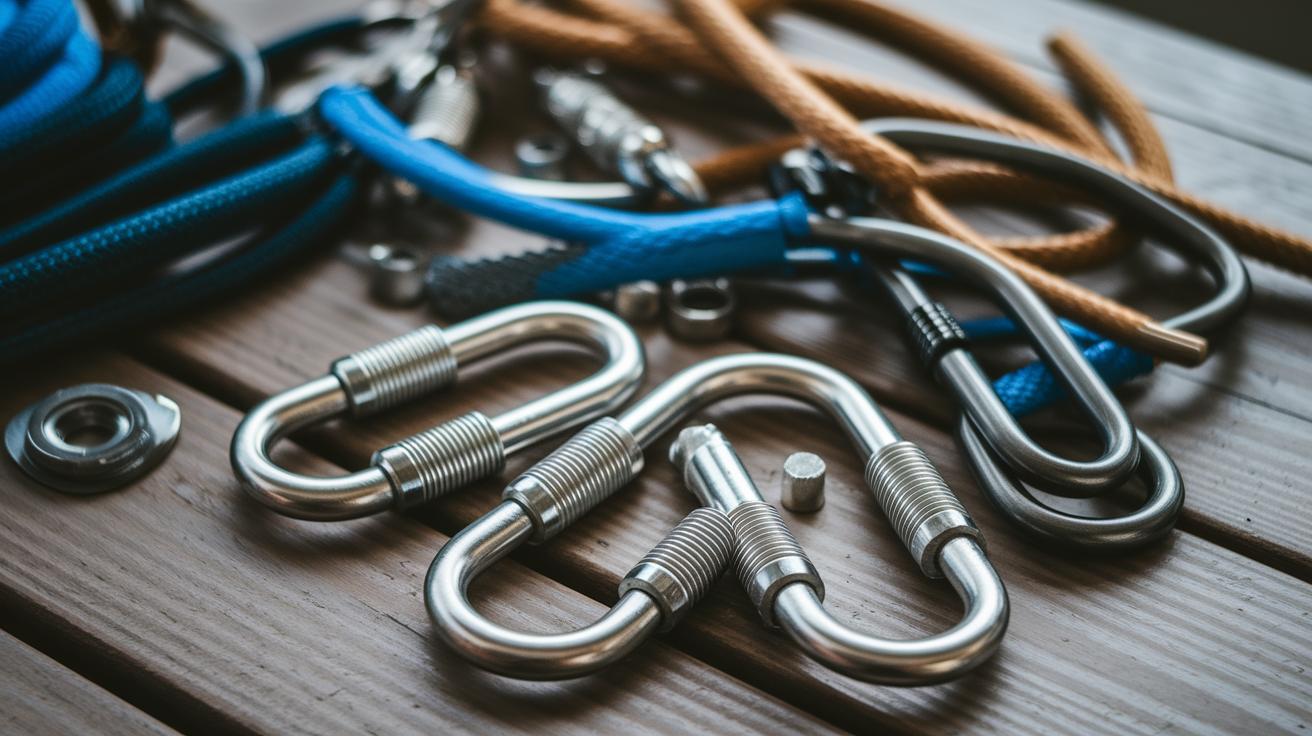
First up, outdoor-grade eye bolts keep your hammock safe. Skip thin metal brackets or cheap galvanized hooks. Stainless steel eye bolts rated for at least 500 pounds (weight the bolt can safely hold) stay rust-free on hot summer days.
Drill a pilot hole (small guide hole) before you twist the bolt in. Turn it until the threads disappear into the wood. Then give it a firm tug to make sure it’s locked in tight.
Next, grab heavy-duty hammock straps made from polyester webbing that cradles your swing and your back. Look for straps with a 3,000-pound break strength (the max weight before it snaps). Wrap the loops around your posts or beams, keeping the webbing flat so it won’t pinch or fray.
By the way, my dog loves curling up in our hammock when I’m not looking. Back to the hardware tips.
When clipping your hammock ends, don’t skimp on carabiners. Pick steel locking clips with at least 5,000-pound gate strength (the force the clip can hold). A screwgate or twist-lock style keeps things from popping open mid-nap.
If you’re on soft soil or uneven ground, screw-in ground anchors (auger screws for support) act like extra roots. Each one can hold around 2,000 pounds in firm dirt. Angle them near your stand’s legs, then hook on a guy line or add a turnbuckle for fine tension tweaks.
Here’s a quick checklist to keep you covered.
- Eye bolts: stainless steel, at least 500 lb rating (rust resistant)
- Heavy-duty hammock straps: polyester webbing, 3,000 lb break strength
- Carabiners: steel locking clips, 5,000 lb gate strength
- Screw-in ground anchors: auger screws, 2,000 lb hold in firm soil
- Turnbuckles: for fine tension tuning
After any heavy rain or a windy afternoon, give each piece a solid pull. This simple once-over keeps your hammock ready for lazy backyard afternoons.
Stabilizing Hammocks on Uneven or Soft Garden Terrain
-
Screw-in auger anchors (long metal spiral stakes rated for 2,000 lb) feel like extra roots in the soil. Clip your guy lines or turnbuckles to them. Or drive regular stakes 3 feet out and tie your lines for a quick hold.
-
Adjust base feet or slip in shims. Twist adjustable feet under each post sleeve or tuck in wood shims (wedges) to level up to 2 inches. By the way, sliding patio pavers or a bit of gravel under the pads can really firm up squishy soil.
-
Do a final tug test and a post-rain check. Give the stand a firm lean or gentle pull before you climb in. Tighten any loose lines, shift shims or pavers if it moves, and then recheck anchors once the ground dries after heavy rain.
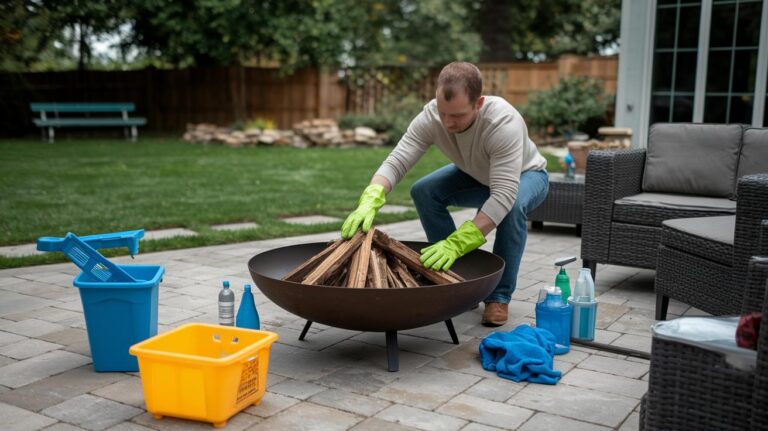
Garden Hammock Care: Maintenance, Storage, and Seasonal Tips

Every three months, give your hammock a little once-over. Feel the sun-warmed straps (strong fabric pieces that hold weight) and peek at the eye bolts (screws with a loop at the end) for red-brown flakes of rust or any frayed webbing. Give each carabiner (metal clip that hooks parts together) a firm tug and tighten any loose screws. This simple habit keeps your hammock stand’s weight capacity (how much it can safely hold) steady and safe for countless lazy afternoons.
When it’s time to wash the cotton or polyester (plastic-based fabric) sling, fill a bucket with warm water and a touch of mild soap. Gently scrub with a soft cloth or sponge. Rinse well under a gentle spray, then hang the hammock to air dry within 12 hours to stop mildew (tiny plant spores that cause musty smells).
For wooden frames, brush on a clear wood sealant (liquid coating that protects wood) once a year. And for metal stands with weather-resistant fabrics, just a quick wipe-down now and then to clear off dust. Most UV (ultraviolet, a part of sunlight) fabrics hold their color for three to five years even under strong sun, so check labels when you shop.
At the end of the season, fold the fabric and coil your straps neatly. Store everything indoors or under a sturdy waterproof cover. These covers run about $30-50 and keep rain and leaves at bay. If you’ve got a dry garage or shed, tuck the whole stand away to free up patio space. Oops, I once left mine out too long and paid for it!
Storing it right means it’s ready for your next sunny afternoon nap.
Seasonal storage tips:
- Loosen the straps to ease tension before packing.
- Remove hooks and carabiners from posts.
- Keep parts in a dry spot with good airflow.
- Pack the hammock in a breathable bag (a bag that lets air pass) to avoid moisture.
- By the way, my cat loves napping on the cushioned fabric, right?
Final Words
Ready to lounge without scouting for perfect trees? We’ve walked through plug-and-play and DIY stands, built sturdy posts, measured the exact span and sag, picked the right eye bolts, straps, and anchors, steadied frames on soft or sloping soil, and shared tips to keep your hammock looking fresh year-round.
Now you’re set to create that dream nook, get the kids involved, and finally master how to hang a hammock in a garden without trees.
Enjoy every sway and sunset. Your backyard retreat is just a hammock away!
FAQ
What benefits does a freestanding hammock stand offer compared to hanging from trees?
A freestanding hammock stand offers flexible placement anywhere in your garden, no tree damage, and a sturdy 12–15 ft span supporting up to 400 lbs, all without relying on natural supports.
How do I set up a freestanding hammock stand in a garden without trees?
Setting up a freestanding hammock stand involves choosing a flat 12 ft × 5 ft area. Then unpack parts, follow assembly instructions, level the frame, attach hooks, test weight, and adjust sag.
What materials and steps are required to build support posts for a garden hammock?
Building support posts for a garden hammock requires treated 4×4 or 6×6 lumber set in 12×30 in concrete footings or 1.5 in steel poles in 8×30 in footings, cured 48 hours, then secure posts upright.
How do I measure span and set suspension height to get the right hammock sag?
Measuring span and setting suspension height means using your hammock length minus 2 ft (typically 10–15 ft) and hanging points 4–5 ft high to achieve a 30° sag and about 18 in clearance at the lowest point.
What hardware essentials are needed to hang a garden hammock safely?
Essential hardware to hang a garden hammock safely includes stainless-steel eye bolts rated 500+ lbs, heavy-duty straps rated 3,000 lbs, carabiners rated 5,000 lbs gate strength, and ground anchors or turnbuckles for tension adjustments.
How can I stabilize my hammock stand on uneven or soft garden terrain?
Stabilizing a hammock stand on uneven ground uses auger ground anchors with 1,000 lb guy lines, adjustable feet or shims under posts, and pavers or gravel pads under feet to prevent sinking and tilting.
How should I care for and store my garden hammock through the seasons?
Caring for and storing a garden hammock means quarterly hardware and strap checks, annual wood sealant, washing fabric with mild soap, air-drying within 12 hours, and storing under cover or indoors to prevent mildew and sun damage.