Managing Thatch Buildup Before Lawn Aeration Awesome Results
Have you ever tried aerating your lawn only to have the aerator tines bounce off a soft, spongy patch of dead grass? That’s thatch (layers of old grass and tangled roots) standing between you and healthy soil. It can make your aerator feel like it’s poking a pillow. Yikes!
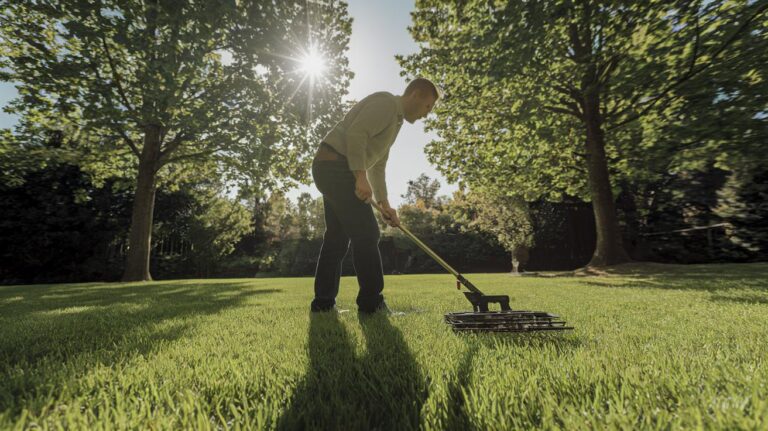
So instead of firing up your core aerator (the tool that pulls out tiny soil plugs), pull out a soil plug first. Look at that brown layer and measure how deep it goes. Mark the spots where thatch is thickest.
Then follow these easy steps to loosen and remove thatch. Your aerator will slip into the warm earth like butter and give thirsty roots the space they need to drink in water and air.
Assessing Thatch Buildup for Effective Lawn Aeration
Before you fire up that core aerator (tool that pulls tiny soil plugs), tackle the thatch first. That spongy mat of dead grass stems and roots can stop your aerator tines (little prongs) from slipping down to the real root zone.
Have you ever yanked a soil plug and seen that brown layer on top? It’s a hidden barrier. Here’s how you sample your turf:
- Use a soil probe (hollow steel tube) or wide trowel (garden shovel) to pull out a 3-inch plug of grass, soil, and debris.
- Lay the plug on a flat board or surface so the bits don’t scatter.
- Peek at the crumbly debris layer (dead grass bits and roots).
- Measure it with a ruler. Over half an inch? That’s your removal zone.
- Give the remaining soil a squeeze. If it feels like a squeezed sponge that won’t fluff back up, you’ve got compaction (soil packed too tight).
And don’t forget to jot down each reading. Mapping those trouble spots now shows you where dethatching is needed before aeration. Thick thatch or firm soil will slow water soaking in and keep nutrients from reaching roots, you don’t want that.
By checking every few steps or each meter, you’ll know exactly where to focus. Then grab your dethatching rake or power dethatcher and clear those patches. Your next aeration session will glide through the warm earth like butter.
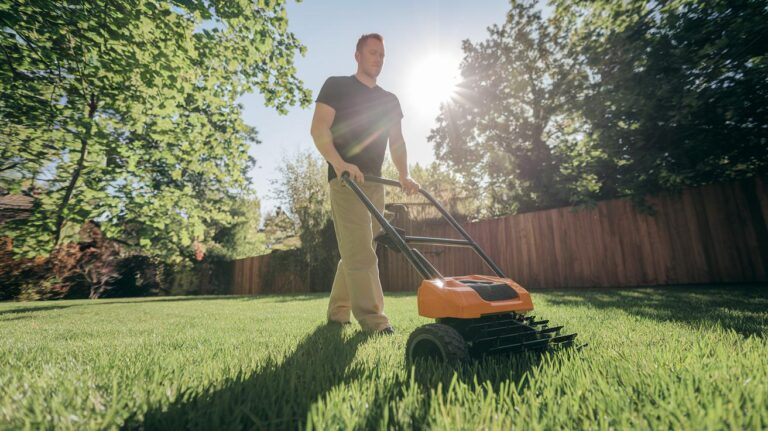
Manual and Mechanical Dethatching Techniques for Thatch Removal
Before you dive in, check your rake or power tool, tighten any loose handles, and dust off stuck-on dirt. Clear the lawn of toys, rocks, or big sticks. Stretch your back and arms – you don’t want a yanked muscle later.
If you’ve got a small yard or just a thin thatch layer (dead grass and roots building up at the soil surface), a hand rake might be your best friend. On big lawns with stubborn mats, a power dethatcher will speed things up.
Manual raking feels almost meditative. You grip the rake like you mean it, dig in, and pull out that dead layer in one satisfying yank. I even hear the crinkly sound of fibers giving way. It’s quiet and cheap. But oof, your wrists might grumble after a while, and progress can be slow. By the way, my cat always jumps right into the action. Back to dethatching…
Here’s your basic gear checklist:
- Gloves (thick leather or garden gloves)
- Eye protection (goggles or safety glasses)
- Long pants and sturdy shoes
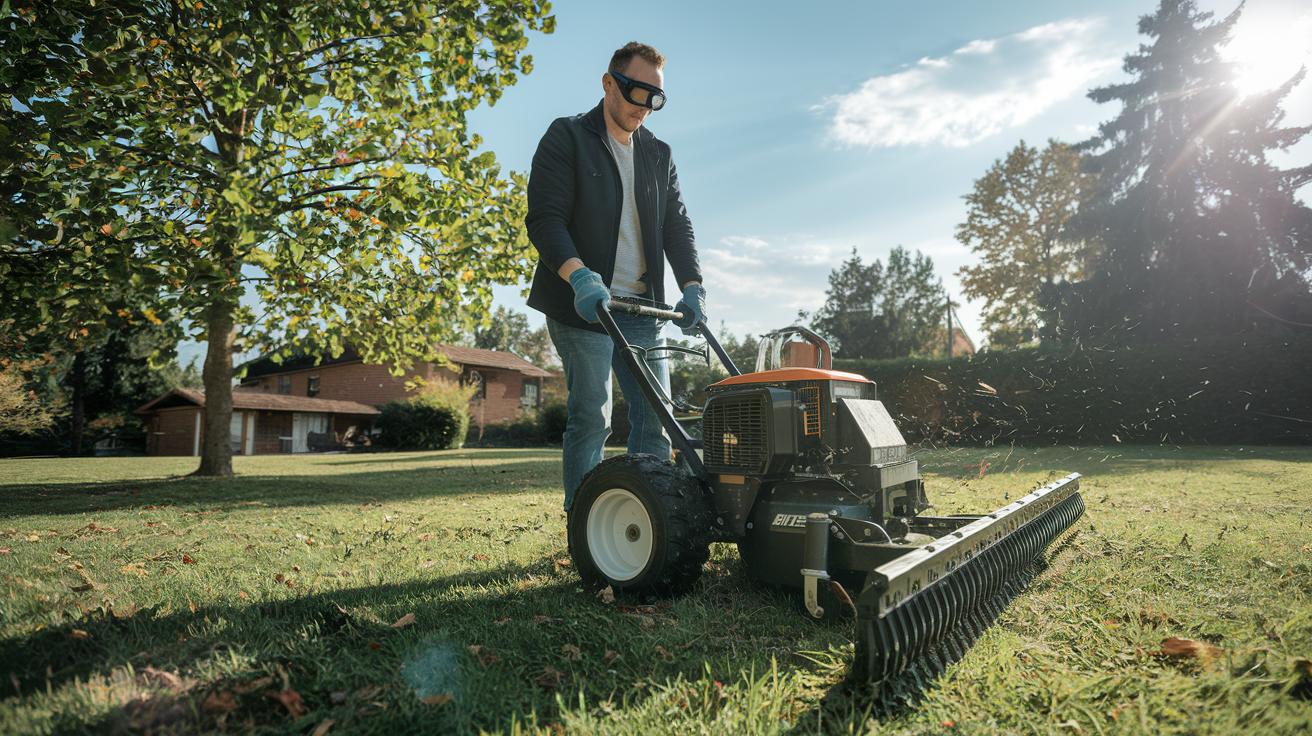
If you’ve got a bigger patch or really dense mats, power raking gear is your go-to. The walk-behind dethatcher tears through thatch quick. Some folks even hook up a vertical mower attachment on a tractor to cut into deep roots and stems. Just sharpen the blades – dull ones shred grass instead of slicing clean.
| Method | Pros | Cons |
|---|---|---|
| Manual raking | Low cost, quiet, precise in tight spots | Slow, can strain wrists |
| Power raking | Fast on big lawns, less elbow grease | Higher cost, noisy |
| Vertical mower attachment | Digs deepest, great for thick mats | Needs experience, careful blade care |
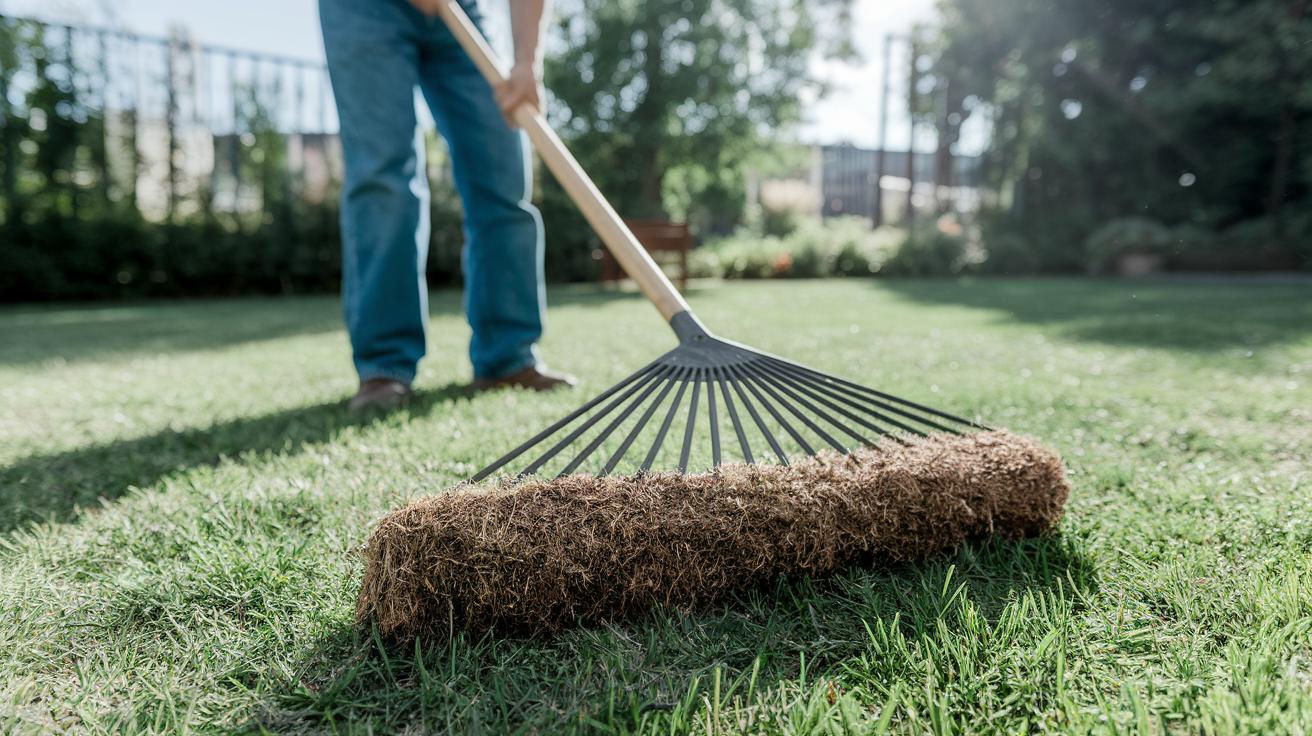
No matter which method you choose, you’ll end up with clumps of loose thatch. Grab a leaf rake or a mechanical sweeper and scoop them up. Leaving bits behind is like letting grease bake onto your pan – it’ll just stick back in.
Clearing every little piece shows fresh soil (the top layer that feeds roots) ready for aeration. And that wakes up the root zone – so your grass can cheer you on.
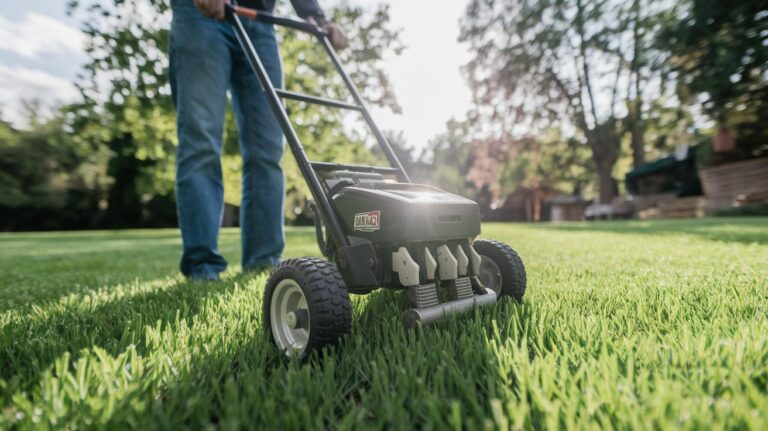
Preparing Soil and Grass for Core Aeration After Thatch Removal
You’ve just removed thatch (a layer of dead grass and roots) and swept up loose bits. Feel the warm earth under your boots. Now you’re ready for core aeration (pulling tiny plugs of soil and old thatch from your lawn) to wake up your turf.
Roll the aerator across your lawn and tiny plugs of soil appear on the surface. Those plugs leave open air channels. That means more oxygen, better water soak-in, and roots that stretch deep. Soon your grass will feel thicker and drain easier.
Pick a calm day when the soil is slightly damp but not soggy. Too wet and the machine will clog. Too dry and the tines (hollow spikes) won’t reach down. As you push it across the yard, you’ll hear a gentle crunch as the spikes break up compacted soil.
Here’s a quick cheat sheet:
- Tine depth: about 2 to 3 inches in dense soil
- Passes: two directions, first north to south then east to west
- Overlap: space holes roughly 3 inches apart
Have you ever heard soil pop like popcorn? It’s a good sign the aerator is doing its job.
After you cover the whole lawn, let those plugs dry out and crumble back into the grass. They’ll add organic matter and feed your soil.
Oops, I almost forgot. Planting or fertilizing is easier now with all the new air channels. For the next steps on feeding and watering, check out what to do after lawn aeration.
Seasonal Timing for Dethatching Ahead of Aeration
Early spring and early fall are prime times to dethatch (scrape away that layer of dead grass and roots) before you aerate (poke small holes to help soil breathe)! Your lawn shoots up fastest when the soil is warming but hasn’t been scorched by heat or numbed by frost. I love how the warm earth crumbles under the dethatcher’s blade. Have you noticed that fresh grass smells sweeter right after?
For cool-season lawns like fescue, ryegrass, and bluegrass, plan your spring round in March and your fall checkup in late September. Warm-season turf such as Bermuda thrives with a late April dethatch and a quick pass in early October. Skip the midsummer scorch and the winter freeze. Grass that’s sweaty and stressed or frozen and stiff won’t bounce back.
| Grass Type | Spring Prep | Fall Prep |
|---|---|---|
| Cool-season (fescue, ryegrass, bluegrass) | March | Late September |
| Warm-season (Bermuda) | Late April | Early October |
And schedule your aeration within two days after you dethatch so the tines slip in easy. Back to timing: if you’re up in the mountains, give spring prep an extra week. Coastal yards can move fall work up a bit to dodge early cool snaps. Small tweaks for your region help you nail the perfect window for a lush lawn.
Your lawn will thank you with thick, green blades.
Sustainable Thatch Prevention Following Aeration Prep
Want to keep thatch from building up in your lawn? Try these simple steps.
First, set your mower blade to about 3 inches high. Taller grass shades the soil and slows dead bits from piling up. And only trim off a third of the blade at once. That way air can flow through the grass like a gentle breeze under your feet.
Next, water deeply just once a week so roots get a long drink without washing away nutrient-rich topsoil. I always do it early in the morning so blades dry before sunset. Damp grass at night can trap old clippings and compact the soil.
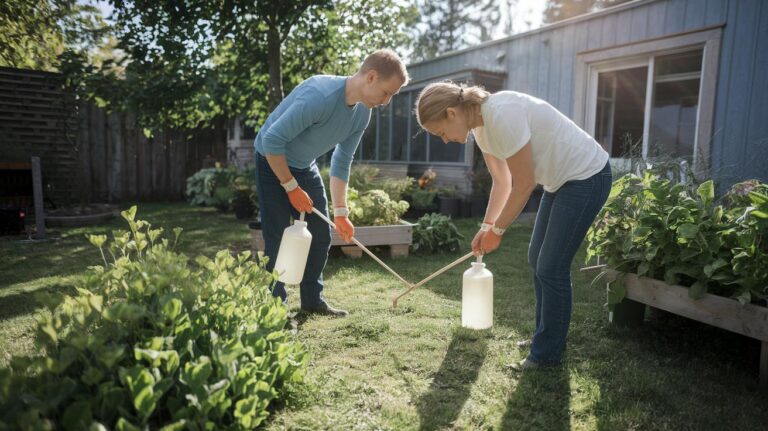
Feeding your lawn helps it break down last season’s leftovers. I grab a bag of pet safe fertilizer in spring and spread it evenly. Follow the label, too much fertilizer pushes growth faster than decay. Healthy grass uses old clippings as fuel, not as a spongy barrier.
Overseeding fills in thin or bare spots right after a good soak. Scatter seed, pat it in gently, then mist daily until new blades pop up. It’s fun to watch tiny shoots emerge and seal gaps before debris moves in.
Every year or two, poke holes with a garden fork or give the lawn a light raking if it feels tight. Dethatch every 1 to 3 years and topdress with a thin layer of compost (decayed organic matter that enriches soil). These steps make paths for air, water, and roots. That’s sustainable maintenance in action, watch your lawn stay clean, green, and ready for aeration.
Final Words
in the action we used a soil probe or shovel to pull a turf core and noted any layer over half an inch needed dethatching.
Next we compared hand raking with power rakes, put on gloves and goggles, and cleared out the debris we loosened.
Then we prepped the ground with core aeration, spacing tines so roots can drink and grow strong.
We picked spring or fall based on grass type and used simple mowing, seeding, and watering tips to keep thatch low.
managing thatch buildup before lawn aeration gives you a thick green yard you’ll love every day.
FAQ
How can I measure thatch buildup on my lawn?
Use a soil probe or shovel to pull a turf core, then measure the debris layer. Any layer deeper than half an inch signals a need for dethatching.
What signs indicate I need to dethatch before core aeration?
Look for a debris layer over 0.5 inches, soil compaction blocking aerator tines, and slow water absorption. Clearing thatch first lets core aeration reach roots more effectively.
When should I hand rake versus use a power dethatcher?
Hand raking suits small lawns or light buildup; power machines are faster for larger areas or heavy thatch.
What safety gear do I need when dethatching?
Wear durable gloves, eye protection, and sturdy shoes. Keep blades sharp and check equipment before use to prevent grass tearing and reduce injury risk.
How do I prep my lawn for core aeration after dethatching?
Remove all debris and loosen soil from dethatching. Ensure soil is moist but not wet, then adjust aerator tine spacing to extract plugs efficiently across the lawn.
What is the best timing for dethatching and aeration?
Aim for early spring or early fall during peak turf growth. Cooler lawns recover quickly, while midsummer or dormancy periods may delay repair and root development.
How can I prevent thatch from building up again?
Mow at recommended heights, water deeply but infrequently, and apply balanced fertilizer. Overseed thin spots and schedule light dethatching every one to three years to keep soil open and healthy.