Vertical Herb Garden Diy Grows Fresh Kitchen Herbs
Ever thought your kitchen herbs were fussy indoor divas? Believe it or not, they can shine outside!
Just grab two scrap wood pallets (flat wooden frames for hauling goods) and some caster wheels.
Turn them into a planter (container for growing plants) on wheels.
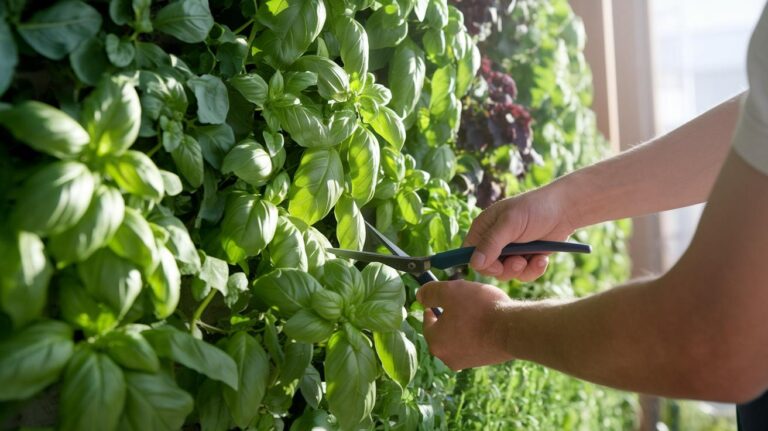
You’ll hear the wheels roll and smell fresh basil each time you walk by, while oregano leaves feel velvety under your fingers.
It only takes a few hours and about fifty dollars.
I built mine while jamming to my favorite playlist. Oops, spilled soil mix there. But my cat can’t resist snoozing next to the fresh green wall.
You’ll save floor space, hide clunky bins or your AC unit (air conditioner), and pick herbs for every meal.
Planting now means fresh herbs on your doorstep all summer long.
Step-by-Step Vertical Herb Garden DIY Build
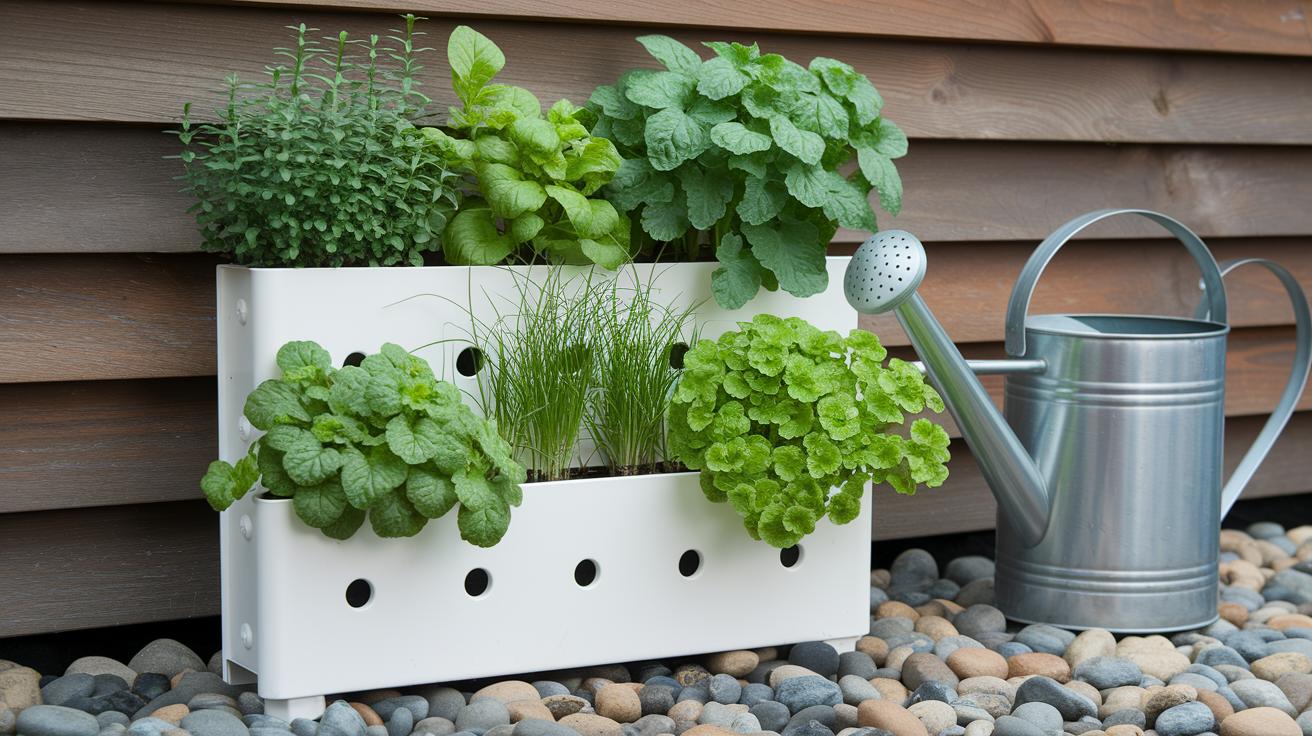
Want fresh herbs right on your patio? This cozy tower uses two recycled pallets (flat wooden platforms) to hide trash bins and your clunky A/C while giving you a living wall of basil, oregano, thyme, and parsley. It sits on caster wheels (small swivel wheels with locks), so you can roll it into sun or shade or park it by the back door for quick garnish grabs. And by upcycling scrap wood, you’re cutting waste and adding garden vibes.
Grab the full materials and tools list in Section 2, and flip to Section 4 if you’d like an all-pallet budget option.
- Assemble pallets and frame
- Build the base with caster wheels
- Put together and mount planter boxes
- Seal, line, and plant
In about three hours of hands-on work, you’ll turn scrap wood into a space-saving kitchen garden. First, clamp two pallets together and drive exterior screws through their slats. Then build a simple 2×4 base and flip it over to attach five caster wheels. Those swivel locks keep your tower steady wherever you park it.
Next up: planter boxes. Grab a brad nailer with one-and-a-half-inch nails for speedy assembly. Drill small pilot holes in each board so the wood won’t split, and then add half-inch drainage holes in every box to let extra water escape.
Now seal and finish. Brush on an exterior waterproof sealer and let it dry a full day. Then give it a coat of paint or stain that matches your décor. The sealer keeps colors bright through sun and rain.
Time to plant! Line each box with landscape fabric (cloth that holds soil but lets water pass). Add a layer of river rocks (smooth stones for drainage). Mix in peat moss (decayed plant matter that soaks up water) like a sponge. Top it off with potting soil (ready-made mix for containers). Finally, tuck in your herbs and breathe in that fresh, green aroma.
You’ll have room for 12 to 18 plants, all for about fifty dollars total. It’s perfect for a city balcony or a backyard nook, and you can slide it into tight corners with ease. Even if you’re new to carpentry, clamps and a drill will point you true, and you’ll be sipping iced tea before you know it.
Planting now sets you up for summer harvest.
Vertical Herb Garden DIY Materials & Tools List
Building a vertical herb garden is like giving your plants a cozy apartment upstairs. You want a strong frame that won’t wobble when the wind blows or rain pours. So grab clean, sturdy wood and hardware that locks tight. And don’t skimp on sealers and liners, those keep your soil snug and dry.
Materials
- Two full-size pallets (flat wooden platforms)
- One extra pallet or one 1×4×8 pine board (long, narrow pine wood)
- One 2×4×8 pine board (common framing lumber)
- Five swivel locking casters (wheels you can lock in place)
- One pound of 2½" exterior wood screws (rust-resistant fasteners)
- Six 3" corner brackets (metal supports for firm angles)
- Four #8 screw eyes (small hooks for hanging hardware)
- Four 2" S-hooks (hooks for planter boxes)
- One quart of Thompson WaterSeal exterior sealer (waterproof finish)
- One roll of 7 mil painter’s plastic (thin sheet that blocks water)
- One yard of landscape fabric (cloth that holds soil but lets water pass)
- Six to eight scrap pallet boards (no thicker than ¼" for planter sides)
Prepping your tools is half the job. You’ll love the hum of the drill and the snap of the miter saw blade. By the way, I once managed to slice my work glove, watch your fingers, okay? Here’s what you need:
Tools
- Electric drill with bits
- Brad nailer (or hammer and 1½" nails)
- Speed square (tool for straight cuts)
- Tape measure
- Miter saw (or bolt cutters for cutting chains)
- Clamps (to hold pallets tight during assembly)
Vertical Herb Planter Ideas & Design Variations
Looking to squeeze herbs into a tiny balcony? Or dreaming of a blank kitchen wall dripping in green? Maybe you need a rack on wheels that you can roll into sun or shade. Let’s jump into three easy plans.
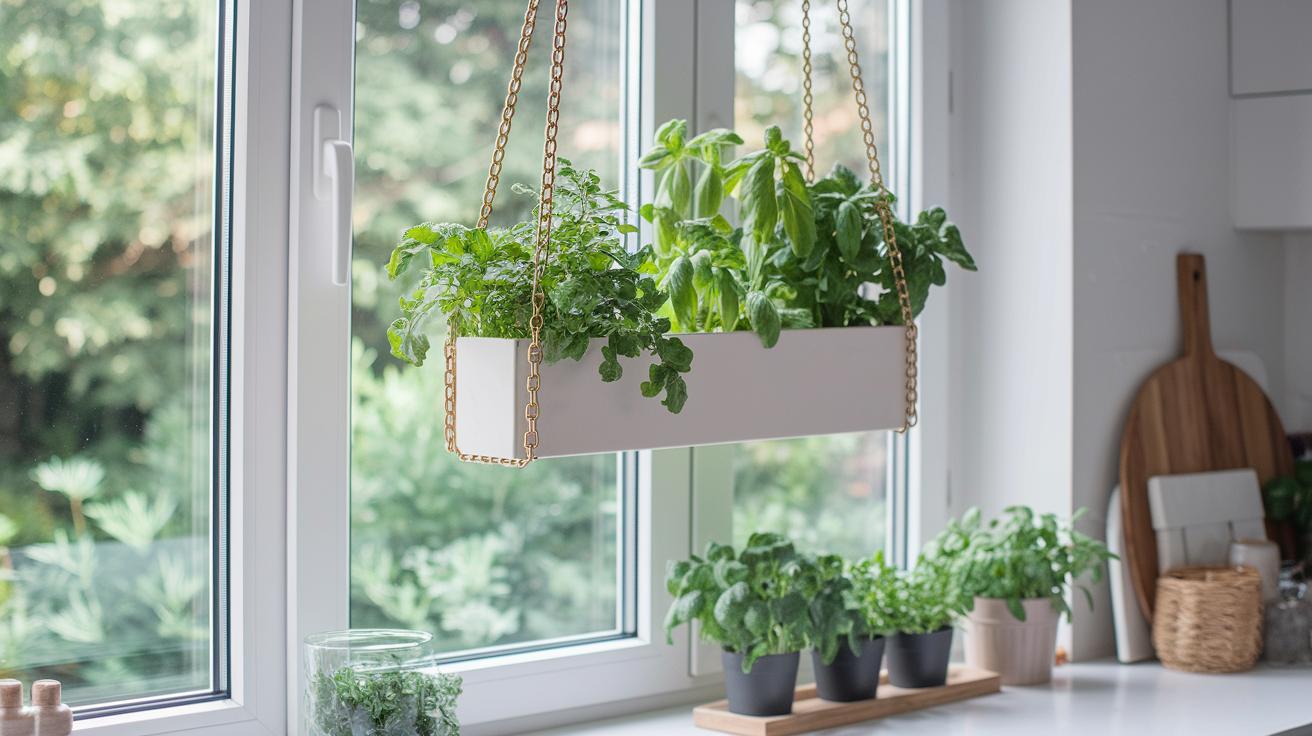
Chain-Hung Wall Planter
First, grab four ceiling hooks (hooks that twist into ceiling beams) and screw them into solid joists (the wood beams overhead). Clip a 4-5 ft chain to each hook so the planter box swings down. Then twist in small eye screws (screws with little loops) about 2 inches below the box rim. Use 2-inch S-hooks (S-shaped metal hooks) to link the box and chain. I painted mine matte white and sprayed the metal bits gold for a little garden glow. Oops, spilled a bit of potting mix (soil mix for growing plants) while painting, but that just added character.
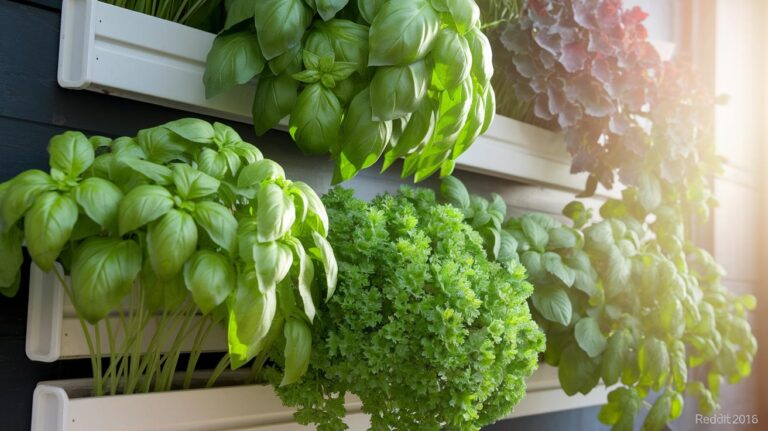
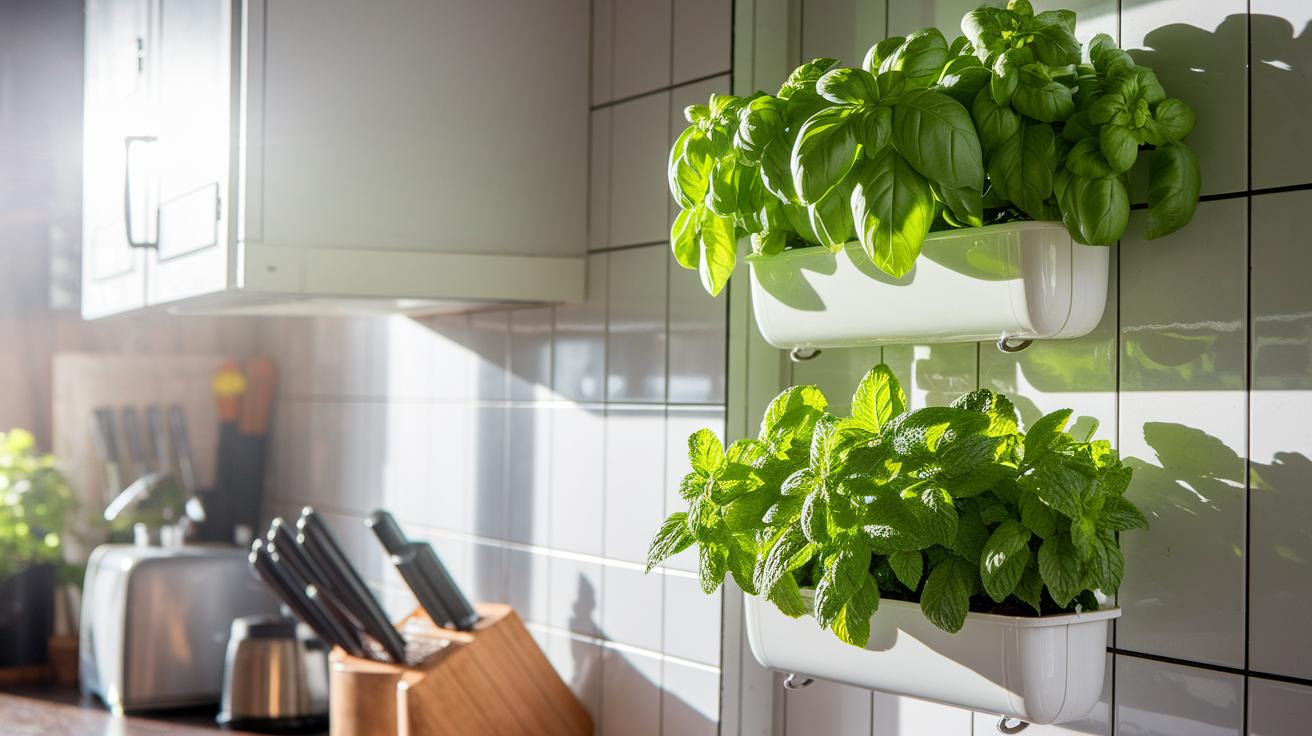
Wall-Bracket Herb Display
Mount a wall bracket kit (a frame made to hold planter trays) on a sturdy wall, like hanging a picture. Slot your shallow trays in like photo frames, stacking two or three rows. The brackets keep everything snug against the wall and out of your way, great for narrow patios or tight entrances. Picture fresh basil leaves right under your window, easy to snip whenever you cook.
Rolling Rack Garden
Build a simple ladder-like frame from 2×4 wooden boards (standard lumber you find at any home store). Slide in adjustable shelves or shallow trays so you can move them up or down as your herbs grow. Pop wheels on the base and you’ve got a mobile herb bar for morning sun or afternoon shade. I love wheeling mine outside for patio parties.
You can keep any of these indoors by a sunny window for year-round growth and no frost worries. If you set them outside, tuck your plants under the eaves when rain or wind kicks up. Just roll or hook them in before the first hard freeze, your herbs will thank you.
Budget-Friendly Pallet-Only Herb Garden Build
Want fresh herbs but your budget’s tight? I hear you. I turned two old pallets and a few scrap planks into a charming planter that’s 18 inches wide and 6 inches deep, just right for basil, thyme, and parsley.
And you’ll spend about three hours and $50 once the wood’s cut. First, clamp the pallets together. Next, drive in 2½-inch exterior screws. Then cut your scrap boards to size. Finally, reinforce each corner with a one-inch square dowel (small wooden rod) and seal it.
You’ll need:
| Item | Cost |
|---|---|
| Two full-size freight pallets | Free–$10 |
| Six scrap pallet planks (¼ inch thick max) | Free |
| Four 1 inch square dowels | $5 |
| One pound of 2½-inch exterior wood screws + clamps | $10 |
| One quart Thompson WaterSeal exterior sealer | $15 |
Not every pallet plays nice in the backyard. Press each board, if it feels firm, it’s good. Skip any that give under light pressure or have soft spots. Sand splintery edges so you don’t nick your fingers. When cutting scrap boards, mark 18-inch and 6-inch lines with a pencil and use a speed square (tool for right angles). Drill pilot holes (small starter holes) before screwing to keep the wood from cracking. Tap dowels flush with a hammer so the corners stay straight under soil weight. Spot mold or bark? Peel it off or swap in a clean board. A bit of prep keeps this upcycled planter sturdy season after season.
Chain-Hung Wall Planter
Materials & Tools
- Four #8 screw eyes (small metal loops that twist into wood)
- Four 4–5 ft chains (metal links for hanging)
- Four 2" S-hooks (little S-shaped clips to join chain and tray)
- Painters’ plastic sheeting (thin sheet that blocks water)
- DAP Kitchen & Bath Sealant (waterproof caulk for seams)
- River rock (smooth stones that help drain excess water)
- Peat moss (decayed plant matter that holds moisture)
- Potting soil (ready-to-use growing mix)
Installation Steps
- Pick a sturdy ceiling joist. Drill a small pilot hole and then twist in a screw eye about 2" from its neighbor. You’ll feel it bite into the wood and hold tight.
- Clip one end of each chain onto a screw eye using an S-hook. The chains should hang straight down, ready to cradle your trays.
- Line each tray with painters’ plastic sheeting and staple it in place. Oops, I once forgot the staple on one corner and got water everywhere. Seal all the seams with DAP Kitchen & Bath Sealant so no drips sneak out.
- Build your drainage layer: start with a layer of river rock for good airflow, add a fluffy bed of peat moss, and top it off with potting soil. Think of it like a sponge, wet it, squeeze out extra water, then fluff it up before you plant.
- Hang your trays from the chains and tweak each link until every tray sits level. Step back, squint at eye level, and make any final adjustments.
By the way, check Section 3 for tips on where to place your planters, east or south windows work best for morning sun and afternoon warmth.
Irrigation & Drainage for Vertical Herb Garden DIY
Growing herbs up a wall is amazing, but water can pool at the bottom and turn roots into a soggy mess. Think of your planter like a sponge: it needs to soak up water, squeeze out the extra, then fluff back up for thirsty herbs. A self-watering vertical planter still needs a way for water to wander without flooding.
- Drill two half-inch drainage holes in each planter box (holes that let water out) and line them with landscape fabric (a woven cloth that holds soil but lets water pass). Oops, spilled a bit of soil, just tuck it back in.
- Add a 1 to 2-inch layer of river rock (smooth stones) at the bottom so water slips away and roots catch tiny air pockets.
- Tuck drip-irrigation tubes under the fabric (small tubes that drip water slowly at the roots) for gentle, steady moisture.
- Pop a wick-fed water reservoir under the soil layer (a wicking system that carries water up from a hidden tank) so extra water recycles itself.
For watering, aim to moisten the top inch of soil every day. Press a fingertip in, if it feels like a damp sponge, you’re golden. On really dry, hot days, water twice or just refill that wick reservoir so your basil and mint never droop. Have you tried this? It really makes a difference.
Mounting & Weatherproofing Vertical Herb Garden DIY
Hey neighbor, ready to hang a living green wall? Pick solid spots like ceiling joists (the big wood beams above your head) or wall studs (the strong boards behind your drywall). That way your planter won’t wobble when the wind rustles your basil.
Twist #8 stainless steel eye screws (rust proof and sturdy) into those beams about two inches down from the planter’s top edge. Clip 2" S-hooks onto the eye screws and the planter’s corner brackets. Oops. Skip drywall anchors. They can loosen once the damp soil gets heavy.
Now let’s keep water from sneaking into the wood. Staple painter’s plastic or landscape fabric (the tough cloth that keeps moisture out) to the planter’s inside walls. By the way, my cat loves napping on the bottom shelf. Back to moisture control: it’s like giving your herbs a raincoat.
Here’s what you need:
- Two coats of exterior waterproof sealer (let each coat dry for 24 hours)
- Silicone caulk (to seal all the seams tight)
- UV-resistant matte finish paint (for sun protection)
- #8 stainless steel eye screws and 2" S-hooks (for a rock solid hang)
When the air turns crisp, wheel your planter indoors or drape it with clear plastic panels so your herbs stay cozy. And before the first freeze, give your sealer one more coat. That extra layer helps prevent frost cracks.
Come early spring, brush off any dust, double-check those hooks, and you’ll be all set for a fresh herb festival.
Choosing & Planting Herbs in a Vertical Herb Garden DIY
Choosing herbs for a vertical garden is all about small, easy-care plants we can tuck into shallow pockets. Big growers like jalapeño peppers or rosemary might spill over the edges of each planter. So hunt down compact cultivars (plant varieties bred to stay petite). And save spreaders like mint or sage for their own pocket so their roots don’t race everywhere.
Oops, squirrels love cilantro too. For a quick fix, drape some mesh netting (fabric with tiny holes) around your plants or swap cilantro into a hanging chain basket they can’t scramble up. When you grab seed packs, look for the words dwarf or compact. That way your herbs fit snugly in those narrow beds.
Here are my top six fast-growing, low-fuss herbs for tight spots:
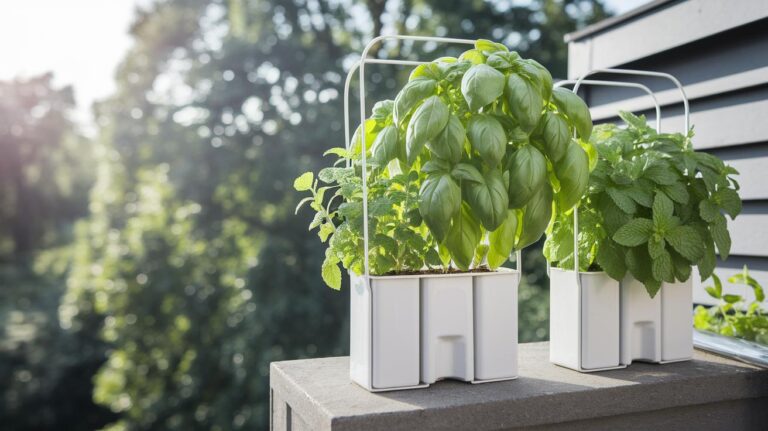
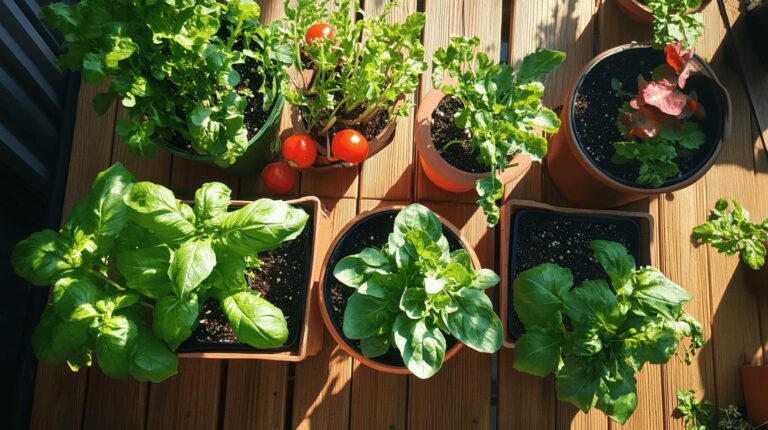
- Basil (Genovese or Greek sweet)
- Parsley (flat-leaf or Italian)
- Chives (long, thin green shoots)
- Thyme (dwarf lemon or English)
- Oregano (Greek or Italian)
- Mint (spearmint or chocolate)
Need more ideas? Check out What to Plant in Raised Garden Beds.
Space two to three little herbs per large pocket, leaving about 4 inches (10 cm) between crowns (where the stem meets the roots) so air can swirl around each plant. Pair basil with tomatoes for a sauce that really pops. Or nestle thyme and oregano together for a sun-soaked Mediterranean vibe. And if cilantro keeps drawing squirrel attention, either swap it out or bring it indoors where furry thieves can’t reach.
Maintenance & Troubleshooting Vertical Herb Garden DIY
- Daily: water your herbs and check the soil by gently sticking your fingertip into the top inch of soil (the loose, crumbly stuff plants root in). If it feels dry, give it a gentle soak so roots stay happy.
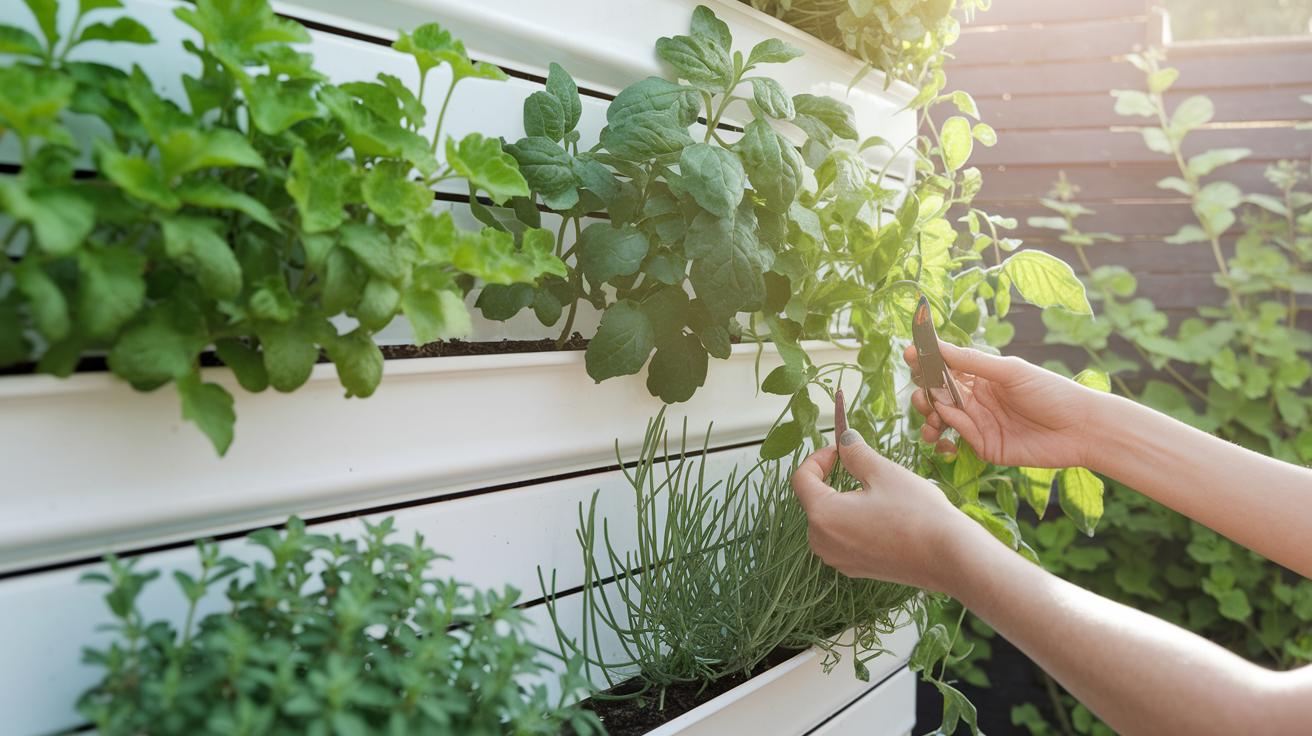
- Weekly: trim each stem to about half its height. That keeps herbs bushy and stops them from getting leggy. Harvest a few leaves for fresh flavor, you’ll taste the difference.
- Every 2–3 weeks: mix Miracle-Gro Pour & Feed (liquid plant food) into your watering can. Pour the mix right into each pocket for a fast nutrient boost.
- Weekly: scan for pests. Drape a fine garden net over cilantro or mint to keep squirrels from snacking. Spray a mild soapy solution on leaves when you spot aphids, repeat every few days until they’re gone.
- Seasonal: swap summer herbs for winter greens or bring frost-sensitive plants indoors. Let hearty thyme and kale take over outside so you have fresh herbs all year.
Pruning and feeding go hand in hand in your vertical garden. When you snip stems just above a set of leaves, you’re sending energy into new side shoots, so lush. Think of it like giving your herbs a haircut that makes them grow back fuller. And feeding? It’s a breeze.
Grab your liquid feed, stir it into water, and pour it straight into each pocket. The roots slurp up the nutrients and send them skyward to every leaf. It’s like a quick smoothie for your plants.
Pest control is part detective work, part ninja. Secure a fine net over your planters to block squirrels, my cat tried to help once, but got stuck under the net, oops. For sneaky aphids, mix a drop of gentle soap in water and spray leaves every few days until they look clear.
As the air turns crisp, rotate your herbs. Move basil and parsley inside before the first frost bites. Let hardy thyme or kale shine outdoors. That way, you’ll be snipping fresh kitchen herbs through every season.
Final Words
You’ve attached pallets, built that sturdy caster base, assembled planter boxes, sealed, lined, and filled them with soil and herbs.
You gathered every tool and material, peeked at design twists, tried a budget-only pallet build, mapped out an indoor setup, tweaked irrigation and mounting, then chose and spaced your favorite herbs.
Now you’ve got a low-effort care plan, quick pest fixes, and a harvest routine that fits busy days.
Enjoy fresh flavors and family fun as you watch your vertical herb garden diy flourish.
FAQ
How do I DIY a vertical herb garden outdoors?
A DIY outdoor vertical herb garden uses two pallets screwed and clamped together on a 2×4 caster base, sealed with exterior sealer, lined with fabric and rock, then filled with potting soil and herbs.
How do I DIY a vertical herb garden indoors?
A DIY indoor vertical herb garden hangs pallet or planter boxes from ceiling hooks or wall brackets, lines boxes with painters’ plastic, adds rock for drainage, peat moss, potting soil, then your favorite kitchen herbs.
What wood and hardware do I need for a DIY vertical herb garden?
A DIY vertical herb garden requires two full pallets, scrap pallet or 1×4 pine boards, exterior wood screws, corner brackets, eye screws, S-hooks, swivel casters, landscape fabric, and exterior wood sealer.
How can I build a cheap DIY vertical garden?
A cheap DIY vertical garden uses free or low-cost pallets, scrap wood for boxes, basic screws, landscape fabric, affordable sealer, and leftover rocks for drainage—all for about fifty dollars total.
How do I mount a vertical herb garden on a wall?
A wall-mounted vertical herb garden uses heavy-duty eye screws anchored in studs or wall-mount bracket kits, sealed planter boxes, and lined soil boxes with drainage layers before planting your herbs.