How To Build A Backyard Obstacle Course: Awesome
Ever wondered why playgrounds feel magical but cost an arm and a leg? What if you could create a backyard race zone with things you already have? We’re talking old tires, a wooden plank, even a pool noodle (a soft foam tube) turned into fun hurdles. It’s all about picking the right spot, sketching a simple map, and letting your creativity run wild.
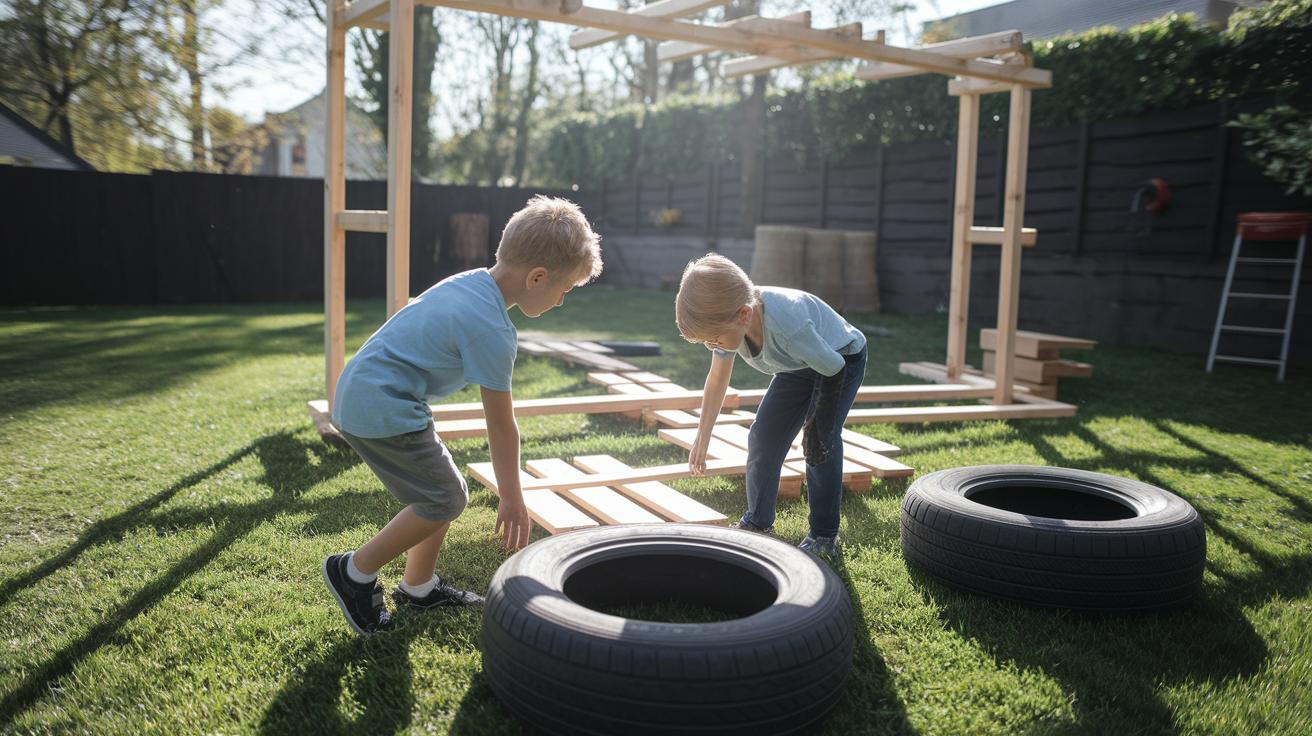
First, scout your yard like you’re on a treasure hunt, feel the warm earth under your toes and find a flat area for your course. Then grab paper and pencil to draw circles and lines that match your space. Next, round up budget-friendly items from the garage or thrift shop, you’ll be surprised what you discover! Finally, do a quick safety check: press on rough edges, wobble the tires, and test each hurdle before the big race.
Get ready to watch everyone laughing and sprinting through your homemade obstacle course!
Step-by-Step DIY Blueprint for Your Backyard Obstacle Course
First, stroll through your yard. Feel the soft grass underfoot and the warm sun on your back. Find a flat spot clear of rocks or roots. That walk gives you a clear picture of the perfect play zone.
Have you ever dreamed of a mini backyard ninja course? Or maybe just a fun path with pool noodles and cardboard tunnels? Jot down those ideas now. It’ll shape your budget and timeline.
-
Assess your yard and set goals
Measure length and width with a tape measure. Notice shady nooks, slopes, or any existing play gear. Decide who’ll use it, kids, teens, or adults, and what skills you want them to build. -
Sketch a layout
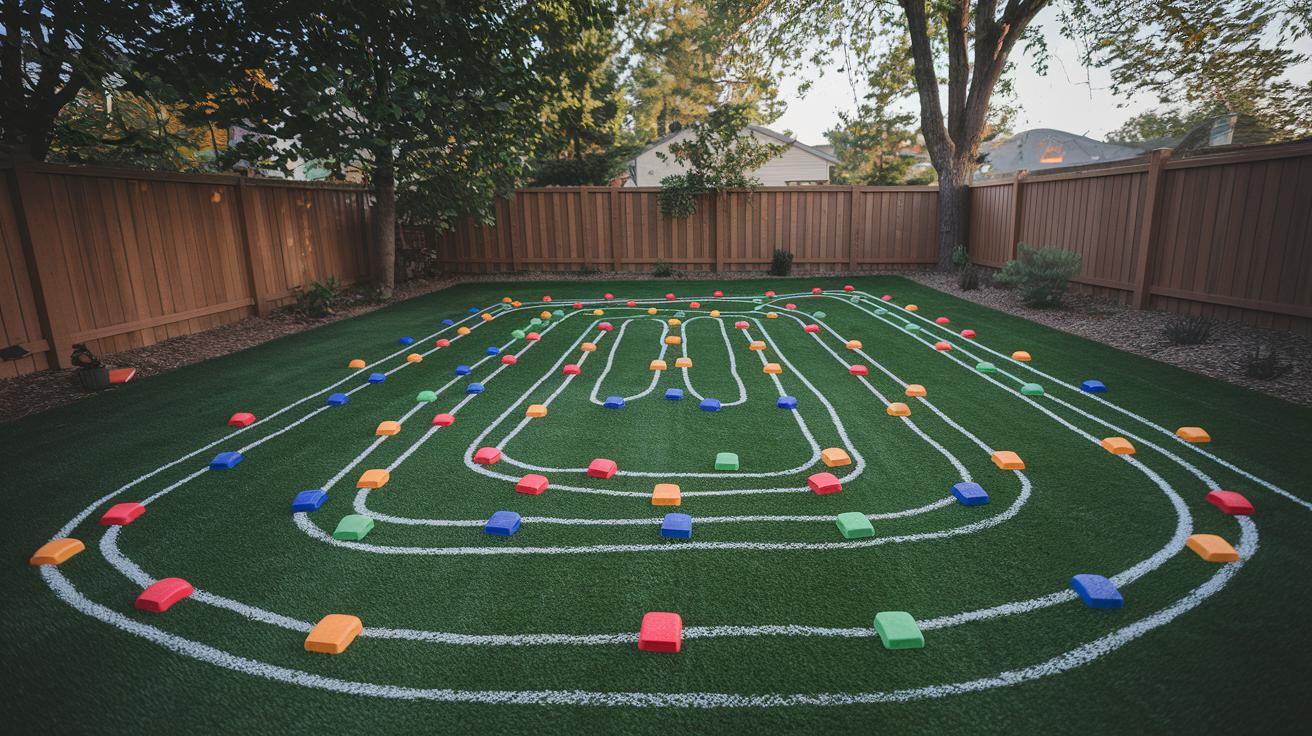
Grab graph paper (grid-lined paper) or open a drawing app on your phone. Sketch each obstacle and mark safe landing spots around swings or climbing walls. This simple map keeps everyone from tripping. -
Choose obstacle types
Use old tires as balance beams. Lay wooden planks as tightropes. Set up hoops for hurdles. Drape blankets over chairs for tunnels. Or dive into a full 40-page Ninja Warrior plan. Mix free finds with new pieces for low-cost fun. -
Estimate costs
Raid your garage for tires, planks, and boxes. Then price out lumber, carriage bolts (sturdy metal fasteners), ropes, and pool noodles. A DIY setup can stay under $300. Ready-made pro kits might tip $6,000–$7,000 CAD. -
Gather materials
Collect 2x4s (boards two by four inches), 6×6 posts (six-inch square beams), hammock hooks, cardboard boxes, and blankets. Grab extra screws and sandpaper for smooth edges. Oops I once grabbed sand instead of soil, lesson learned. -
Create a build schedule
Block two weekends for clearing brush and framing. Set aside a day for surfacing, think pea gravel or wood chips. Keep one afternoon free to fine-tune each obstacle. A clear schedule stops you from feeling overwhelmed. -
Check safety and permits
Check local rules for structures over six feet. Lay out simple safety rules, no running in flip-flops. Plan how to reach help quickly if someone scrapes a knee. A little prep keeps the fun going.
These steps plant the seeds for backyard adventure. You’ll stay on track, stay safe, and dig right in. Now grab that tape measure and get started.
Sketch a layout
Before you build, you’ve got to really see your space. Start by noting every tree root poking up, slope that makes you slide, or shady nook that stays cool all afternoon. Then grab graph paper or your phone’s drawing app and whip up a scale sketch (a drawing that keeps everything in proportion).
Mark the big features first. Trees, patios, flower beds, whatever shapes your yard. Jot down each tricky spot: that low-hanging branch, the dip where water puddles after rain.
Next, map out how people will move. Draw arrows from start to finish so nobody crashes into a tree or your picnic table. Circle the clearance zones (the safety space around swings or balance beams) to make sure folks have room to play.
But don’t just stay inside. Head outside and use sidewalk chalk or masking tape on the porch to mock up your obstacles. Feel the chalk under your feet, smell the fresh-cut grass. Oops, spilled a bit of chalk there, no worries. It’s way easier to spot tight turns or big open spots before you start building.
Seeing it in real life saves headaches.
By the way, my cat loves sunning on those chalk lines. Back to laying out your course…
Gathering Budget-Friendly Materials and Tools for Your Backyard Obstacle Course
Want to build a backyard obstacle course that’s fun and light on your wallet? I’m sharing my best finds and little tips to keep costs low and excitement high.
Here’s a simple price list:
| Material | Cost |
|---|---|
| Old tires | $0 to $10 each |
| PVC pipe (lightweight plastic pipe) | $5 each |
| Pressure-treated 2×4 board (wood treated to resist rot) | $3 to $5 per board |
| Carriage bolts & lag screws (heavy-duty fasteners) | $15 per set |
| 400-lb D-ring hammock hooks | $10 per pair |
To put these materials to work, grab a few trusty tools:
- Cordless drill (battery-powered drill) with extra bits for pilot holes and screws.
- Circular saw to cut boards to just the right length. Oops, I forgot once and had to trim again.
- Posthole digger (tool for digging deep holes) to sink posts deep in the soil for solid support.
- Spirit level to keep everything straight so your course looks sharp.
- Clamps to hold boards steady when you drill or glue.
By the way, have you ever smelled fresh sawdust under the sun? It’s oddly satisfying.
And to save even more cash, try these recycling hacks:
- Pry apart old pallets for planks and risers. Go slow to avoid splinters.
- Check yard sales or neighborhood swap groups for cheap wood pieces, ropes, or nets.
- Let big cardboard boxes moonlight as crawl tunnels or tossing targets before recycling day.
Planting posts, cutting boards, and tightening bolts? You’re all set to create a backyard adventure course that feels like a real playground. Let’s get building!
Construction Techniques for Your Backyard Obstacle Course

Site Preparation and Leveling
First, clear the play zone of rocks, roots, and old toys. Grab your shovel and loosen stubborn roots. You’ll feel the earth give way under the blade. Then rake the soil smooth and run a level over it. A flat base means fewer wobbly beams later.
Next, dig shallow trenches for water drainage (little channels to guide rain away). Run a narrow channel beside each post spot so puddles don’t form. I once skipped this step and ended up with a mini swamp under the balance beam. Learned my lesson the soggy way.
Post Installation and Anchoring
Use pressure-treated 6×6 posts for strong support. Mark each spot, then dig holes about 4 feet deep and set posts in concrete footers (cement and gravel mixed). Renting a posthole digger or hiring a pro can turn sweat into a smile.
Check each post with a spirit level and brace them with temporary blocks until the concrete cures. By the way, my dog tried to snooze in one of those braces. Oops, fixed it before my niece tried to climb.
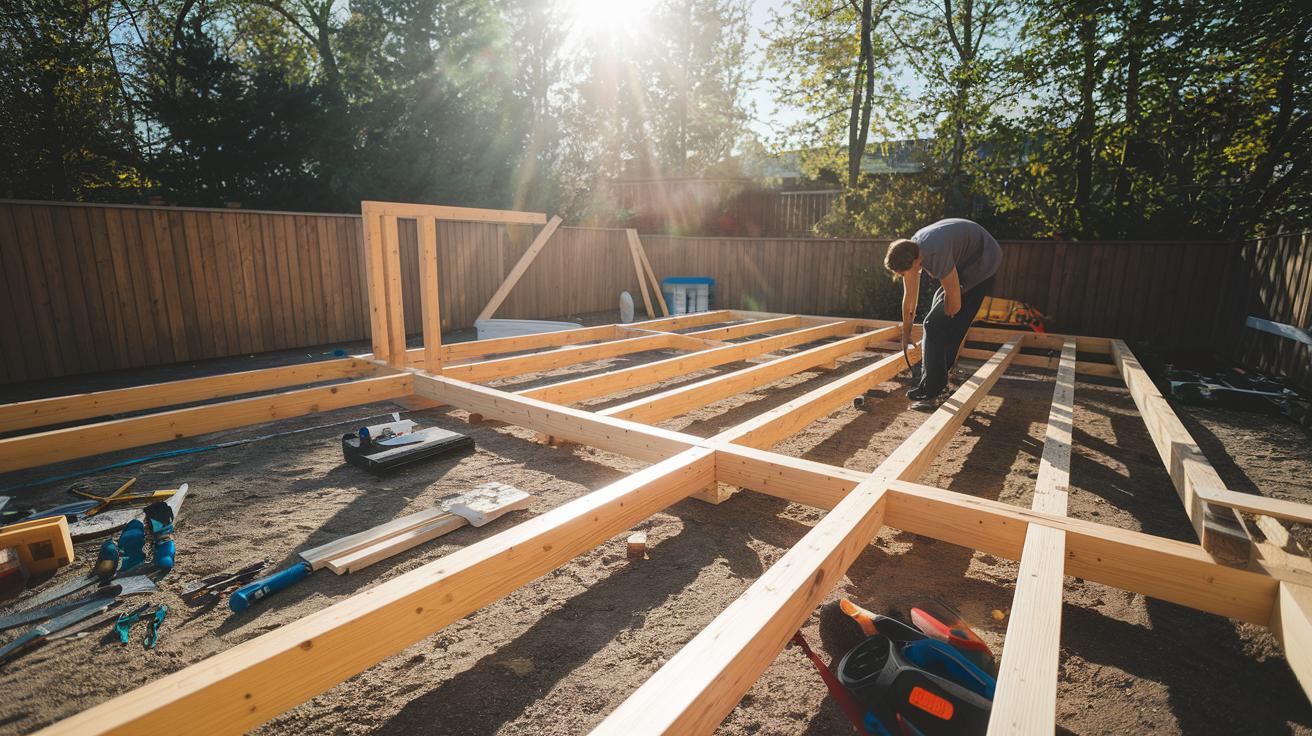
Framing and Beam Assembly
Clamp 2×8 beams to the posts and drill pilot holes first. Then fasten with carriage bolts and joist hangers (steel brackets that hold wood together). Pop blocks under long beams so they stay steady and your back thanks you.
Tighten bolts until they’re flush with the wood. No snagging means little hands won’t catch on sharp edges. Feeling that burn in your arms? You’re getting stronger and so is the course.
Adding Surface Treatments and Safety Surfacing
Lay down impact-absorbing surfacing (soft layers to cushion falls) like grass topped with gymnastics pads or rubber tiles. Cut channels around posts so water still drains away. Spread your pads so no bare spots peek through.
Brush on a non-slip coating (paint or grip tape) atop each beam. That rough texture underfoot helps little feet stay steady when they dash or balance.
Securing and Attaching Obstacle Elements
Use clamps to hold cargo nets, ropes, or monkey bars in place while you fasten D-ring hooks and lag screws. Give each attachment a firm tug to make sure it won’t wiggle.
Run your hand along every beam and handle, smoothing any bumps or sharp hardware. Now your course is locked in, safe, and ready for a lap or five.
Creating Diverse Obstacles and Challenge Variations for Your Backyard Obstacle Course
Ever wish your backyard felt like a new adventure every time? Mix beams, tires, and water features to keep everyone on their toes and banish boredom. You can adjust each station for different ages or skill levels. Swap parts in and out. Go pirates today and jungle explorers tomorrow. With simple pieces around the house, your course will feel fresh every time.
Tire runs
Tire runs test balance and coordination (how you control your body). Dig old tires halfway into the ground. Space them so kids hop or step through without touching grass. Paint them bright colors or number each one for a counting twist. For older kids, swap in big tractor tires for a strength challenge or make a tire flip station to build power. Oops, watch your toes.
Balance beams
Wooden planks become friendly balance beams. Grab a 2×4 board (about 2 inches by 4 inches) and set it just a few inches off the grass. Wrap a pool noodle or foam sleeve (soft padding) around the top so little ones don’t slip. Add patterned tape down the center so they have a line to follow, like tightrope walkers. Yes!
Tunnel crawls
Rope or blanket tunnels turn crawling into fun. Drape a heavy blanket over a PVC pipe frame (lightweight plastic pipes) or string ropes between chairs to form low arches. Kids crawl through and find a reward, fairy lights or a favorite toy, waiting at the end. Change the tunnel’s shape or curve to surprise returning racers.
Agility ladders and hurdles
PVC pipe hurdles and ground ladders boost foot speed and coordination. Cut PVC pipes into 2–3 foot sections to make adjustable hurdles. Lay rope or tape on the grass in a ladder pattern. Encourage quick side steps or two-foot jumps between the rungs. Challenge racers to clear each segment without brushing a bar. Ready?
Climbing walls and tire flips
Plywood climbing walls amp up upper-body strength. Secure a plywood panel to a sturdy frame and drill holds or pegs into the surface. Swap in new hold shapes to keep climbers guessing. For tire flips, grab a medium tire, mark turn limits, and race. Build power and bragging rights.
Monkey bars
Monkey bars are a classic. See monkey bars for backyard for setup tips. Hang steel or PVC bars across two posts, adjust the spacing, and add knotted ropes or sweat grips. Move the line closer to the ground for beginners. Raise it for bigger kids. Swing on!
Water fun
When it’s hot, water features bring relief. Float a sturdy board on a shallow pool for a wobble bridge. Lay a tarp soaked by a sprinkler for a slippery crawl. Weave foam noodles through to make a cooling “water maze.” Splash, laugh, and repeat.
Theme ideas
Want more play? Try “hot lava” stepping stones with pillows and red fabric. Set up bean bag toss stations for accuracy practice. Post animal signs, “hop like a frog” or “slither like a snake”, to spark pretend play. Swap modules each season to keep the course feeling new and exciting.
Now you have a backyard obstacle course that grows with your crew. Let the fun begin.
Ensuring Safety, Maintenance, and Expansion of Your Backyard Obstacle Course
Start by clearing any sharp stones or loose branches from your play zone. Run your hand over the ground and toss broken toys aside. Then lay down cushioned mats or gymnastics pads so every leap and landing feels soft on your feet. And don’t forget closed-toe, non-skid shoes for everyone.
Keep an eye on little ones near higher beams or slippery spots after rain. It’s easy to get caught up in the fun, but a quick glance now and then can save a scraped knee. Think of it as swapping tips with a neighbor, just friendly watchfulness.
Let’s set up a seasonal checkup plan so your course stays sturdy all year. Once a month, grab your checklist: tighten loose bolts, peek for wood rot (when wood breaks down), and swap out frayed ropes (worn-out cords). Give each beam a quick tap, if it creaks or wobbles, brace it or replace that section.
Cover metal parts with a weatherproof tarp before winter. In spring, brush on a rust-inhibiting coat so steel bits don’t start to flake. My neighbor tells me it’s like tucking your course in under a cozy blanket.
Plan for growth by drilling extra holes or mounting plates on your posts. That way you can add a peg wall or a cargo net when you’re ready. Last summer, I clipped on a net in under an hour, so much backyard fun.
When rain pours or snow flies, pack crash pads and removable parts into a pop-up bike tent or small shed. That keeps your course neat and ready for fresh challenges next season. I guess it’s like folding up a picnic when the weather turns.
Tailoring Age-Appropriate Difficulty and Themes for Your Backyard Obstacle Course
When you’re planning your course, start by thinking about who’s tiptoeing across it. Ever watched a toddler tackle a crawl tunnel? It makes all the difference to match obstacles to little legs and big imaginations.
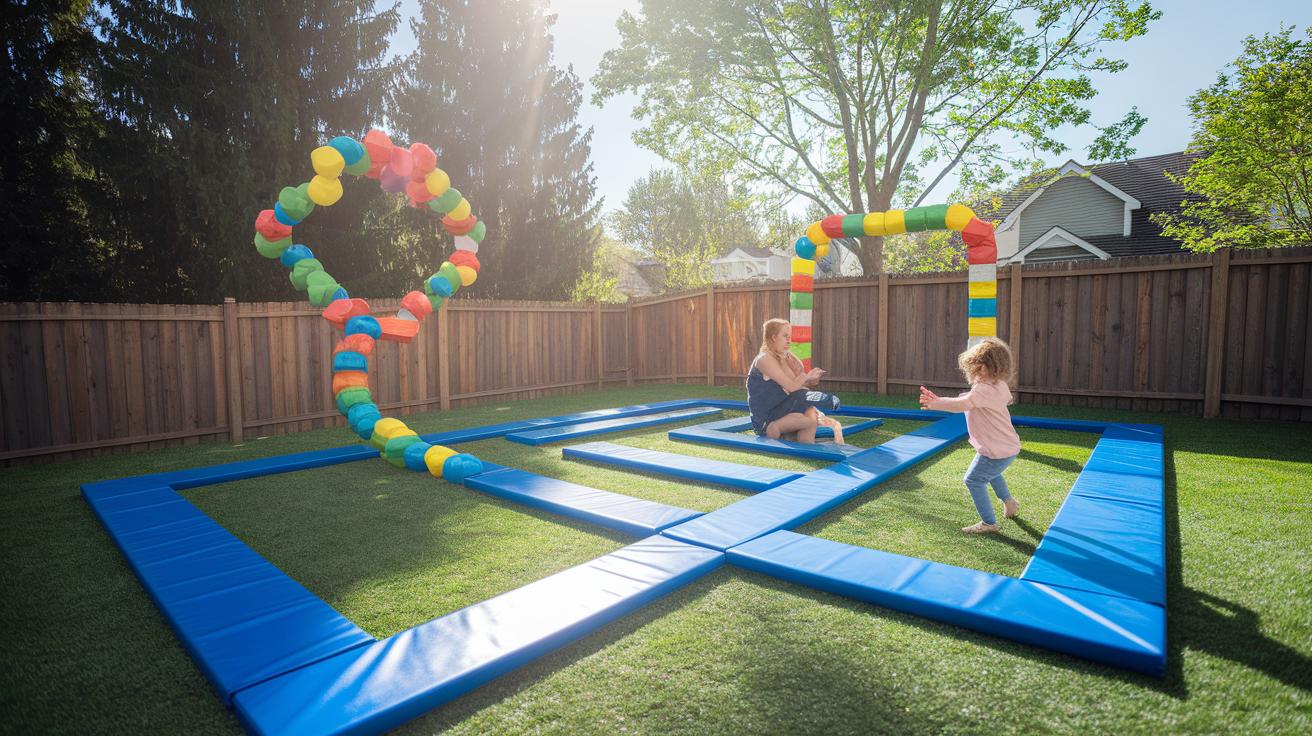
For ages 4–6, keep balance beams just two inches off the grass. Wrap pool noodles around the top rails for extra cushion. Make crawl tunnels only a few inches deep so little arms and knees can scoot right through.
Kids 7–11 love a bit more challenge. Raise that same beam to six inches. Hang a cargo net (rope netting for climbing) underneath so they can shimmy through below. It adds surprise tickles as they slip by.
Teens want a real test. Set beams three feet high. Add a low-slung rope swing that really works their grip.
Padding choices are fun to tweak. Foam mats for the tots. Bare wood for bigger kids chasing a tougher feel. Swap in ninja grip knobs (small handholds) or change knob sizes mid-course to keep hands guessing.
Teamwork wins every time.
Invite your crew to squad up with ninja warrior themes. Split into pairs or trios. Pass a baton through a salmon ladder module or over monkey bars. Roll dice to pick the next station. It keeps everyone on their toes.
By the way, start with a quick stretch station using yoga blocks.
Want more fire? Launch a 30-day pull-up challenge. Tally reps on a chalkboard each morning for serious bragging rights.
For a timed relay, have one racer tag the next after a crate crawl and high-rope pass. Then they dash to the finish line under warm sunshine.
Swap in tiny trestle bridges or wobble boards for extra flair. Cheers will ring out with every lap. And each round feels like a brand-new quest.
Step 4: Estimate costs
Picture the pile of lumber (wood boards) stacked by your garage. Jot down every item you need: boards, nails, screws, hinges, paint.
Add up each cost and then tuck away ten to fifteen percent more for mistakes. Oops! I cut one board too short last time and had to buy an extra.
Step 7: Check safety and permits
Ask your town hall if you need a permit (official OK) for any structure over six feet tall. Then give your homeowner’s insurance a quick call to confirm you’re covered if something goes wrong.
But when you fire up power tools, slip on safety goggles and gloves. Follow every tool’s instructions. I once spilled my drill bits and my cat nearly pounced on one. Back to the rules: keep sharp bits (drill bits or saw blades) out of reach and never saw in a messy corner!
Final Words
Putting it all together, you’ve got a roadmap guiding you from site assessment and sketches through budget-friendly picks. You learned how to shape your layout, pick everyday items, anchor posts, and add safe surfaces.
You covered ways to mix up challenges by age, planned routine checks, and sized up timelines and costs.
Now you’re set to build a backyard obstacle course that’s fun, practical, and tailored to your family. Enjoy every leap and climb. You’ve mastered how to build a backyard obstacle course.
FAQ
What are some outdoor obstacle course ideas for adults?
Outdoor obstacle course ideas for adults include simple backyard challenges like tire runs, balance beams, rope jumps, monkey bars, tunnel crawls, and hurdles using everyday items like planks and pool noodles.
What are some indoor obstacle course ideas?
Indoor obstacle course ideas include couch cushion stepping stones, cardboard box tunnels, tape mazes on the floor, pillow forts to climb, hula hoop jumps, and blanket crawl spaces under chairs.
What are some DIY obstacle course ideas for kids of different ages?
DIY obstacle course ideas for kids include toddler-friendly crawl tunnels and soft block stepping stones, plus elementary balance beams, hopping hurdles, agility ladder tape patterns, and low monkey bars built from PVC pipe.
How do I make an obstacle course in my yard?
Making an obstacle course in your yard starts by assessing space and drawing a simple layout, then gathering budget-friendly items like tires, stumps, planks, pool noodles, and allotting time to build and test routes.
How much does it cost to build an obstacle course?
The cost to build an obstacle course can range from about $200–$300 for a basic DIY setup using household items up to $6,000–$7,000 CAD for a professional ninja-style blueprint build.
How do I make a tunnel for an obstacle course?
Creating a tunnel for your obstacle course uses cardboard boxes or PVC pipes draped with fabric or blankets, secured with tape or clamps, and anchored at both ends for stability and easy crawling.
What makes a good obstacle course?
A good obstacle course blends varied challenges like balance, strength, and agility elements in a clear flow, uses sturdy materials, includes safe landing zones, and matches difficulty to participants’ ages.