Grow Tomatoes Upside Down to Outsmart Pests and Disease
As summer settles in, tomatoes take center stage for gardeners who love biting into fruit fresh from the vine. Traditional rows in sun-drenched beds deliver reliable yields, but a hanging method can free up ground space and cut back on pests and soil-borne diseases. Veteran gardener Sarah Jay shares a bucket-upside-down technique that produces healthy plants and ripe tomatoes even in spots with limited sunlight.
Epic Gardening founder Kevin Espiritu first tried this approach after a visitor at a garden show asked what he'd do with a north-facing patio and nearly no direct sun. His answer was to elevate the plants overhead and grow them upside down. Using Italian ‘Roma’ tomatoes, he achieved a robust harvest, saved space, and added an eye-catching display.
Pick a determinate or bush-style tomato variety that sets fruit on a compact vine. Kevin’s go-to choice, Italian Romas, delivers mid-sized fruit heavy enough to pull the vine downward without snapping it. Cherry types can work, but makers of larger paste tomatoes find that weight brings the stem into a downward arc as it grows. If you have time before the season, sow seeds indoors; otherwise, hunt for young transplants of a determinate type after danger of frost has passed.
Gather these items:
- A sturdy 5-gallon bucket
- A three- to four-inch hole saw
- A quarter-inch drill bit
- A length of burlap, landscape cloth or cardboard
- A strap rated for 30–50 pounds
- A hook, eye bolt, carabiner or similar hanger
Start by drilling a central hole in the bucket bottom with the hole saw. Most bucket bases feature a molded circle marking the center. After cutting that opening, switch to the smaller drill bit and add six or seven drainage holes around the big cutout. These let excess water escape so roots won’t soak in stagnant moisture.
Next, line the bottom inside the bucket to keep soil from tumbling out. Lay your fabric or cardboard flat, trace the bucket’s circumference, then trim the material small enough to sit just above the drainage area. Cut an X at center so the plant stem can pop through when you flip the bucket over.
Prepare your tomato by stripping away the lowest three to four sets of leaves. Doing so makes room for roots to sprout from the buried stem, giving the plant a stronger feed zone. If the seedling’s roots look compacted, loosen them with your fingertips. A light tease of the root ball gets tender hairs activated for quicker growth in the soil.
Thread the strap through the bucket handle, then gently guide the stem and foliage through the X. This step takes patience—compress leaves just enough to slip the plant through without tearing. Once the young tomato hangs from the bucket, tip the container upright so it dangles freely, with no obstructions around the stem.
With the bucket in position, fill it with a rich potting mix until the buried stem sits under a couple inches of soil. Top-quality tomato or vegetable soil is ideal, since nutrients will wash away over the season as you water. If you fill to the very top, you can even tuck in a shallow-rooted crop at the surface before hanging.
Loop the strap around a sturdy overhead anchor, slide the free ends through its own loop, and cinch a knot. Clip on a carabiner, S-hook or eye bolt that can carry at least 30 pounds, then hoist the bucket into place. Give the soil a thorough soak so roots make contact with moisture right away.
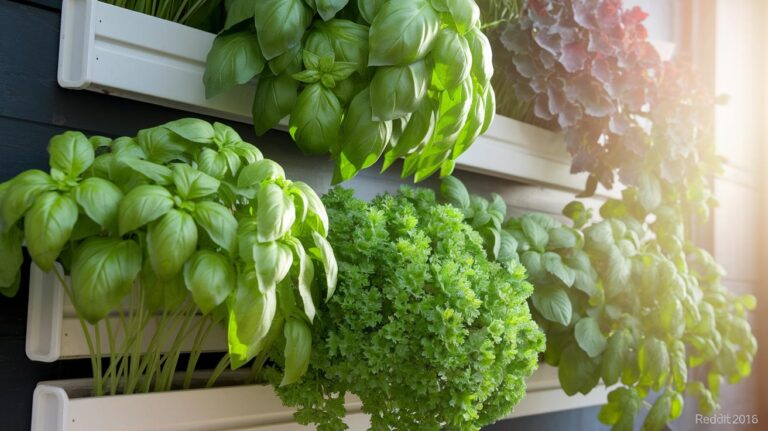
That open top in the bucket offers a bonus planting spot. A handful of lettuce heads makes living mulch, helping to retain water. Herbs like basil and flowers such as marigolds, borage or nasturtium fit nicely too. Avoid deep-rooted crops—carrots won’t thrive in shallow soil.
Care for hanging tomatoes much as you would footed plants. Watch the main stem for side shoots, and prune away any suckers to concentrate energy on fruit. Snip with clean tools to limit disease risks. You may see the vine reach upward against gravity, but once fruit matures, the weight will pull it back down.
Inspect foliage regularly for insects or early blight, noting that upside-down setups often see fewer fungal problems since leaves stay off the ground. Feed with a liquid tomato fertilizer every week or two, mixing at half or even quarter strength for a gentle boost.
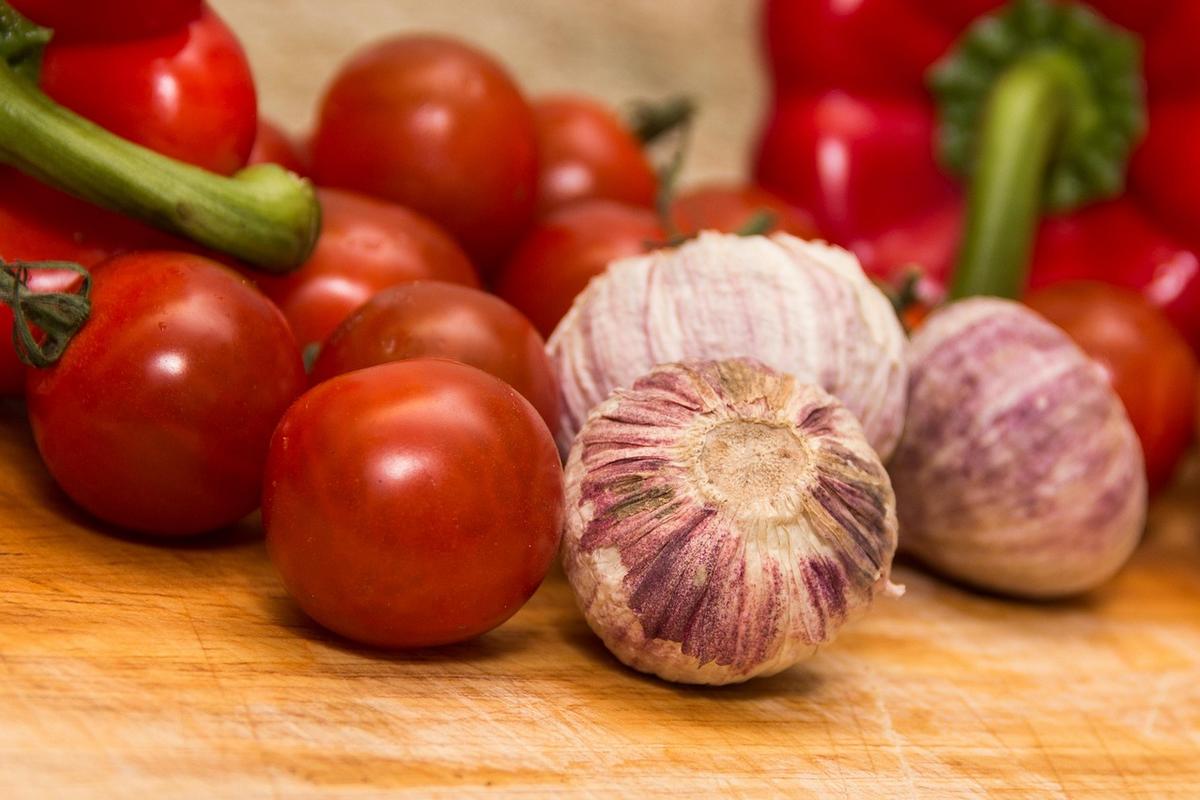
Tomato companions help your plants grow. It’s plain science: crops with matching growth habits can share space and resources, making the most of limited soil and light.