How to Choose a Garden Arbor for Your Backyard
A garden arbor is the gateway-style structure you walk through; a trellis is the flat panel that climbing plants grow against. Both add vertical interest, define spaces, and turn a flat lawn into something with architecture and atmosphere. The right one for your yard depends on what you want it to do — frame an entrance, define a seating area, provide privacy, or just give a climbing rose somewhere to grow. Here’s how to pick the style and material, build your own on a budget, plant climbers that thrive, and keep the whole structure looking good for years.
What an Arbor Does (and What It Doesn’t)
Arbors and trellises serve three main functions in a backyard. First, they support climbing plants — roses, clematis, wisteria, jasmine — that need vertical structure to grow on. Second, they define space: an arbor at the entrance to a vegetable garden marks the boundary; a trellis along the side of a deck creates a sense of enclosure. Third, they add height to flat landscapes, which makes small yards feel larger by drawing the eye upward.
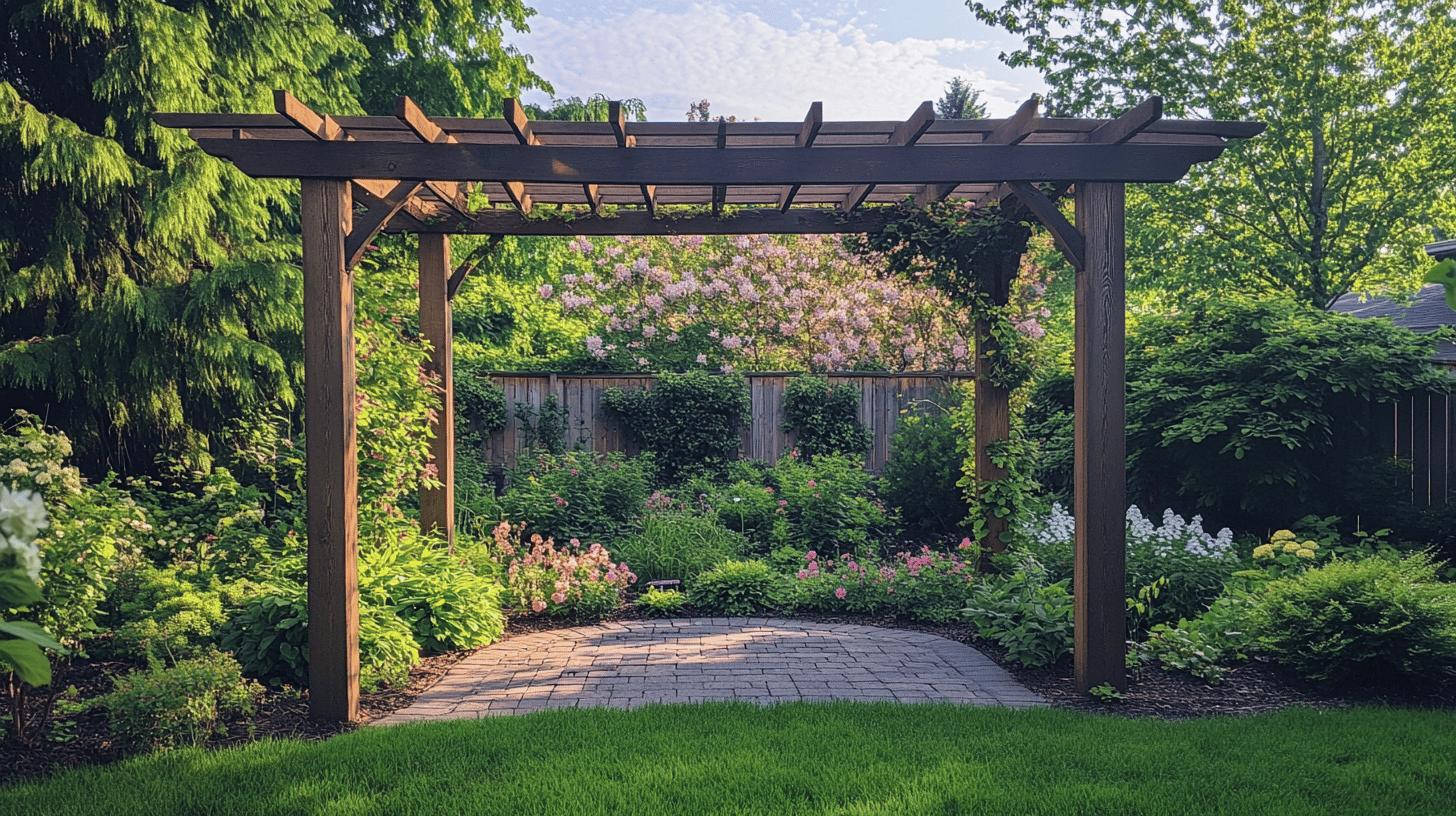
What they’re not: a pergola or a gazebo. A pergola is a larger overhead structure with multiple posts that shades a seating area. A gazebo is fully roofed. An arbor is narrower (usually 3–5 feet wide) and lighter — meant to be walked through or stood near, not sat under. If shade and seating is what you want, look at budget-friendly pergola designs instead.
One quick decision before you start: are you supporting one climbing plant, framing a pathway, or creating privacy? Each goal calls for a different structure and a different price point. A small single-plant trellis runs $30–$80; a basic walk-through arbor runs $100–$300; a full-size cedar arbor with built-in benches runs $400–$1,200. Pick the form before the materials.
Picking the Right Style, Size, and Material
Five practical decisions determine whether the arbor or trellis you pick suits your yard:
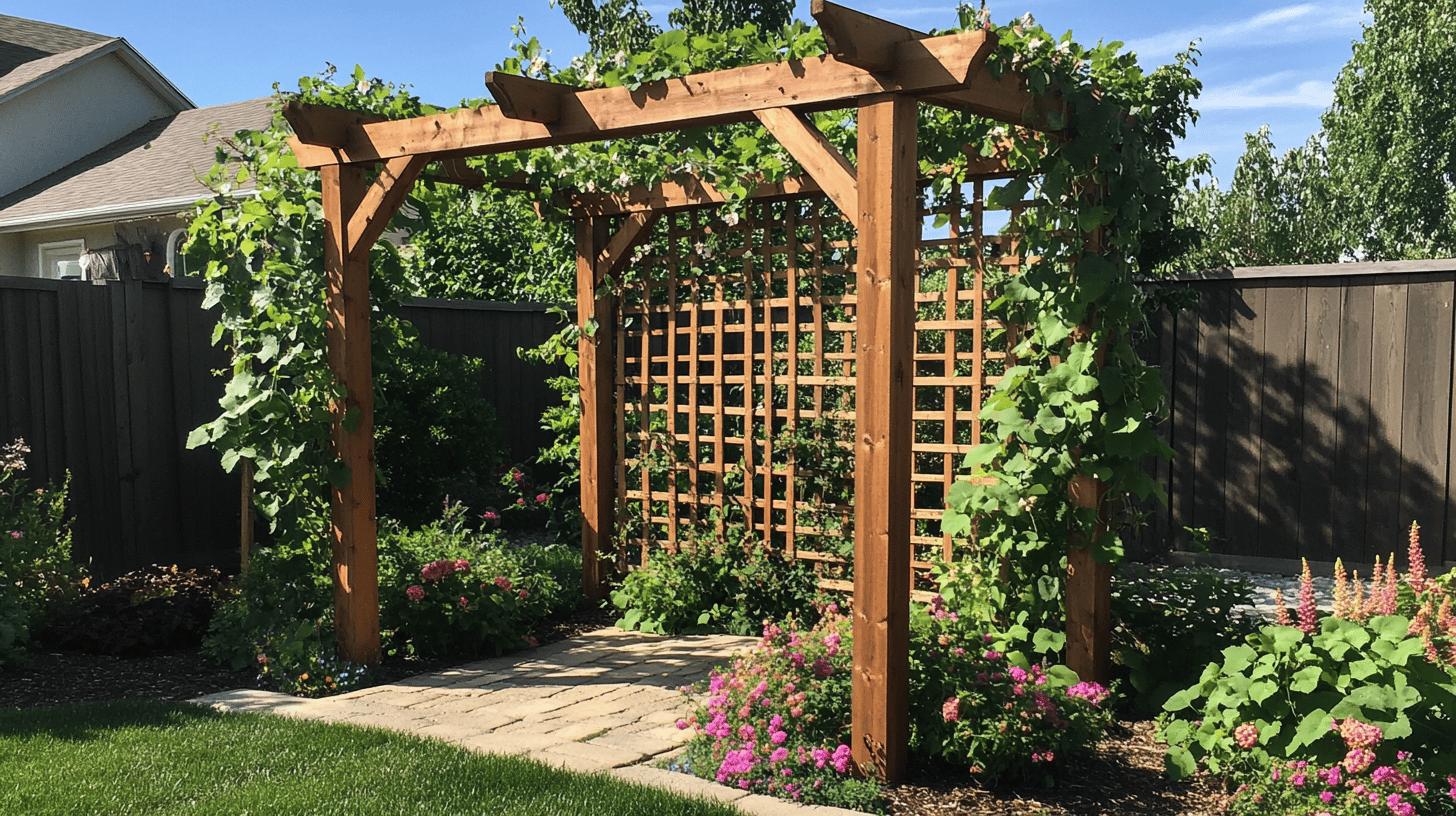
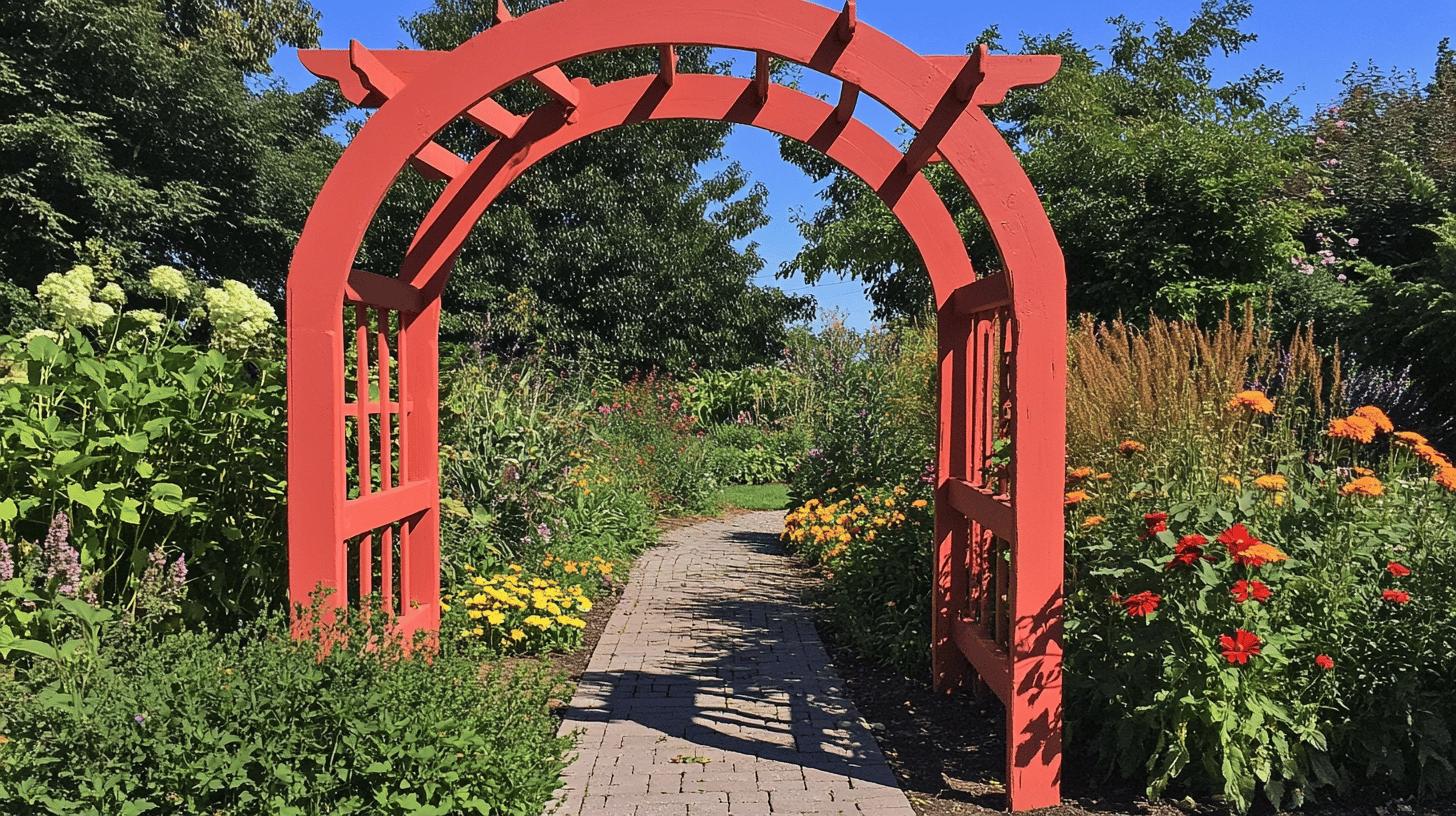
- Style. Match the structure to your home and yard. Painted-white wood with curved arches reads as cottage or traditional. Powder-coated black metal reads as modern. Natural cedar reads as rustic or Mediterranean. Wrought iron reads as formal English garden.
- Size. A walk-through arbor needs to be at least 7 feet tall at the peak and 3.5 feet wide internally so a person can pass through comfortably. A trellis against a wall can be any size, but plan for the mature height of the climbing plant — wisteria reaches 25 feet; clematis tops out at 12; climbing roses run 8–12.
- Material. Cedar, redwood, and pressure-treated pine are the common wood choices — cedar lasts longest unsealed (10–15 years), pressure-treated lasts almost as long with annual sealing. Powder-coated steel and aluminum need almost no maintenance and last 15–20+ years. Vinyl is maintenance-free but looks plastic-y up close and can become brittle in cold climates.
- Functionality. Heavy climbers like wisteria need substantial structure — minimum 4×4 posts, no thinner. Lighter climbers like morning glory or sweet pea grow on almost anything, including a $30 lattice panel.
- Location. An arbor at a fence entrance marks the boundary. An arbor at the start of a pathway invites visitors to follow. A trellis on a south-facing wall creates a microclimate for sun-loving climbers. A trellis on a north-facing wall works for shade tolerators like climbing hydrangea.
Quick visual rule: if your yard already has strong straight lines (rectangular beds, square patio, picket fence), introduce one curved element — an arched arbor — to soften everything. If the yard already has soft curves (winding paths, billowing borders), a straight-topped trellis adds structural contrast.
DIY: Building Your Own Arbor or Trellis
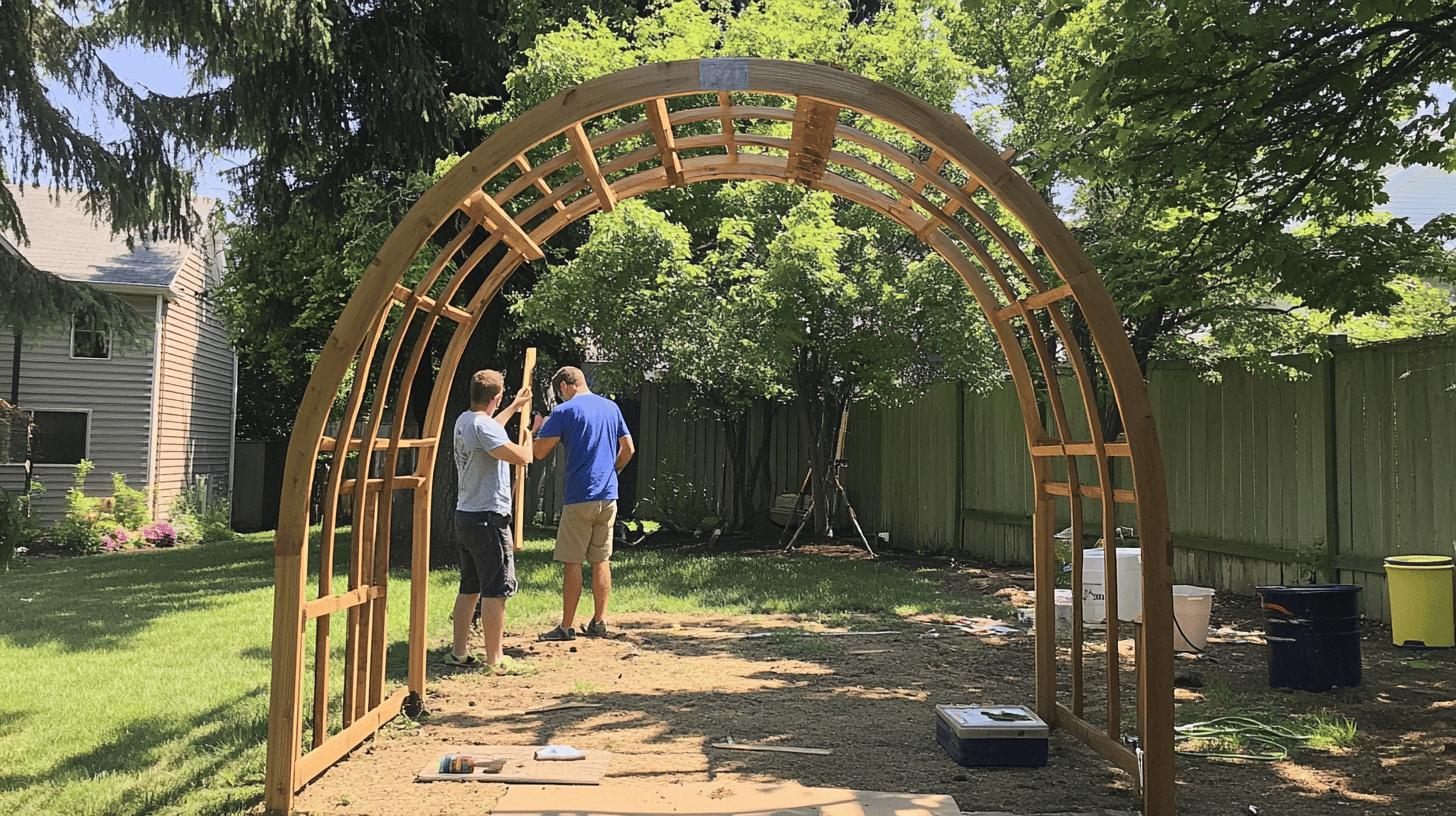
Building your own arbor or trellis is genuinely cheaper than buying a pre-built one — and lets you size it to your yard. The simplest reliable build uses metal livestock panels: 16-foot-long cattle panels from a farm-supply store ($25–$30 each) bent into a freestanding arch between two pairs of posts. Total cost: $50–$100 in materials. Total build time: an afternoon. Strong enough for any climbing plant.
What you’ll need for a 4-foot-wide × 7-foot-tall arched arbor:
- 1 cattle panel (16 ft × 4 ft, the standard “hog panel” or “cattle panel”)
- 4 pressure-treated 4×4 posts, 8 feet long
- 4 bags of quick-set concrete
- Heavy-duty zip ties or stainless steel wire
- Optional: 1×4 boards for decorative top trim
Tools: post-hole digger, circular saw, drill, level, tape measure, work gloves (cattle panels have sharp ends).
The build:
- Set the posts. Mark four post locations in a 4×3-foot rectangle. Dig holes 2 feet deep. Drop a 4×4 post into each, brace temporarily, check level on two sides, then pour quick-set concrete. Let cure overnight.
- Bend the panel. With a helper, hold one short end of the cattle panel at the base of the front-left post and walk the other end toward the back-right post. The panel will naturally arch overhead. Adjust until the peak is centered between the four posts.
- Attach the panel. Use heavy-duty zip ties or wrapped stainless wire to secure the panel to each post. Three or four attachment points per post is plenty.
- Trim if desired. A 1×4 board across the front top can hide the panel ends and give the arbor a more finished look.
- Stain or seal. Two coats of outdoor wood sealer on the posts, applied a week apart, doubles the post life. Skip if you used naturally rot-resistant cedar.
For a flat trellis against a wall, the build is even simpler: 1×2 cedar boards arranged in a 4×8-foot lattice grid, screwed to wall-mounted brackets. Materials run $20–$40.
If you’d like to use reclaimed pallet wood for a more rustic look, see garden hammock frame plans for pallet wood — the bracket-and-screw techniques work for arbor frames too, with some adjustment for the lighter loads.
Three things first-timers underestimate: (1) set posts in concrete, not just packed dirt — uplift from wind through tall climbing plants will tip an un-concreted arbor in the first storm; (2) work gloves for cattle panels are non-optional, the cut ends are razor-sharp; (3) build slightly taller than you think you need — 7 feet looks tall in the abstract and feels short when a head-height climbing rose is hanging through.
The Best Climbing Plants for Arbors and Trellises
The plant you pick determines the rest of the arbor’s story — what it looks like in bloom, when it’s at peak, how much maintenance it asks for, and how heavy the structure needs to be. Five reliable choices for most climates:
- Climbing roses. The classic. Look for repeat-blooming cultivars (Eden, Zephirine Drouhin, New Dawn) rather than one-blooming heirloom types. Plant in full sun. Most climbing roses reach 8–12 feet and stay manageable on a basic arbor.
- Clematis. Cooler-tolerant than roses and comes in dozens of colors and bloom sizes. Plant with the roots shaded (“feet in shade, head in sun”) for best performance. Henryi (white), Jackmanii (purple), and Nelly Moser (pink) are reliable starter cultivars.
- Honeysuckle. Fast, fragrant, and attracts hummingbirds. Choose native trumpet honeysuckle (Lonicera sempervirens) over invasive Japanese honeysuckle. Tolerates wider range of light and soil than roses or clematis.
- Wisteria. Dramatic when in bloom, ferocious in growth. Reaches 25+ feet, weighs hundreds of pounds at maturity, and pulls weak structures down. Plant only on heavy-duty arbors with 6×6 posts or cattle panels. American wisteria (Wisteria frutescens) is the better-behaved native option.
- Morning glory and other annual climbers. Easy and forgiving — direct-sow seeds in spring, blooms by midsummer, dies with frost. Good for first-time arbor builders who want to see results in one season before committing to a permanent climber.
For more cultivar-specific guidance on which climbers thrive in which conditions, see our roundup of the best climbing plants for vertical gardens.
Plant placement matters as much as plant choice: dig the planting hole 12–18 inches from the base of the post, not directly against it, and angle the plant toward the structure. Roots compete with the post’s concrete footing if planted too close; angling helps the new growth find the structure.
Maintenance Through the Seasons
A well-built arbor needs maybe an hour of maintenance a year. The annual rhythm:
- Spring (March–April): Inspect for winter damage — loose screws, rotted wood, rusted hardware. Tighten or replace as needed. Train new climbing-plant growth onto the structure with garden twine before the stems harden.
- Late spring (May–June): Light pruning of any unwanted growth on the climbing plant. Don’t cut back hard during bloom season for repeat-blooming plants.
- Summer (July–August): Watch for crowded growth that traps heat and moisture against the structure — thin it back if leaves are pressing flat against wood for weeks at a time, which accelerates rot.
- Fall (October–November): Major pruning after bloom. Cut back climbing roses by one-third for new wood; cut back wisteria’s long whippy growth to 6-inch spurs near the structure; leave clematis cut-back decisions to the specific group (Group 1, 2, or 3 each prune differently).
- Late fall / winter: Reseal wood every 2–3 years (alternate years for cedar; annually for pressure-treated pine in wet climates). Touch up paint or stain on any chipped areas. Spray metal joints with a rust-inhibiting lubricant.
Three common maintenance problems and their fixes:
- Rotting posts at the soil line. The most common arbor failure. Prevent by setting posts on top of a 4-inch gravel base inside the concrete footing, so moisture drains away from the wood. Fix by digging out the rotted section and using a steel post-saver bracket — much cheaper than replacing the whole arbor.
- Hardware rust streaks on wood. Replace any non-stainless screws or brackets with stainless or galvanized hardware before reapplying stain.
- Overgrown plant pulling the structure. Most often happens with wisteria. Heavy pruning every fall keeps weight down; reinforcing the structure with extra cross-bracing handles the rest.
Using Arbors to Define Spaces and Add Privacy
Beyond their decorative role, arbors and trellises serve as functional dividers in a backyard. A few high-leverage placements:
- At the entrance to a vegetable garden or a hidden side yard. Defines the threshold and creates the “you’re entering somewhere different” feeling that turns a backyard into multiple zones.
- Between a patio and a lawn. A 6-foot-wide trellis between seating areas and play areas creates a sense of separation without fully blocking sightlines.
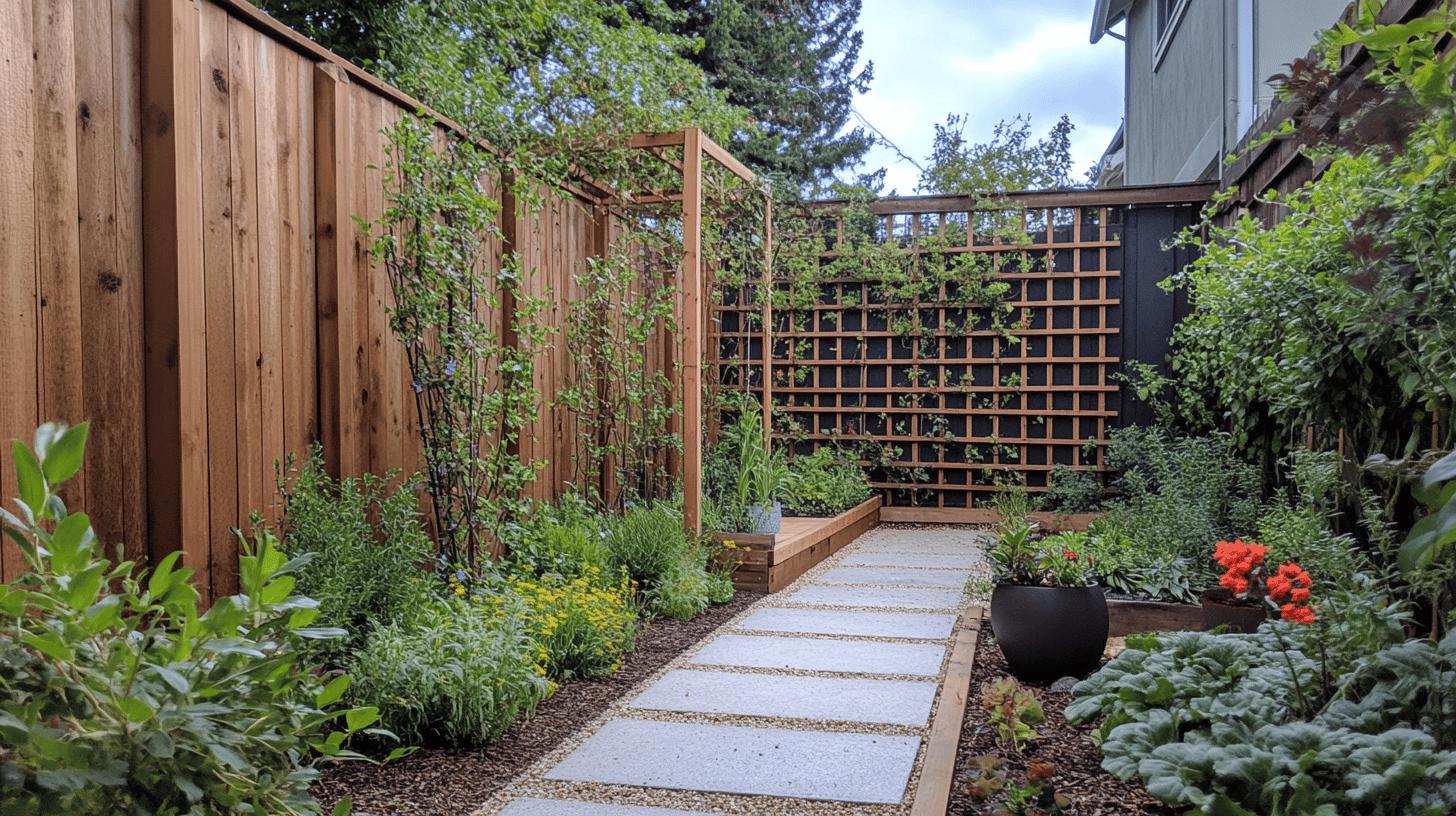
- Along a property line where a fence feels too heavy. A row of trellises with climbers gives you privacy without the visual weight of a 6-foot solid fence.
- At the end of a sightline. An arbor at the far end of a backyard pathway makes a small yard look bigger by giving the eye a destination.
- Around a hot tub or outdoor shower. Three lattice panels arranged in an L or U shape produces an instant private nook without the cost of permanent walls.
For tight backyards specifically, arbors and trellises punch above their weight. They use vertical space (which most small yards have plenty of) without taking the ground space that fences and storage do. A 3×7-foot arbor takes 21 square feet of “footprint” at ground level but adds the visual presence of a much larger structure.
If you want to go further with the vertical-space-as-living-space idea, our guide to how to design a living wall for outdoor spaces covers the next step up — a full planted wall instead of a simple trellis.
Putting Your Garden Arbor Plan Together
Start with one arbor or one trellis in one specific spot. Don’t try to add five at once. Pick the location based on what the structure is supposed to *do* — frame an entrance, support a specific plant, create a private corner. Match the style to what’s already in the yard. Build or buy at a price point that matches your maintenance tolerance.
A first arbor pays off in two ways. Visually, the yard immediately looks more intentional — vertical structure changes how a flat space reads. Functionally, you’ve created somewhere a climbing plant can live, which over 2–3 years grows into a feature far more dramatic than the arbor itself. By the third spring, a well-chosen climber on a basic $100 arbor looks like a $1,000 garden feature.
Common Questions About Garden Arbors and Trellises
What is the difference between a trellis and an arbor?
A trellis is a flat framework that climbing plants grow against, typically mounted against a wall or fence. An arbor is a freestanding arched or rectangular structure that you can walk through, often marking an entrance or pathway. Both support climbing plants, but only an arbor functions as a gateway.
Does an arbor need to be anchored?
Yes. Set the posts at least 2 feet deep in concrete to prevent uplift in wind. Climbing plants act as sails once they fill in the structure, and an un-concreted arbor will tip in the first major storm. A 4-inch gravel base under the concrete footing helps drain moisture away from the wood.
Where should I put an arbor in my garden?
Place an arbor at a meaningful transition — the entrance to a vegetable garden, the start of a pathway, the end of a sightline, or between two zones in the yard. Avoid placing an arbor in the middle of a lawn with nothing on either side; it needs context to read as architecture rather than ornament.
How do you secure a garden trellis in the ground?
Drive sturdy stakes or T-posts into the ground at least 18 inches deep and attach the trellis with brackets or U-bolts. For permanent installations supporting heavy climbers like wisteria, set the supporting posts in concrete footings 2 feet deep. Wall-mounted trellises use heavy-duty masonry anchors or lag bolts into wall studs.
What materials are best for a durable garden arbor?
Cedar and redwood last 10–15 years with no sealing. Pressure-treated pine lasts almost as long with annual sealing. Powder-coated steel and aluminum need almost no maintenance and last 15–20+ years. Vinyl is maintenance-free but looks plastic-y up close and becomes brittle in cold climates.
Are DIY arbors a cost-effective option?
Yes. A basic walk-through arbor built from metal livestock panels and pressure-treated 4×4 posts costs $50–$100 in materials versus $300–$800 for a comparable pre-built unit. The build takes an afternoon with basic tools. Pallet wood and reclaimed lumber make even cheaper options for a more rustic look.
What climbing plants work best on garden arbors?
Climbing roses (repeat-blooming cultivars like Eden or New Dawn), clematis, native trumpet honeysuckle, and American wisteria are all reliable choices. Plant heavy climbers like wisteria only on substantial structures with 4×4 or 6×6 posts. Annual climbers like morning glory work well for first-time arbor builders who want quick results.