Charcoal Grill Chicken Recipes: Cuts and Timing
Most dry, stringy grilled chicken isn’t a recipe problem — it’s a fire problem. People dump all their coals in one pile, throw the chicken on, and cook it over screaming-hot heat until the outside is charred and the inside is chalk. Get the fire right and everything downstream gets easier. These charcoal grill chicken recipes are built around a two-zone fire and a thermometer, and once you’ve cooked a couple of birds this way, you’ll stop guessing and start pulling juicy chicken off the grate every single time.
I’ve cooked a lot of chicken over charcoal — some of it great, plenty of it back when I was still killing dinner on high heat and wondering why. What follows is the setup, the two flavor bases I lean on, and exact temps for breasts, thighs, and whole birds. If you’re still deciding what to cook on, my rundown of grill types and their pros and cons is a good companion read.
As an Amazon Associate, Backyard Superstar earns from qualifying purchases at no extra cost to you.
Build a Two-Zone Charcoal Fire for Chicken
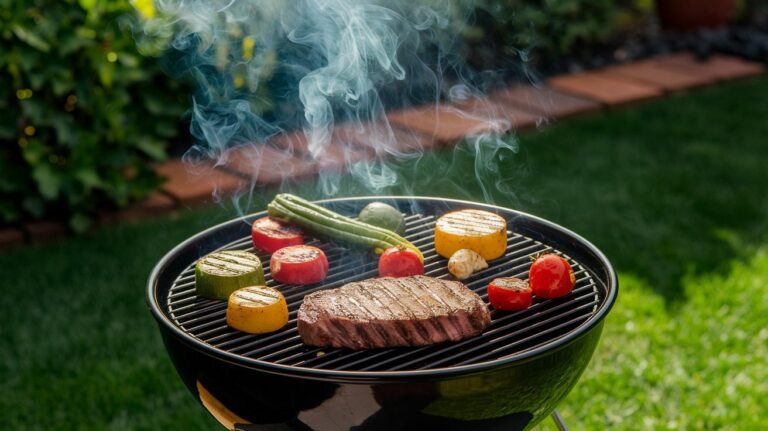
The single move that fixes most grilled-chicken problems is banking your coals to one side. You end up with a hot zone directly over the coals for searing and a cooler zone with no coals underneath for gentle, indirect cooking. Chicken has skin that burns and fat that flares, so you want the option to move it away from the flame the second things get feisty — and with everything piled in the center, you don’t have that option.
Start by getting your charcoal properly lit, and do it without lighter fluid, which leaves a chemical taint on the food. A chimney starter is the whole game here: you stuff newspaper or a couple of fire cubes underneath, fill the top with charcoal, light it, and in twelve to fifteen minutes you’ve got coals glowing orange under a coat of gray ash. The Weber Rapidfire Chimney Starter is the one I hand to anyone starting out — aluminized steel, holds enough for a full kettle, and it’ll outlast three grills (budget essential, $). Lump charcoal lights faster and burns hotter; briquettes burn slower and hold a steadier temperature, which I actually prefer for the longer indirect cook a whole bird needs.
When the coals are ashed over, dump them into one half of the grill and put the cooking grate on. Give it about ten minutes to preheat, then scrub the bars clean with a wire brush and wipe them with an oiled paper towel held in tongs — oiled grates are the difference between skin that releases and skin that tears off and sticks. For chicken you’re aiming for a grate temperature in the 350°F to 400°F neighborhood over the coals, with the lid on and the vents cracked open above the fire so it keeps breathing.
Two upgrades earn their spot at this stage. First, protect your hands: those coals sit north of 600°F, and reaching over them to move a whole bird or dump the chimney is exactly when people get burned. A pair of RAPICCA heat-resistant grill gloves lets you grab a hot grate, tip the chimney, or wrangle a rotisserie without the little dance of dodging sparks (worth it for safety alone, $$). Second, if you want real smoke flavor, toss two or three Weber hickory wood chunks right onto the hot coals once they’re lit — chunks smolder longer than chips and give chicken a clean, subtly sweet smoke that isn’t overpowering (small add-on, big payoff, $). If you’re grilling often enough to be reading this, the grill itself matters too, and the Weber Original Kettle Premium 22-inch is the workhorse I’d point most people toward — a hinged grate for adding coals mid-cook, a built-in lid thermometer, and enough room to run a proper two-zone fire (premium, $$$).
One more trick for anything you’re cooking low and slow, like a whole chicken: set a small foil pan of water on the cool side under the grate. The steam keeps the humidity up and the meat from drying out while the indirect heat does its work.
Marinades and Dry Rubs for Grilled Chicken
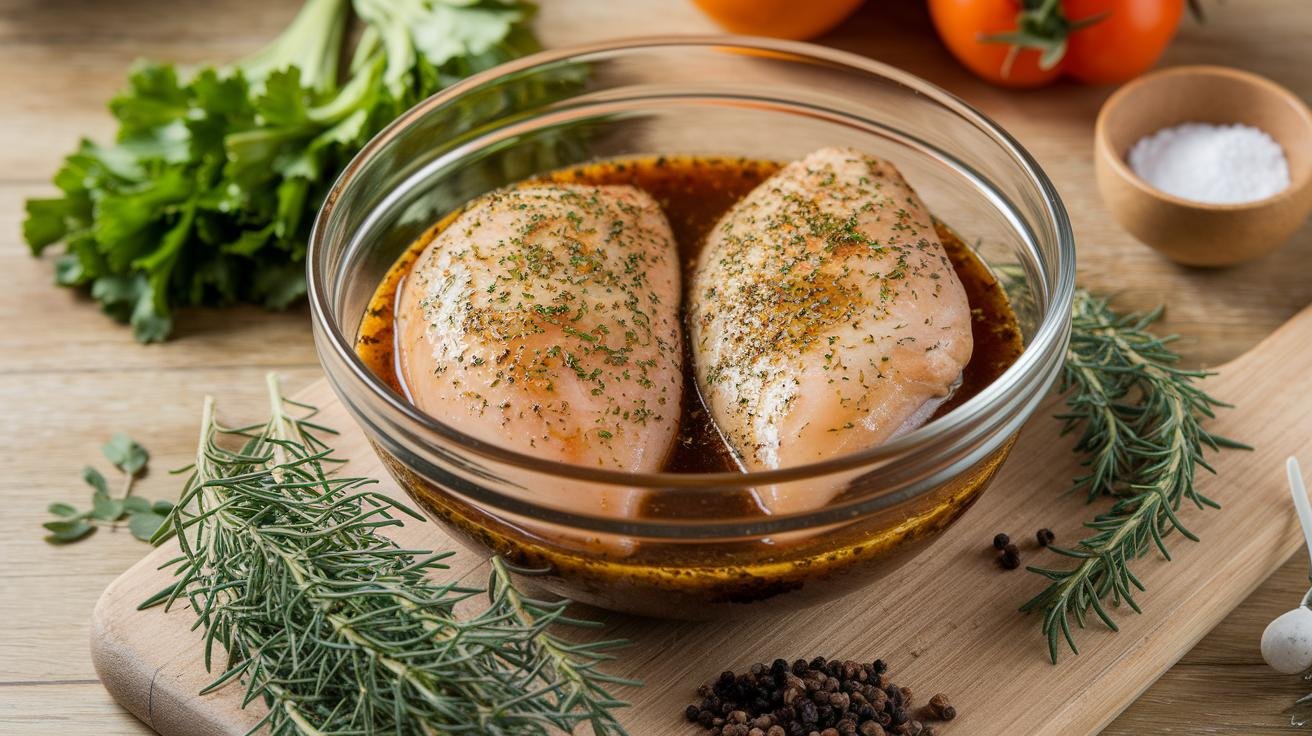
Flavor splits into two camps, and which one you reach for depends on the cut. Boneless breasts have no skin and not much fat, so they drink up a marinade — an oil, acid, and seasoning mix that seasons the meat and helps it hold moisture over the fire. Bone-in, skin-on pieces do better with a dry rub, because the sugar and spice sit right against the skin and crisp into a crust. I’ll use both across a single cookout without thinking twice about it.
My default breast marinade is a lemon-herb mix. In a bowl, whisk together 6 tablespoons extra-virgin olive oil, 4 cloves of minced garlic, 1 teaspoon dried thyme, ½ teaspoon dried oregano, 1¼ teaspoons kosher salt, ½ teaspoon black pepper, and 1½ teaspoons of lemon zest. Pour that over the breasts in a gallon zip bag, press out the air, and chill for at least four hours — overnight is better. The oil carries the flavor deep into the meat and the lemon zest keeps it tender without turning it mushy the way straight lemon juice can if you leave it too long.
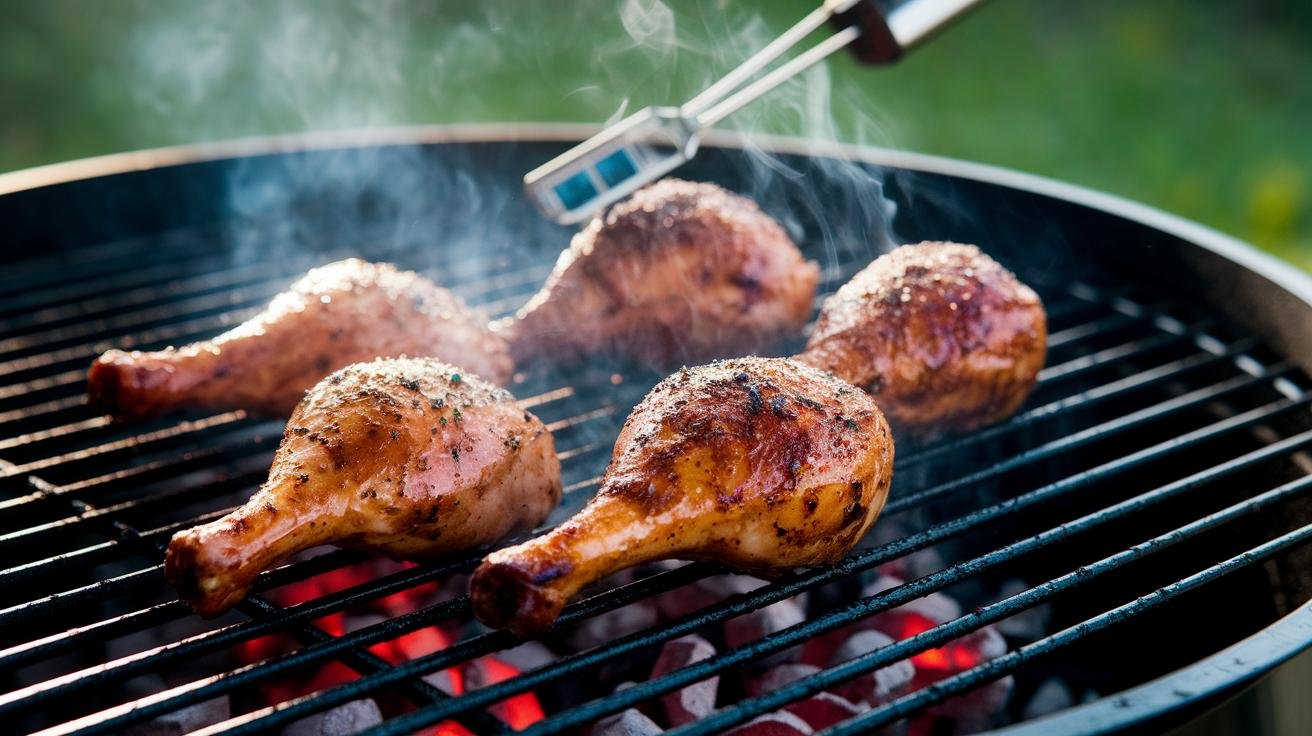
For thighs and drumsticks I go with a barbecue-leaning dry rub. Mix 2 tablespoons packed brown sugar, 1½ teaspoons paprika, 1 teaspoon ground cumin, 1 teaspoon garlic powder, 1 teaspoon onion powder, 1 teaspoon dry mustard, 1½ teaspoons kosher salt, ½ teaspoon chili powder, and ¼ teaspoon black pepper. Pat the pieces bone-dry first — wet skin steams instead of browning — then slip your fingers under the skin and press the rub right against the meat, not just on top of the skin. Let the pieces sit at room temperature for about twenty minutes so the rub tacks up, or rub them the night before if you want the salt to work deeper. Just know that brown sugar burns, so rubbed pieces belong on the indirect side for most of the cook, with only a short finishing pass over the flame.
Grilling Chicken by Cut: Breasts, Thighs, and Whole Birds
Every cut cooks to the same finish line but takes a different road to get there. The one tool that ties them all together is a fast instant-read thermometer — chicken is safe at 165°F in the breast, and the gap between “juicy” and “sawdust” is maybe ten degrees, so guessing is how good chicken goes bad. I check every piece with a ThermoPro TP19H instant-read thermometer; it reads in about a second, so I’m not standing there with the lid open bleeding heat while I wait (the accuracy tool that pays for itself the first cook, $). Push the probe into the thickest part of the meat without touching bone, since bone reads hotter than the meat around it and will lie to you.
Boneless Chicken Breasts
Pound the breasts to an even half-inch thick first so they cook through at the same rate instead of drying out at the thin end while the thick end is still raw. Lay them over direct heat and sear without moving them for three to four minutes — that patience is what builds the golden crust — then flip and give the second side one to two minutes. Slide them to the cool side to finish, pull them at 165°F, and let them rest three or four minutes before slicing so the juices settle back into the meat instead of running out onto the board. Start to finish, a half-inch breast is usually off the grill inside ten minutes.
Bone-In Thighs and Drumsticks
Dark meat is far more forgiving, which is why it’s my go-to when I’m feeding a crowd and can’t hover. Start skin-side down over direct heat until you hear the sizzle and the skin crisps, about three to four minutes, then flip for another minute or two. Move the pieces to the indirect side, close the lid, and let them coast — brushing on sauce or oil every five minutes if you like — until the thickest part hits 165°F, roughly 25 to 30 minutes total. Thighs stay juicy even if you drift a few degrees past, so this is the low-stress cut to learn on.
Whole Chicken and the Spatchcock Option
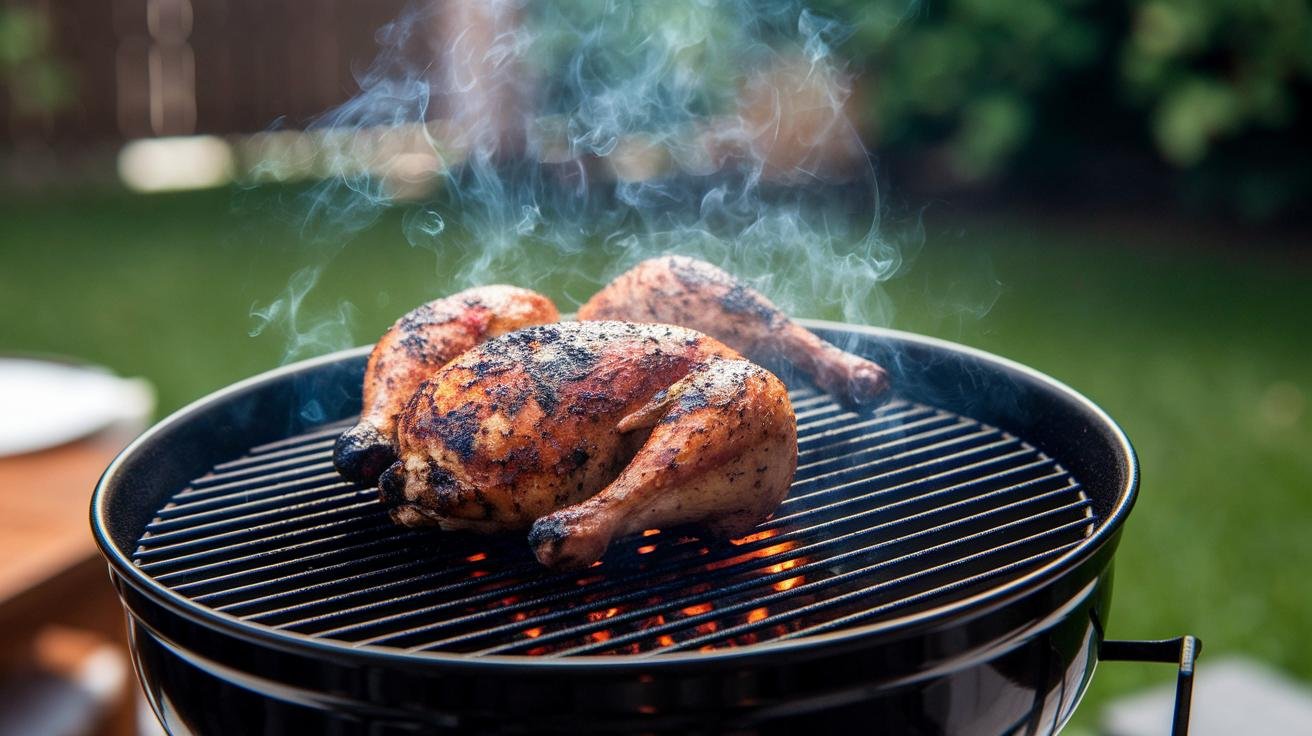
A whole bird over charcoal is a Sunday kind of cook, and spatchcocking is the shortcut that makes it weeknight-possible. Snip out the backbone with kitchen shears and press the bird flat, and it cooks nearly twice as fast and far more evenly because everything sits at one height. Rub it with oil and seasoning, set it skin-side up on the cool side with the coals banked opposite, and hold the grill around 300°F to 350°F. A spatchcocked bird runs about 45 to 60 minutes; a whole intact bird wants an hour to an hour and a half. Pull it when the thickest part of the thigh reads 165°F, tent it loosely in foil, and rest it a full 10 to 15 minutes before carving — the resting is not optional on a bird this size.
Sides and Leftovers That Earn Their Place
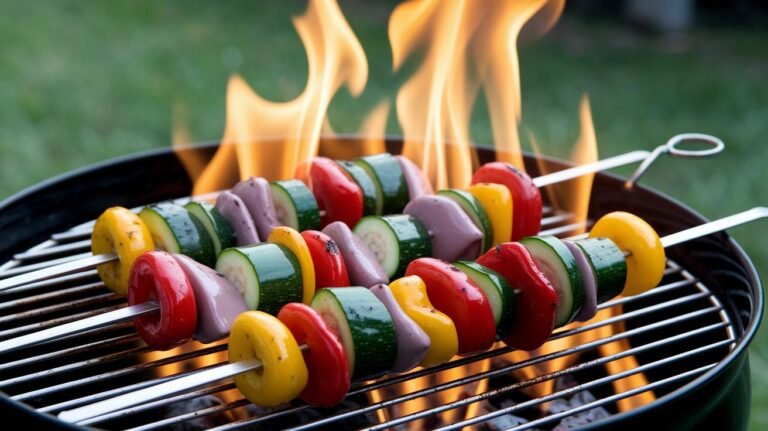
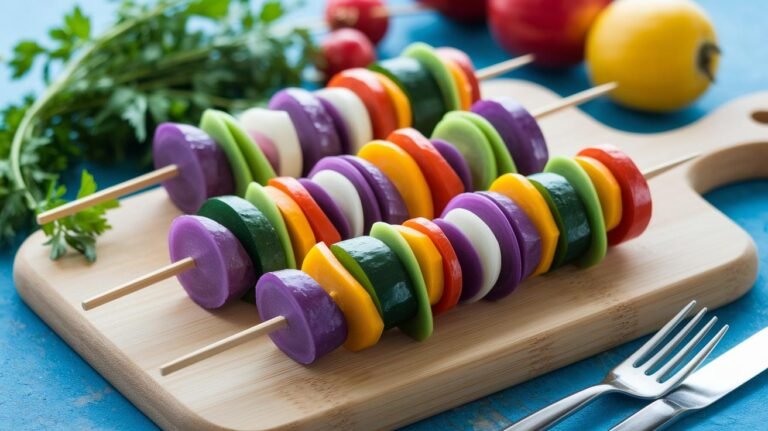
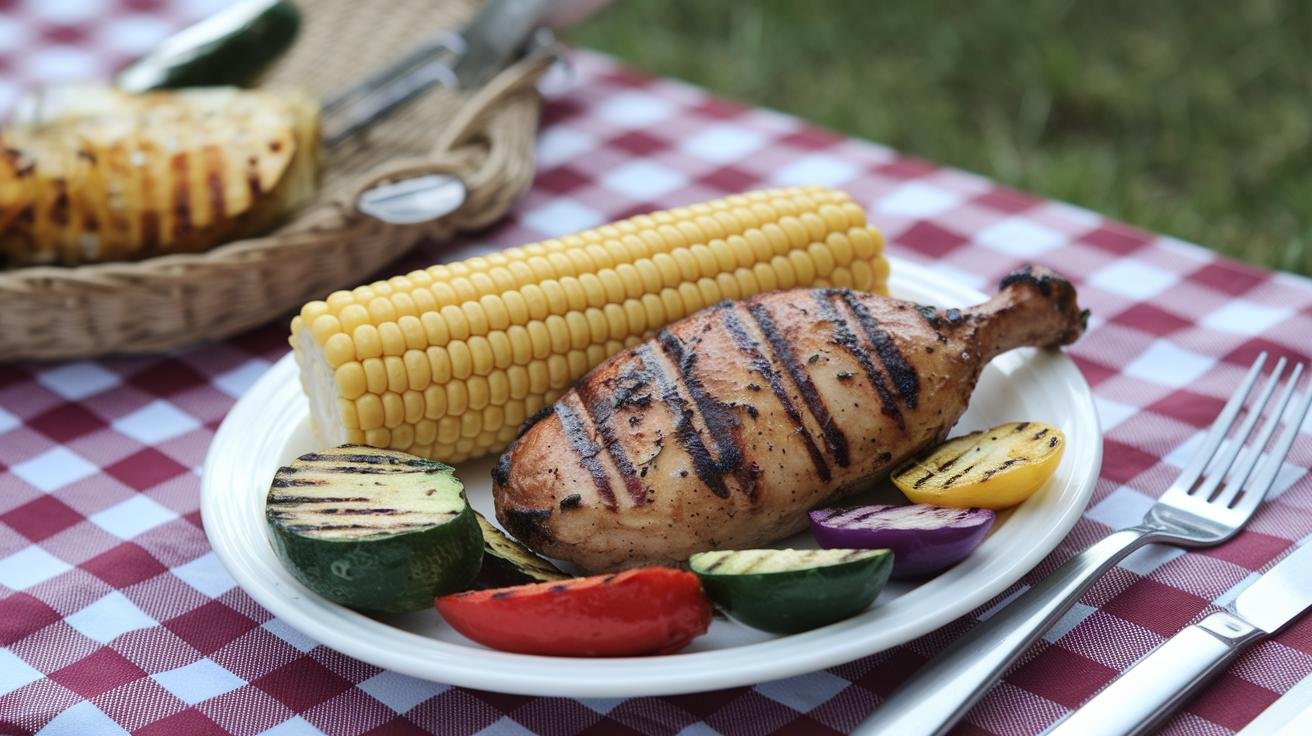
Smoky chicken wants sides with some brightness and crunch to cut it. A quick cucumber salad in a vinegar-and-dill dressing is the cool counterpoint I reach for most, and grilled corn brushed with butter is almost automatic once the coals are already going. Since you’ve got a live fire and an empty grate while the chicken rests, put it to work: a batch of charcoal-grilled vegetable skewers cooks in the same window, and if you want a sweet finish, grilling peaches over the leftover coals takes about five minutes and makes you look like you planned it.
Leftover grilled chicken is genuinely better the next day, so cook extra on purpose. Slice it into tacos, pile it over a rice bowl with avocado and black beans, fold it into a wrap with tzatziki and cucumber, or toss chunks through a pasta salad with tomatoes and basil. A backyard cook that keeps feeding you for two more days is a good use of a chimney of charcoal.
Common Mistakes and Safety on a Charcoal Grill
The mistakes I see most often are all fixable. Cooking over a single pile of coals is number one — build the two-zone fire and half your problems disappear. Flipping and poking constantly is number two; every time you lift the lid you lose heat and reset the cook, so leave the chicken alone and let it release on its own. Skipping the thermometer is number three, and it’s the one that ruins the most dinners, because eyeballing “done” on chicken is a coin flip. And rushing the rest at the end undoes all your good work, letting the juices you fought to keep run straight out the first time you cut in.
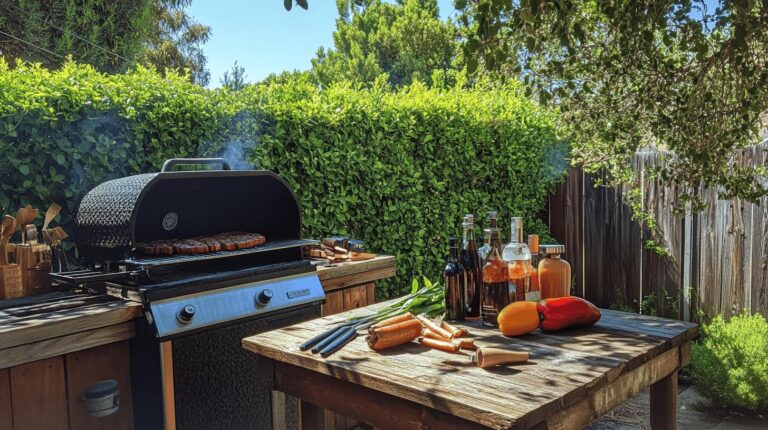
On the safety side, treat the fire with the respect it deserves. Keep a set of heat-resistant gloves and a metal ash tool within reach so you’re never grabbing anything hot barehanded. Cook with the lid closed as much as possible — it controls flare-ups by starving them of oxygen. And when you’re done, close the vents to smother the coals, then leave them until they’re completely cold before you dump them; a “cold-looking” pile of ash can hide live embers for hours. For a permanent setup that keeps your tools and fuel organized and off the ground, it’s worth thinking through a proper backyard grilling station.
Recommended gear for grilling chicken over charcoal
As an Amazon Associate, Backyard Superstar earns from qualifying purchases at no extra cost to you.
- Top pick — ThermoPro TP19H Instant-Read Thermometer ($). One-second reads take every bit of guesswork out of hitting 165°F.
- Budget essential — Weber Rapidfire Chimney Starter ($). Lights a full load of coals in ~15 minutes, no lighter fluid, no chemical taste.
- Flavor add-on — Weber Hickory Wood Chunks (4 lb) ($). A few chunks on the coals give chicken clean, subtly sweet smoke.
- Safety — RAPICCA Heat-Resistant BBQ Gloves ($$). Rated to 932°F so you can move hot grates and dump the chimney without a burn.
- Premium pick — Weber Original Kettle Premium 22-inch ($$$). Hinged grate, lid thermometer, and the room to run a real two-zone fire.
Frequently Asked Questions
How long does it take to grill chicken on a charcoal grill?
It depends on the cut and the heat. Half-inch boneless breasts take about 6 to 8 minutes total over a hot fire, bone-in thighs and drumsticks run 25 to 30 minutes on indirect heat, and a whole bird takes an hour to an hour and a half (45 to 60 minutes if spatchcocked). Always finish by temperature, not the clock — 165°F in the thickest part.
How do you keep chicken moist on a charcoal grill?
Start by brining or marinating, which helps the meat hold water. Cook boneless cuts over a two-zone fire so you can pull them off the direct heat before they overcook, set a small pan of water on the cool side for whole birds, and pull every piece right at 165°F. Then rest the chicken before slicing so the juices redistribute instead of spilling out.
Should the lid be open or closed when grilling chicken?
Closed for most of the cook. A closed lid traps heat and smoke, cooks the chicken more evenly, and smothers flare-ups by limiting oxygen. Open it only to sear, flip, or check the temperature, then get it back down so the grill holds a steady heat.
How do you get crispy skin on charcoal-grilled chicken?
Pat the skin completely dry and rub it directly against the meat, then start the pieces skin-side down over direct heat to render the fat and crisp the surface. Move them to indirect heat to finish cooking so the skin browns without the sugar in a rub scorching.
Lump charcoal or briquettes for chicken?
Both work. Lump lights faster and burns hotter, which is handy for a quick sear on breasts. Briquettes burn slower and hold a steadier temperature, which I prefer for the longer indirect cook a whole chicken needs. If you’re new to it, briquettes are the more predictable place to start.