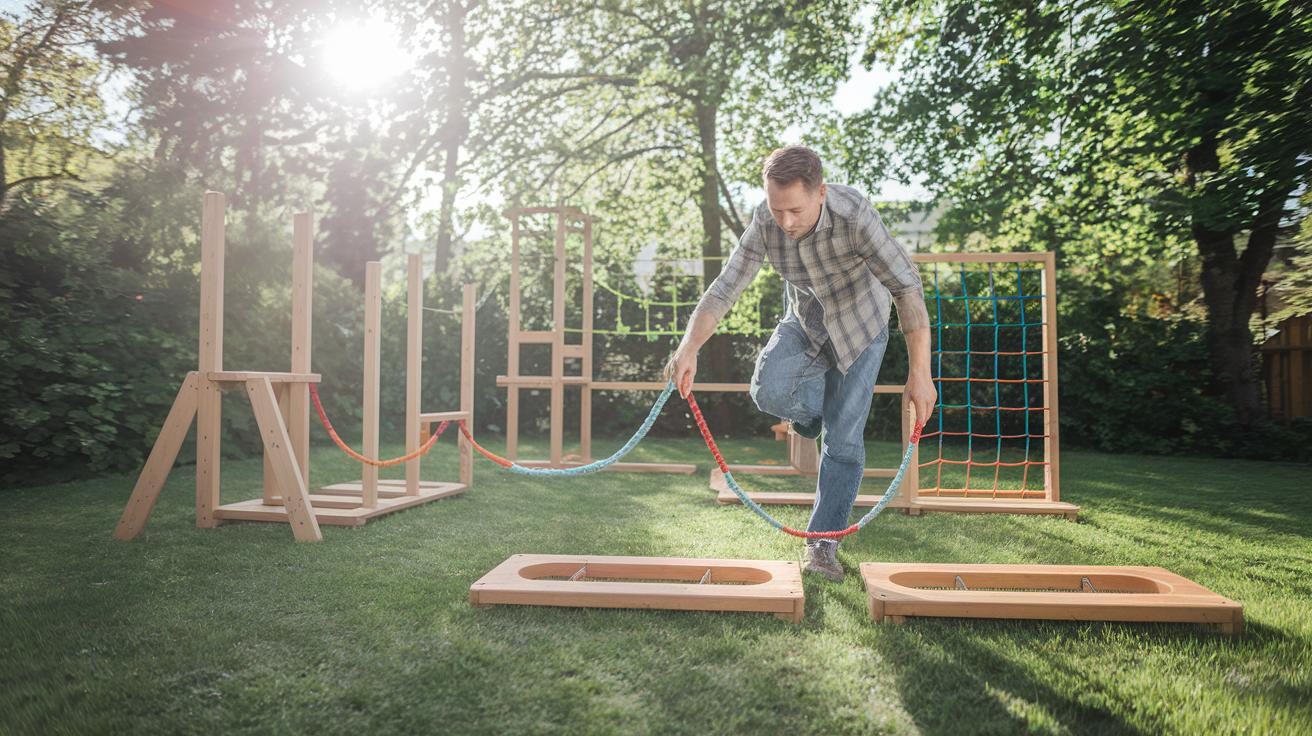
Backyard Obstacle Course Maintenance Tips To Ultimate Safety
Have you ever paused mid-jump on your backyard obstacle course and thought, “Uh oh, is that rope going to hold?” One loose nut (the little metal piece that locks bolts in place) or a sagging rope can turn a fun afternoon into a scraped-knee story. It’s like the ground rushing up at you when a step goes wrong.
But here’s a quick fix. Oops, I once heard a scary creak mid-swing and nearly squealed. So now I spend five minutes each month checking and tidying up.
Tighten those bolts, feel the rope tension (how snug the rope is), and give the frame a good scrub to blast away mud. Then spray on rust guard (a spray that stops rust) and seal the wood (to keep water out). And don’t forget to cover it before the next rain. It keeps everything dry and ready.
Stick to this simple check, and you’ll spend more time playing and less time patching bruises.
Key Maintenance Steps for Your Backyard Obstacle Course
- Monthly: Inspect hardware (adjustable wrench, a tool with a movable jaw for snugging nuts).
- Monthly: Check rope tension (tension gauge, a tool that measures rope tightness).
- Quarterly: Pressure-wash surfaces (power washer at 2,000 PSI, blasts away gunk).
- Semiannual: Apply rust inhibitor (spray can that stops metal corrosion).
- Annual: Seal wood surfaces (paint sprayer that keeps wood water-resistant).
- Seasonal: Install weatherproof covers (UV-resistant tarp that blocks sun, rain, and snow).
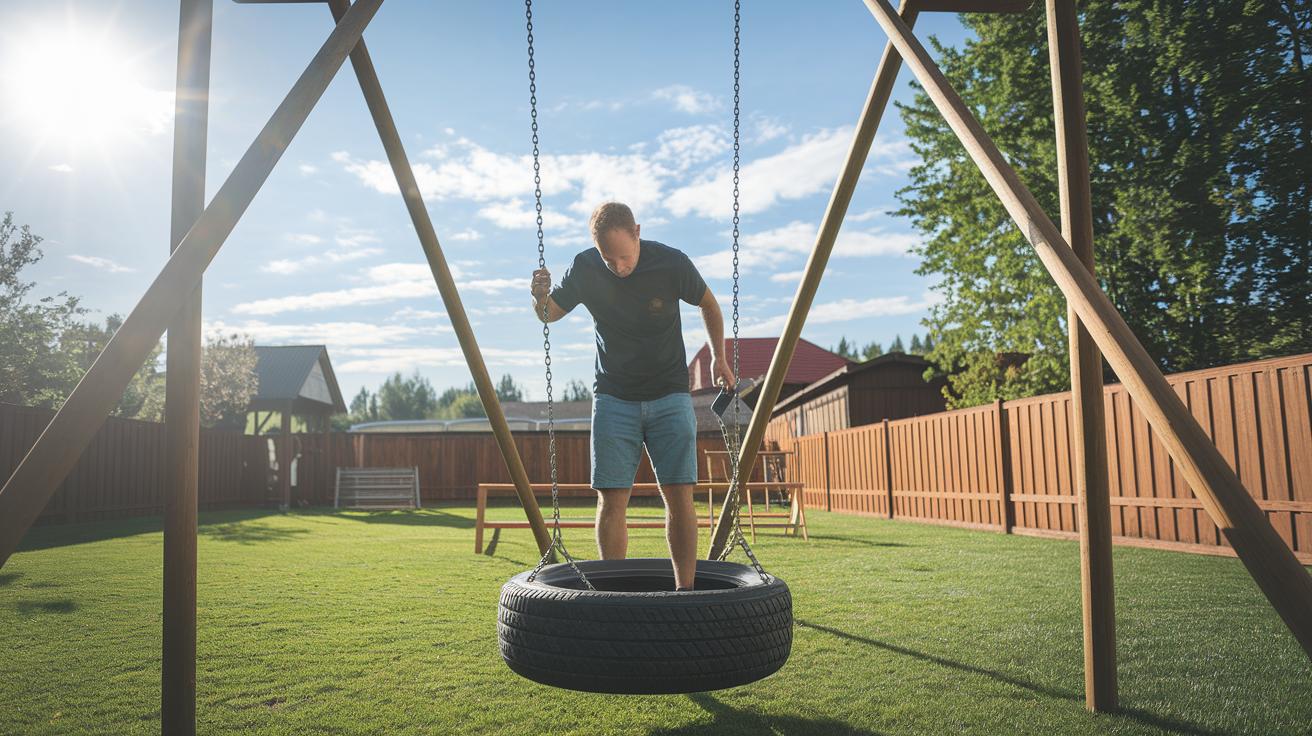
Hey neighbor, let’s talk upkeep. A quick hardware check each month stops loose bolts from turning into safety issues down the line. Grab your wrench, feel that satisfying click as you tighten every nut.
Don’t forget the ropes. Each month, use your tension gauge to spot any sag before it becomes a tripping hazard. Tight lines mean smooth swings, and fewer scraped knees.
When the seasons shift, break out your power washer (2,000 PSI). Feel the spray roar to life as it blasts away dirt, mold, and last summer’s memories from every board. Wow.
Midyear, a simple rust-inhibitor spray acts like sunscreen for metal, shielding frames from rain and humidity. Trust me, I once skipped this step and ended up with a rusty swing, never again.
As summer fades, seal your wood with a fresh coat from your paint sprayer. The scent of sealant mixed with pine fills the air, but it locks out moisture and banishes splinters. Your hands, and little feet, will thank you.
Finally, toss on those UV-resistant tarps when storms roll in. They’re like a little roof, keeping sun, rain, and snow off your course so you focus on fun, not fixes.
Follow this friendly calendar, and your obstacle course will stand up to muddy races, wild play, and everything the backyard throws your way. You’ll rest easy knowing every climb and leap is safe all year long. Ever felt that thrill of a perfect run? It’s the best.
Now, let’s get out there and make some memories.
Safety Inspection Checklist for Backyard Obstacle Courses
Let’s run through this every few weeks to keep things safe and fun.
Grab a magnet and a flashlight. Shine the light along each chain link and see if the magnet sticks. That pull tells you if there’s hidden rust or pitting (tiny holes) you might miss with your eyes alone. I once thought a chain was fine, until my magnet wouldn’t let go!
Next up: weld checks. A weld is where two metal pieces join. Get in close and look at every joint and bead. Look for cracks or fatigue lines (thin split marks). Even a hairline fracture can turn a steady frame into a wobble.
Now test the anchor points with a ground pull-out test. Hook a rope to each post and pull with about 150 pounds of force, you can use a hanging scale. Any wiggle or shift means it’s time to tighten bolts or add extra stakes. Nobody wants an obstacle that slides out of place.
Check your padding with a simple squeeze. Press firmly on each pad and note how thick it stays. If it squishes down below eighty percent of its original cushion, swap it out. Soft landings really matter when someone jumps down.
Every climb and swing has a weight limit, usually at least 250 pounds.Confirm each obstacle can handle that load. Then label it clearly so grown-ups know the rules. No guessing games here.
For fall protection over three feet, inspect guardrails, safety nets, or foam padding. Look for loose boards or frayed net edges. Those little flaws can cause big problems if someone takes a tumble.
Finally, jot the inspection date in a notebook, maybe on your weathered porch table. Track wear over time so you see patterns. And don’t forget to cross each item off your list when you’re done.
Cleaning and Surface Repair Tips for Backyard Obstacle Courses
Grab a firm broom or leaf blower and clear leaves and sticks each week. Hearing that crunch under your feet is oddly satisfying, right? Keeping things tidy stops soggy spots that lead to rot and keeps wood beams from soaking up moisture and splitting.
When you spot green fuzz or dark patches on your ropes or nets, mix 1 part bleach with 10 parts water. Gently scrub with a soft brush and rinse well. For a deeper clean, steam-clean at 212 °F, just like steaming dumplings, to zap hidden germs and bring back that fresh feel.
Every three months, pull out your power washer on a low setting and spray down platforms, ladders, and balance beams. Watch dirt and grime wash away in a rush of water. Then walk each surface and inspect for tiny cracks or warping. Catching flaws early saves you from bigger repairs later.
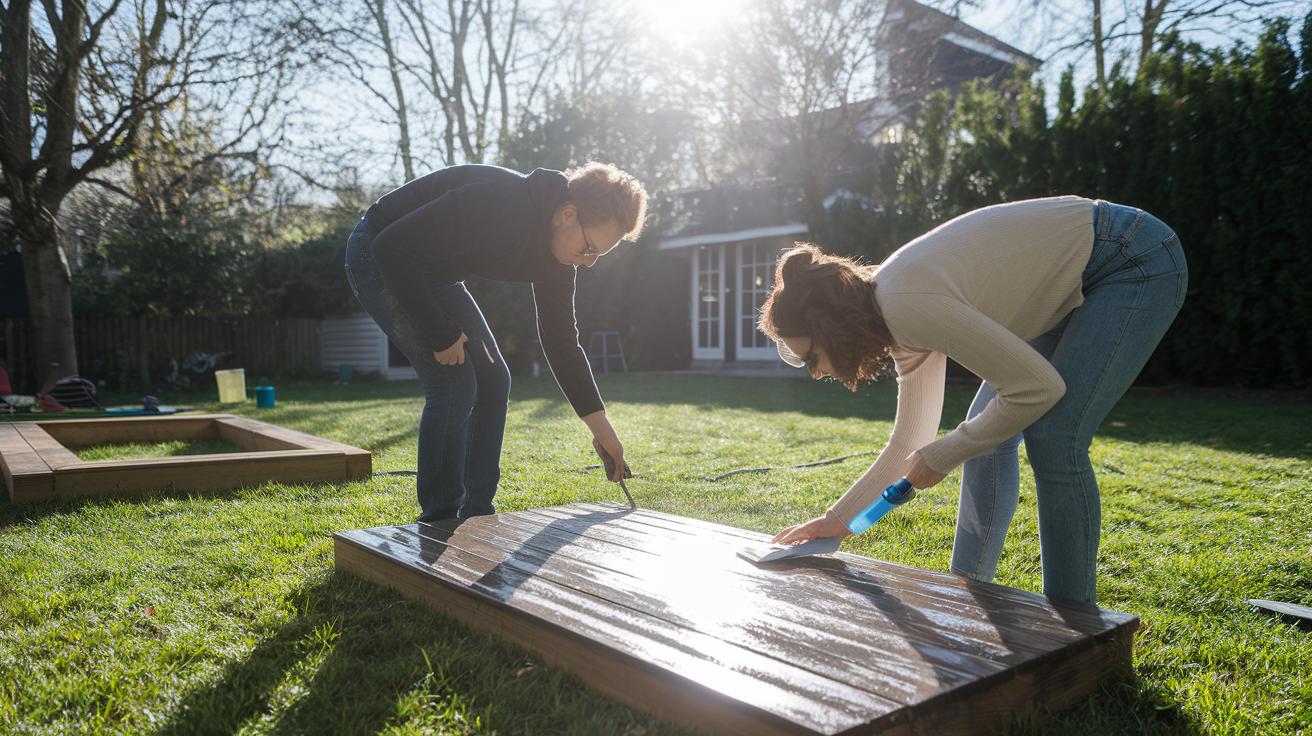
Notice chipped paint on wooden parts? Sand back to solid wood, no soft spots allowed. Then brush on a coat of exterior primer. Once it’s dry, apply exterior-grade paint to seal out sun and rain. A neat paint patch keeps your wood splinter-free and looking sharp.
By the way, once a year sand and restain every wooden beam. Let each coat soak in and air-dry for 24 hours before kids climb again. Yep, I once mixed up drying times and waited an extra day, but that little pause gives your course a just-built pop and shields it from weather for another year.
Seasonal Care Strategies for Backyard Obstacle Course Longevity
As the leaves start to change, it’s time for seasonal care. In November, pull apart any moveable pieces and store them inside where humidity sits around 50 percent (that’s half the moisture in the air). I use big plastic bins or sturdy racks. It keeps frost from cracking wood and stops metal parts from freezing solid.
Next up: tarp cover time. Wrap your fixed frames in thick 6-mil plastic tarps (that’s extra-heavy sheet plastic) and tie them to secure points. Those sheets send rain and snow sliding off before a drop soaks in. I learned the hard way when my poles froze solid one winter, don’t skip this step.
After any big storm, walk your course within three days. Look for puddles and shifting ground. If you spot water pooling, clear out leaves and sticks. Then check that your French drain (a gravel-filled trench that guides water) has a slight slope, about one foot drop every 100 feet, to carry water away. Good drainage keeps mud out of the fun.
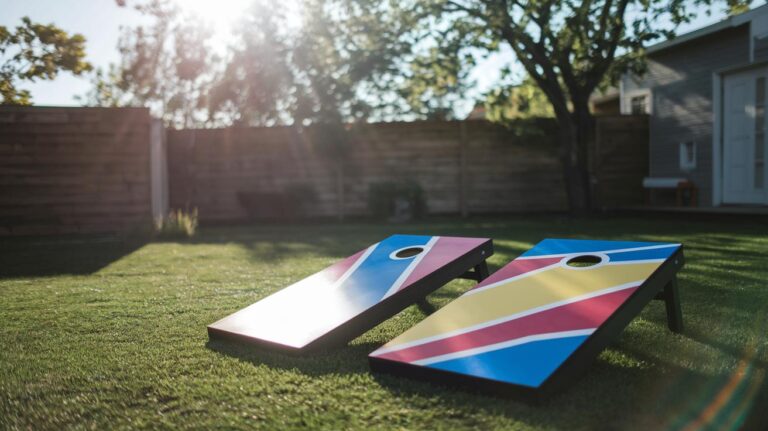
When warm weather rolls back around, give your wood and vinyl a UV-blocking sealant (think SPF 50 for your boards). It stops sun from drying and cracking your surfaces. If you’ve already weatherproofed lawn games like weatherproof cornhole boards, you know the drill.
Through the rainy months, peek into your drainage trenches every few weeks. Make sure dirt or leaves haven’t clogged the channel. A clear trench means water flows off your course fast, not into the slip lanes.
This seasonal plan, winterizing gear and prepping for summer sun, keeps your obstacle course solid all year. Just stow loose parts and cables where they can’t catch frost. No more surprises when the kids dash outside, just smooth runs and nonstop fun.
Metal Frame and Rust Prevention Techniques for Backyard Obstacle Courses
Rust sneaks into metal frames if you let it. Have you ever seen tiny orange flakes under a beam? A few simple steps will keep your course solid and safe.
-
Monthly Check
Once a month, grab a flashlight and run it along each beam. See any orange spots or bubbling paint? Oops. That’s your cue to use rust converter (liquid that turns rust into a paint-ready surface). Brush it on, wait twenty minutes, then wipe it off before moving on. -
Grease Hinges Every Three Months
Every three months, slick up each pivot and hinge with lithium grease (slippery grease for smooth moving parts). This helps swings, brakes, and rotating bars glide quietly instead of creaking. -
Wax Joints Every Six Months
Halfway through the year, smear anti-corrosion wax (wax that seals out moisture) into all the joints. Think of it like lip balm for metal, it fills tiny gaps and keeps water out. -
Spray Chains Twice a Year
Two times a year, give chains and metal cables a light mist of corrosion inhibitor (spray that blocks rust). Let it settle, then wipe off any drips so nothing sticks or squeaks. -
Fresh Coating Every Two Years
Every twenty-four months, strip off old layers and roll on a fresh powder coat finish (dry-on layer that fights scratches). It’s tougher than paint and laughs at rain.
Always use galvanized bolts and brackets (fasteners dipped in zinc). They shrug off rust and carry more weight. That’s one less worry when everyone’s playing.
Keeping rust at bay is all about regular check-ins and quick fixes. Your backyard obstacle course will stay ready for fun, rain or shine.
Essential Tools and DIY Repair Guide for Backyard Obstacle Course Maintenance
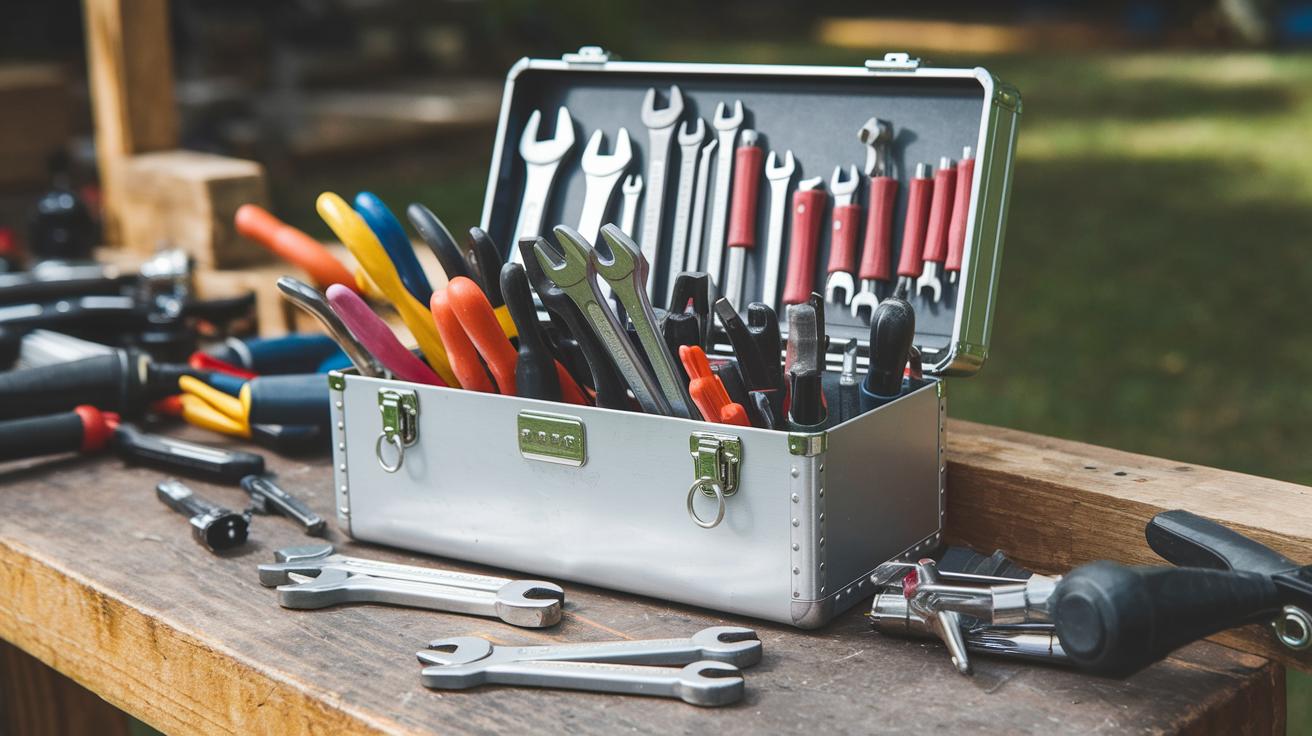
Grab a trusty toolbox and make sure you’ve got these basics before you start tinkering.
Toolkit essentials:
- Adjustable wrench set (wrench you can open or close from 10 to 24 mm to fit different nuts)
- 18 V cordless drill (battery-powered drill) with charger
- Orbital sander (power tool that sands in small circles) plus spare sanding pads
- Hacksaw (hand saw for cutting metal)
- Torque wrench (wrench that clicks when a bolt reaches the perfect tightness)
Lubricants:
- Silicone spray (keeps slides and rails gliding smoothly)
- Lithium grease (thick oil for hinges and pivot points)
- Anti-corrosion wax (protective wax that seals metal joints against rust)
Protective gear:
- ANSI-certified gloves (strong-grip gloves made to safety standards)
- Safety goggles (clear glasses to block flying bits)
- Helmet (hard hat for low-clearance spots)
- First aid kit (bandages and antiseptic to clean up scrapes)
Take care of your drill. Feel its weight in your hand and swap its worn brushes (small carbon bits inside the motor) every six months. Always peek at saw blades before you cut. Dull teeth leave rough edges and can slip, trust me, I learned that the hard way.
When a rope frays, cut out the bad part. Then splice in a fresh segment with a square knot (simple knot that holds tight). By the way, slap on a coat of sealant (waterproof mix that protects wood) once you’ve sanded until the surface feels smooth.
Got loose brackets? Grip your wrench and snug them up until you hear or feel them stop turning. That little click means you’re good to go.
For more on picking sturdy obstacle bits and layouts, check small backyard obstacle course design tips.
Final Words
Jump into a quick recap: we mapped a simple calendar – monthly wrench checks, rope tension tests, quarterly pressure washes, and annual wood sealing – to keep every challenge element in top shape.
We ran through a safety checklist – corrosion tests, weld inspections, padding reviews – so play stays worry-free.
Then we covered cleaning, seasonal care, rust prevention, and must-have DIY tools.
With these backyard obstacle course maintenance tips, your course will stay sturdy and fun for years. Enjoy every race and leap ahead!
FAQ
What maintenance schedule keeps my backyard obstacle course in top shape?
The maintenance schedule for a backyard obstacle course includes monthly hardware, rope tension, and chain corrosion checks with an adjustable wrench and tension gauge; quarterly pressure-washes and weld evaluations; a semiannual rust inhibitor spray; and an annual wood-sealing finish.
How do I perform safety inspections on my course?
Start with monthly magnetic and visual chain corrosion tests, then do quarterly weld and anchor pull-out evaluations, compression tests for protective padding, weight-limit checks, and fall-protection reviews around heights above 3 ft.
What cleaning steps keep obstacle course surfaces free of mold and debris?
Use a 1:10 bleach solution on ropes and nets to remove mold; remove leaves and sticks weekly to prevent rot; steam-clean cargo nets at 212 °F; sand and touch up any paint chips; and pressure-wash quarterly.
How do I prepare my obstacle course for winter and summer weather?
For winter: disassemble portable elements, store indoors at 50% humidity, and cover frames with 6 mil polyethylene tarps. For summer: apply a UV-resistant sealant, install French drains at a 1% slope, and check drainage monthly.
What methods prevent rust on metal frames and bolts?
Prevent rust by doing a monthly spot treatment with rust converter; apply anti-corrosion wax every six months; grease hinges with lithium grease every three months; powder-coat every 24 months; use galvanized bolts; and spray chains with a corrosion inhibitor biannually.
Which tools and protective gear should I have for DIY repairs?
Your toolkit should include a 10–24 mm adjustable wrench, an 18 V cordless drill, an orbital sander, a hacksaw, a torque wrench, silicone spray, and lithium grease. Protective gear: ANSI-certified gloves, safety goggles, a helmet, plus a first-aid kit with bandages and antiseptic.