Small Backyard Obstacle Course Design Tips: Ultimate Fun
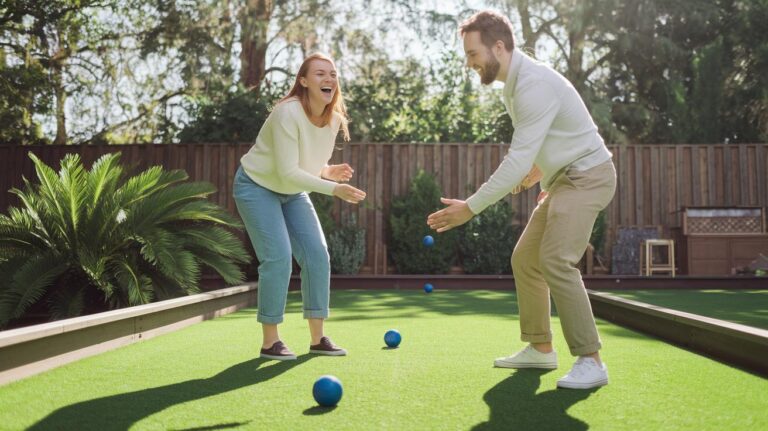
Ever stare at your tiny backyard and think, “This place is way too small for any real fun”? I used to think the same. But you’d be surprised what a few simple layout tricks can do.
Imagine a sprint lane along your fence, a balance beam (a narrow board for testing balance), and a rope climb (a thick rope you pull yourself up on) all squeezed into just 200 square feet (about a 14-foot by 14-foot area). It’s like tetris with playground gear. And each spot can spark giant grins.
In this guide, we’ll show you how to map out every tire hop and beam run. By the way, my dog loves chasing through the tire hops. You’ll mark lanes in the grass, set up jumps, and even hang a climbing rope without needing an acre of land. Have you ever heard the cheer when someone conquers that rope? It’ll be your backyard’s best anthem.
Ready to turn your snug yard into a thrill zone? Grab a tape measure, some old tires, and let’s get rolling!
Planning Your Small Backyard Obstacle Course Layout
So, before you pick up those wood planks or ropes, let’s measure the area first. You want about 100 to 200 square feet so it feels open but still cozy. Grab a tape measure (that tool that marks length), jot down the length and width, and sketch the rough boundaries on paper.
Each obstacle needs its own spot. Stick stakes at the corners and tie string to mark the edges. Draw a simple grid on paper. You’ll know exactly where to put a balance beam or climbing net. No guesswork.
Next, pick a route that flows. You could do a straight shot with five to seven challenges, or try a loop that brings you right back to the start. Space each obstacle about three to four feet apart so no one trips or bunches up. A quick sketch stops tangled turns and jammed-up moments.
Graph paper (paper printed with tiny squares) makes footprint mapping a breeze. Draw a rectangle for beams, circles for tire runs, and lines for rope climbs. Label each shape with its size, then check you didn’t overlap anything or block the main path.
Leave about a three-foot gap around the whole course. Trust me, I once crammed mine so tight it felt like bumper cars. You can swap in fresh challenges later without tearing everything down. Easy.
Space-Saving Obstacle Arrangement Ideas in Small Backyard Courses
Got a tiny yard? You can still set up fun challenges that fit in tight spots. These ideas use small footprints but pack a big punch.
-
Mini Balance Beam (about 6 feet by 1 foot). Place it along a fence or wall. Walk heel to toe to sharpen your balance and core control (the muscles in your belly and lower back). It’s like a mini tightrope in your yard.
-
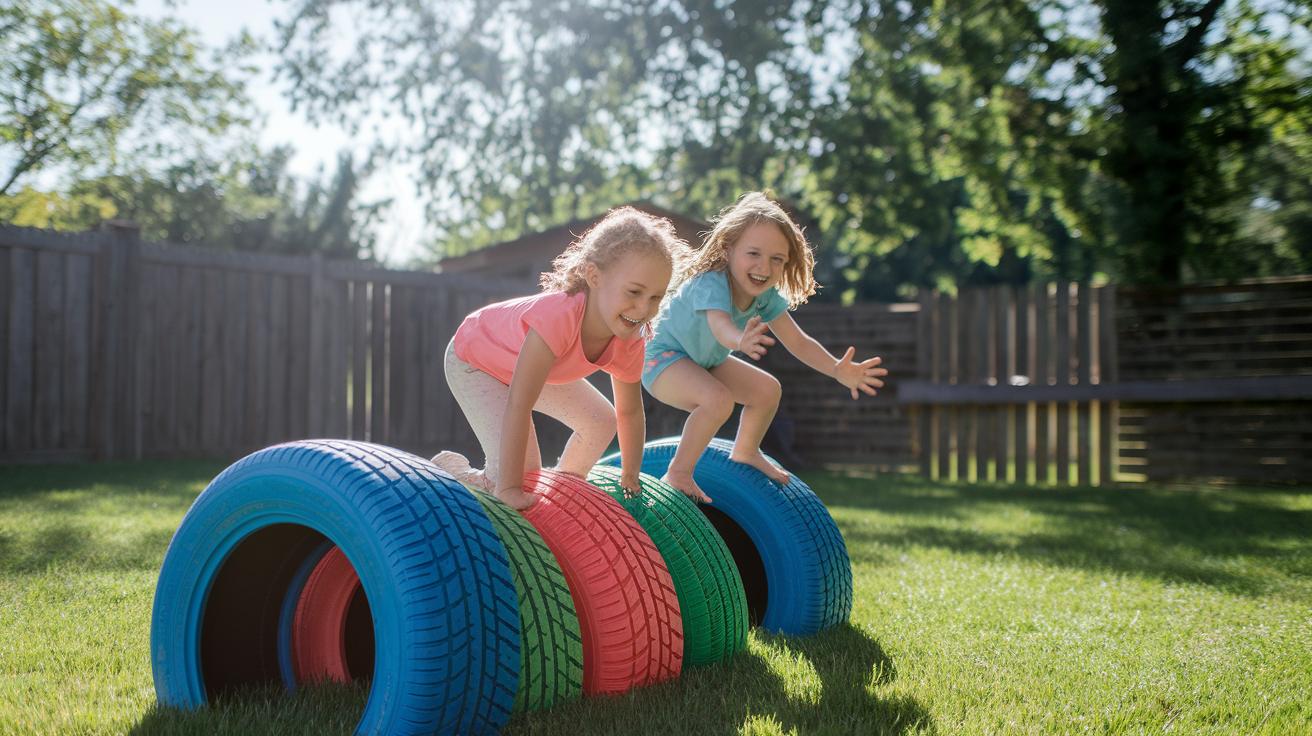
Tire Step Hurdles (about 4 feet by 3 feet). Rescue old tires from the curb and lay them on the grass. Step in and out to build leg strength and quick footwork. Affordable, green, and sure to make you grin.
-
Rope Ladder Climb (about 3 feet by 5 feet). Hang a rope ladder from a sturdy tree branch or playset. Climbing it tones your arms and shoulders (upper-body strength) and trains hand-foot coordination. Feel that tug in your muscles as you climb.
-
Tire Run Sequence (about 8 feet by 3 feet). Space two or three tires 3 to 4 feet apart. Sprint or hop from one tire to the next to boost agility (quick, graceful moves). Swap in bouncy tires to kick up the fun.
-
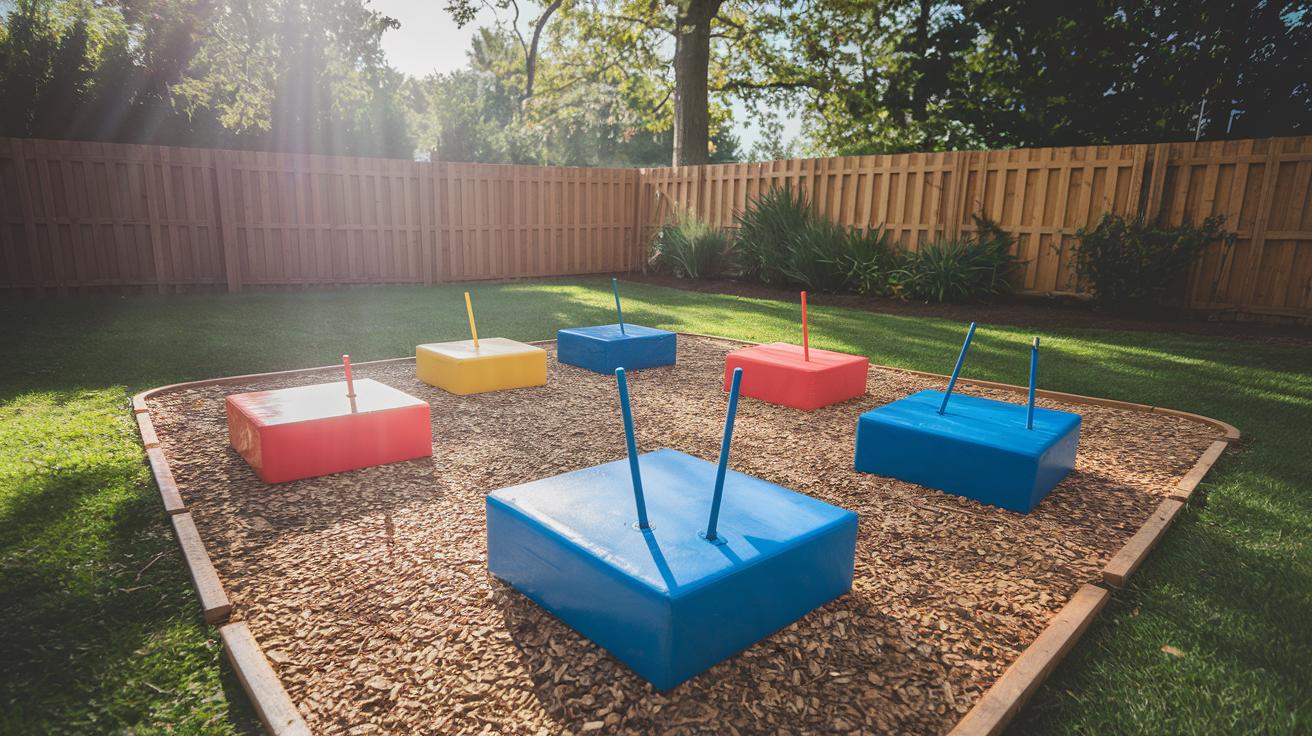
Jump Box Cubes (each cube is 2 feet by 2 feet). Line cubes up with 3 feet between them. Jump from box to box for explosive power. Stack two cubes for a higher hurdle if you’re feeling bold.
-
PVC Pole Weave (about 6 feet by 2 feet). Stick four PVC poles (sturdy plastic tubes) into ground sleeves. Weave through them to sharpen lateral agility (side-to-side quickness). Setup is a breeze, no tools required.
Choosing Budget-Friendly Materials for Small Backyard Obstacle Course Builds
You can kick things off by gathering recycled wood pallets (flat wooden platforms), old tires, strong ropes, and PVC pipes (plastic tubing). These parts generally cost between $50 and $200 total, depending on how many you need. Try scouting local warehouses for free pallets or asking neighbors for spare tires, it’s a clever way to save cash and add character to your course.
For the wood pieces, pick pressure-treated or sealed wood so your platforms and beams shrug off rot and bugs. And grab UV-resistant PVC so your pipes won’t crack in sun or rain, you know. When you’re choosing durable outdoor equipment, these upgrades really pay off, they’ll hold up through every leap and swing for years.
Think about padding your landing zones with reclaimed rubber mulch (crumbled tire bits). It softly cushions falls, mutes noise, and turns scrap rubber into something useful. Foam mats can work too, but rubber mulch blends right into your backyard scene, it’s soft underfoot and kind to your knees. By the way, my dog gave it a sniff and left it alone, score one for safe materials.
Put together your platforms in bolt-on modules so you can swap pieces or add new challenges later. Then coat your metal frames with weatherproof paint to keep rust at bay. These little tweaks help your budget-friendly course stand strong through sun, rain, and all your backyard adventures.
Safe Installation and Surface Options for Small Backyard Obstacle Courses
First, check every wood and metal piece for rough spots. Grab some sandpaper (rough paper for smoothing) or a metal file (tool with ridged edge) and buff away any sharp bits. Oops, still feel a splinter? Gently run your hand along each beam before you set it in place.
For steady setups, push ground anchors (metal rods you hammer into the dirt) or strong stakes (pointed metal posts) into firm soil around your frames. You can also pour small concrete footings (sturdy posts set in cement). Just dig a hole, drop in a tube form (cardboard mold), and fill it with quick-set concrete (fast-hardening cement) so posts don’t wiggle. Tie net posts and balance beams to these anchors so nothing tips when you climb or leap.
Around spots where folks might land hard, lay a two-inch layer of wood mulch (chipped bark that feels soft) or foam mats (squishy padding squares). That cushioned surface helps soften any tumble from a low climbing wall or a little jump platform. Spread it evenly, you’ll thank me when bare feet or shoes land gently.
Give beams and platforms a non-slip makeover with antislip paint (grippy coating) or a rubberized coating (sticky layer). These treatments add a rough texture so shoes grip better, even after rain. Let the paint dry fully, nobody likes slipping on a wet beam. And avoid stepping on it until it’s set.
Secure rope swings with outdoor-rated hardware like carabiners (locking clips) and eye bolts (twisted metal hooks) stamped with weight limits. Double-check the load capacity on each part, then give every knot and fitting a good tug. Do a quick shake test each month to spot loose bits before they cause a surprise.
Modular & Adjustable Features for Versatile Small Backyard Courses
Want a backyard course you can tweak in seconds? You can bolt on stackable wood platforms or clip in extra planks for a fresh challenge. Those plug-in pieces slide into predrilled holes (small holes made ahead), so swapping a low balance beam for a mini climbing wall takes just minutes.
And if you love variety, play with adjustable height features. Slide a plank up or down the metal rails, or pop in removable step blocks, start kids low, then crank up the fun. These slots hold plenty of weight without wobbling.
Stow gear without drama by picking portable obstacles. Foldable hurdles and detachable agility ladders tuck away on hooks. When the kids head inside, just fold them flat and hang, no heavy lifting needed.
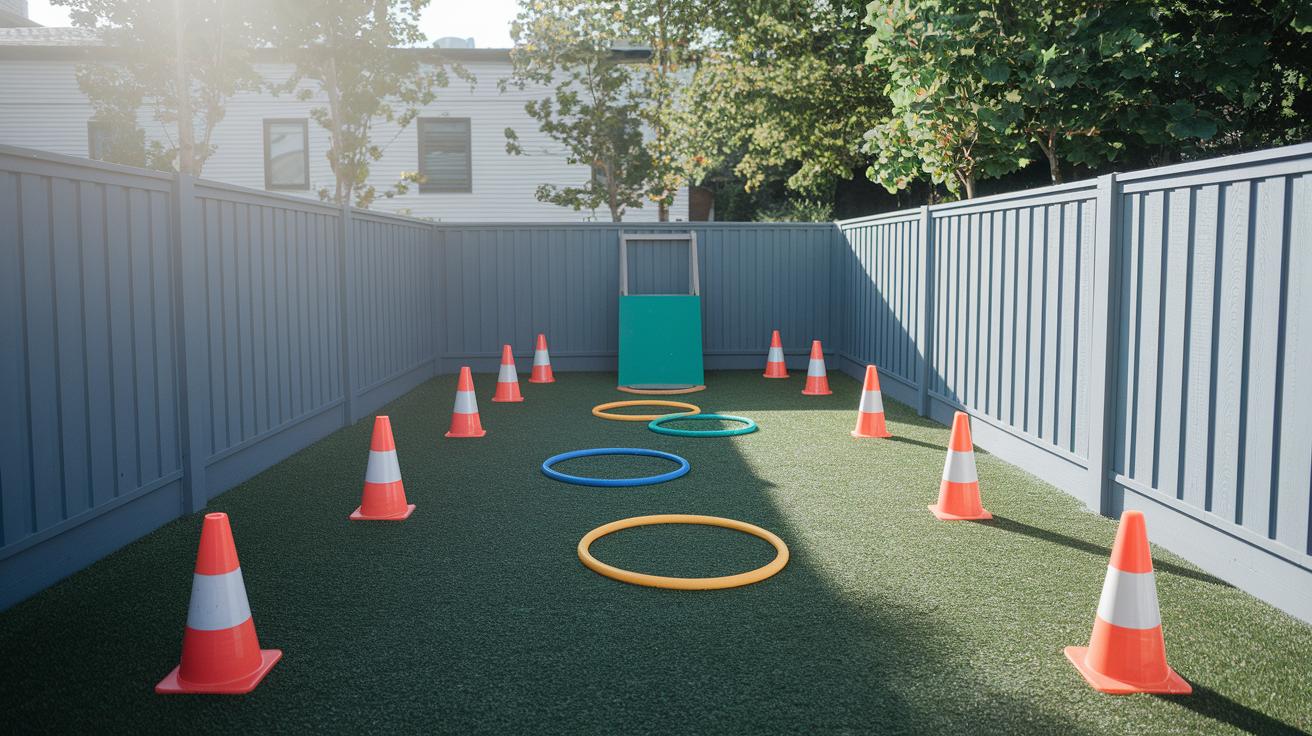
Turn every square foot into a multi-use training zone. Set out cones for sprint drills or swap in cubes for bench dips. One day it’s a fast HIIT circuit, the next it’s a wobbly balance trail for little ones.
Okay, here’s a pro tip: add color tags for progression planning. Use green for easy, yellow for medium, red for bold. Keep a chalkboard or dry-erase board nearby to track your personal bests.
With these modular tips and simple progression hacks, your tiny yard becomes a growing playground, one that keeps pace with every workout and play session.
Maintenance, Seasonal Adjustments, and Longevity Tips for Small Backyard Obstacle Courses
Hey neighbor, want to keep your backyard obstacle course safe and ready to roll? A simple check every six to twelve months can really help. Take a close look at bolts, ropes, and wooden beams. You’ll spot loose screws, frayed fibers (loose threads), or little splits before someone trips.
Here’s a friendly routine checklist:
- Tighten every bolt and screw so nothing wobbles under weight.
- Scan ropes and nets for frayed fibers; swap in a fresh length if you see wear.
- Sand and reseal wooden beams with a weatherproof sealant (water-proof coating).
- Give anchors and stakes a shake test to make sure they stay put.
- Refresh rubber mulch or foam mats around landing spots for a soft cushion.
When you need a quick fix, reach for wood glue (strong sticky stuff) to fill tiny cracks. Clamp split boards until the glue sets, no need to rebuild the whole beam. And if a rope ladder gets loose, knot in a new rope splice instead of rethreading every rung. I once did that in two minutes, no sweat.
As fall turns chilly, plan some seasonal care. Store removable hurdles in your garage. Fold up agility ladders or cover fixed frames with a tarp. Lift foam mats off damp ground so mildew won’t sneak in. Winter prep now saves big headaches come spring.
Don’t skip your wear and tear check. Ever found a rusty spot on metal frames? Sand it off and recoat with rust-resistant paint. Give your mulch a squeeze test, if it’s too firm, swap in fresh bits for gentler landings.
Thinking long term? Try extension planning. Bolt on new segments in stages, swap in fresh challenges, and watch your course grow without tearing down the old bits. Your backyard adventure just keeps getting better.
Final Words
You’ve measured your yard, sketched a clear course path, and picked budget-friendly materials that stand up to wear and weather.
You’ve learned safe anchoring methods, added shock-absorbing surfaces, and set up modular pieces for easy tweaks as the kids grow.
Keep that routine maintenance checklist handy and swap out worn bits each season. With these small backyard obstacle course design tips, your compact course will keep everyone active and smiling all year long.
FAQ
How do I plan my small backyard obstacle course layout?
Planning a small backyard course starts by measuring 100–200 square feet, sketching a linear or circular flow, placing 5–7 obstacles spaced 3–4 feet apart, and leaving room for future changes.
What are space-saving obstacle ideas for a compact backyard?
Space-saving obstacle ideas include a narrow balance beam (3×1 ft), a foldable jump bar (2×2 ft), an agility ladder laid on grass, a rope swing hung from a stout branch, a tire run, and stackable platforms.
What materials work best for a budget-friendly backyard obstacle course?
Budget-friendly obstacle course materials include recycled wood pallets treated for weather, old tires for ground loops, UV-resistant PVC pipes for frames, durable ropes for swings, and reclaimed rubber mulch for cushioning.
How do I install obstacles safely and choose protective surfaces?
Installing obstacles safely means smoothing all edges, anchoring frames with ground stakes or concrete footings, applying antiskid paint on balance beams, and placing wood mulch or foam mats under impact zones.
How can I build modular and adjustable backyard obstacles?
Modular and adjustable backyard obstacles can use bolt-on units or stackable blocks, adjustable-height planks for balance, foldable bars for jumps, and detachable agility ladders so you can swap or expand challenges as skills grow.
What maintenance does a small backyard obstacle course require for longevity?
A small backyard obstacle course requires inspecting hardware and ropes every six to twelve months, tightening loose bolts, refreshing sealant or paint, storing or covering removable pieces in winter, and replacing compacted mulch or mats.