Cover Crops For Raised Beds Powerful Soil Boost
Have you ever wondered if the earth in your raised bed could work overtime? Left bare, it loses its goodness and weeds sneak right in.
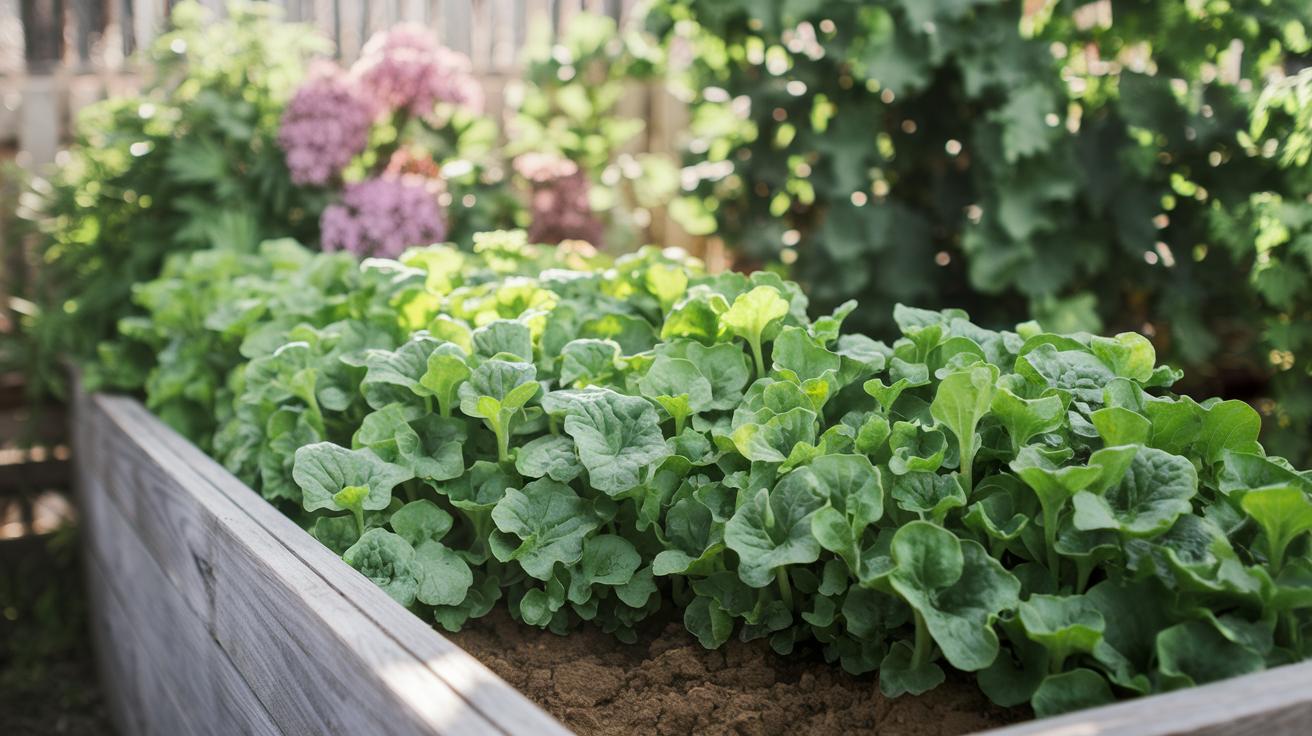
Cover crops (plants you grow to feed and protect your soil) act like a warm blanket. They lock in nutrients and soften the earth. Then they crowd out weeds all winter long. Wow!
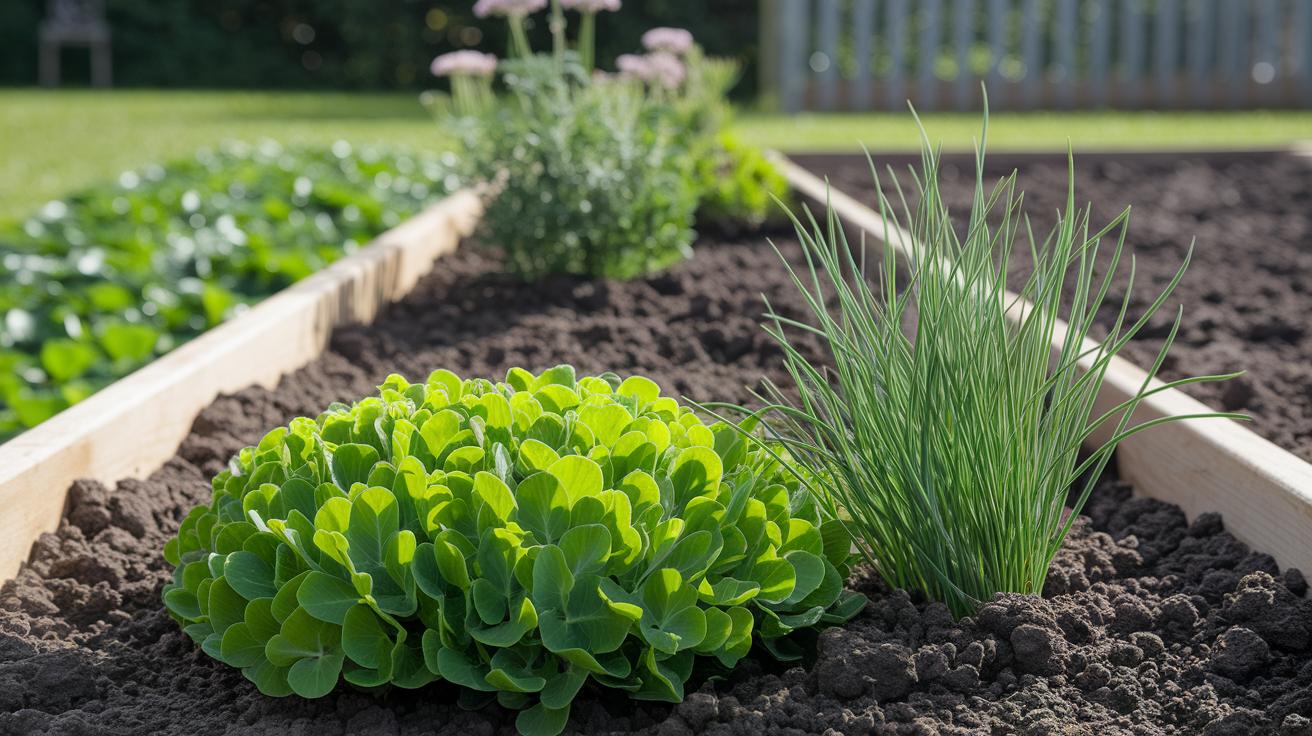
You’ll pick a team of cover crops: legumes (peas and beans that add nitrogen), grasses (oats that help hold soil together), and brassicas (mustard and kale that can fend off pests). This mix gives your soil the muscle it needs.
You’ll learn simple soil-prep steps. You’ll get easy sowing tips. And you’ll see how to turn it all back into the earth for a powerful nutrient boost by spring.
Quick-Start Guide to Cover Crops in Raised Beds
Cover crops (plants grown to feed and protect soil) are like a cozy blanket for your raised beds (soil boxes). They trap nutrients, make the earth feel crumbly and soft, and keep weeds at bay all winter.
Step 1: Pick your plants.
Choose legumes (plants that add nitrogen), grasses (like rye for strong roots), and brassicas (cabbage-family plants). Together they boost soil health, lift compacted dirt, and crowd out weeds.
Step 2: Prep the soil.
Run a gentle rake over the top. You want a smooth seedbed (even soil surface) without breaking the structure of your boxes. Think of the soil like a firm cake, ready for the next layer.
Step 3: Sow the seeds.
Measure about 0.3 pound of clover seeds or 2 pounds of rye seeds per 100 square feet. That’s roughly a 10-by-10-foot bed. This spacing helps seeds sprout into a full green cover.
Step 4: Water with care.
Give a light sprinkle after sowing. Keep the soil moist (not soggy) so roots can reach deep. Imagine wringing a sponge, damp but not dripping.
Step 5: Mow or turn in.
Two weeks before you plant veggies, trim or till (turn over) the cover crops. Let the cut bits rest and mix into the soil. They’ll break down into fresh food for your spring seedlings.
By the way, I once under-seeded my bed and got peek-a-boo spots of bare dirt. I simply sowed a bit more clover, watered, and watched it fill in. You’ll see your beds come alive and be ready for spring planting before you know it.
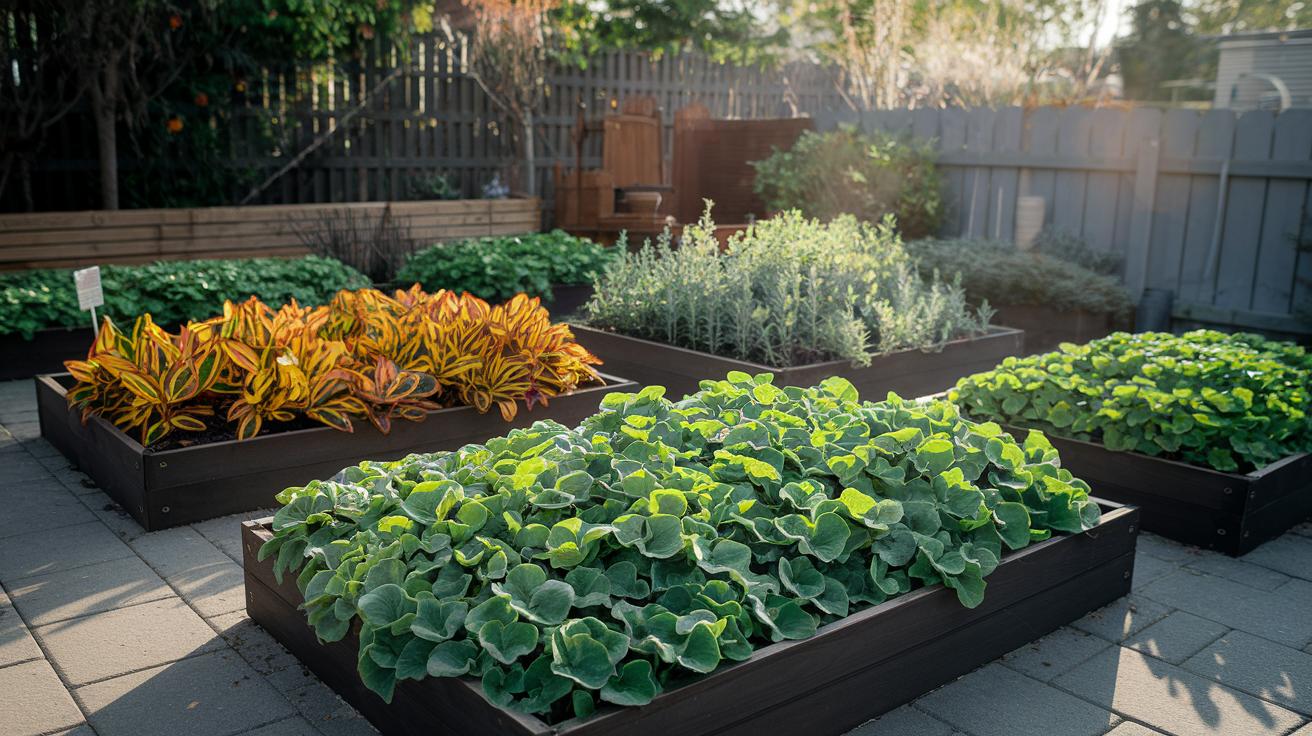
Top Cover Crop Varieties for Raised Bed Planting
Ever thought about giving your raised bed a little year-round boost? Cover crops are like nature’s helpers, they feed the soil, hold it in place, and crowd out weeds. I love mixing legumes, grasses, and brassicas to keep the dirt rich and ready for veggies. Here’s a quick peek at my favorite cover crops, what they do, and how much seed you need for a 100-square-foot bed.
| Species | Category | Key Benefit | Seeding Rate/100 sq ft |
|---|---|---|---|
| Clover | Legume | Nitrogen Fixation | 0.3 lb |
| Vetch | Legume | Nitrogen Fixation | 0.4 lb |
| Rye | Grass | Soil Structure | 2 lb |
| Oats | Grass | Organic Matter | 1.8 lb |
| Mustard | Brassica | Weed Suppression | 0.5 lb |
| Radish | Brassica | Soil Aeration | 0.6 lb |
Core Benefits of These Green Helpers
Legumes (plants like clover and vetch) team up with friendly soil bacteria to pull nitrogen (a key plant nutrient) from the air. Have you ever sniffed fresh clover in the morning? Yes! That sweet, earthy scent means your soil is brewing food for your plants. When the plants die back, they become a soft mulch that feeds your next veggies. Think of it as a little pantry that restocks itself.
Grasses (like rye and oats) send down long roots that weave through the soil. You can feel the bed springy under your trowel. That springy bounce makes you smile, right? Those roots break down into organic matter (decayed plant bits) that holds water like a sponge. Perfect for when the sun beats down.
Brassicas (mustard and radish family) grow big, leafy blankets at ground level. That cover blocks weeds and stops rain from washing away topsoil. Their thick taproots crack open hard dirt so air and water sink in. Oops, I once forgot to chop those radishes and ended up with a wild tangle of green shoots next spring, fun surprise. After winter frost knocks them back, just chop and drop for extra mulch and gentle soil fluffing.
Planting these cover crops now sets you up for a bountiful summer harvest. Back to prepping your soil.
Preparing Raised Beds for Cover Crop Success
Start by giving your raised beds a clean slate. Use a garden fork or trowel (small digging tool) to lift and break up big clumps. You’ll feel the warm earth crumble under the tines. Then, lightly rake the surface to make a smooth seedbed (flat soil surface) without smashing that crumbly texture roots crave.
Oh, and if you’re a no-dig gardener (planting without turning soil), just tap the top inch with a rake handle to loosen it. My cat even loves to sun herself there while I work.
Next, test the soil’s pH (how acidic or basic the soil is) with a strip or meter. Aim for 6.0 to 7.0. If it reads below 6.0, sprinkle garden lime (crushed rock that raises pH). If it’s above 7.0, gently mix in some sulfur to lower it.
Now, give your soil a nutrient boost. Spread about 1/4 to 1/2 inch of compost (decayed organic matter that feeds plants) or a balanced organic mix over each bed. This soft, nutrient-rich layer creates a cozy cradle for your cover crop seeds and kick-starts their growth.
Plan to do all this about a week before planting. Light tilling works wonders when winter packs down your soil. And if you skip the dig, you’ll keep tiny soil creatures safe and cut back on dust. Either way, adding compost after adjusting pH helps your cover crops sprout strong and healthy.
Cover Crops For Raised Beds Powerful Soil Boost
Getting the timing right is like hitting the sweet spot for your raised beds. You want to plant when the earth still holds summer’s warmth but early enough to shield soil from winter’s chill. Do that, and your beds stay cozy and fertile all year.
- Late summer to early fall (August-September): Once you pull out summer veggies, sprinkle clover, vetch, or peas. These legumes (plants that add nitrogen to soil) form a soft green blanket. It keeps soil from washing away when rain falls.
- Overwinter sowing window (October-November): Scatter hardy rye, oats, or barley seeds thick enough so roots grip the soil all winter. Those roots hold the earth steady through frosty nights. And they feed tiny soil helpers (microbes) below.
- Succession sowing (late fall): If you spot thin patches, lightly reseed with fast-germinating oats or rye. This keeps the cover crop dense until hard frost. No bare spots means no muddy mess in spring.
- Frost-kill timing (December-February): Let mustard or daikon radish grow big leafy crowns. Then watch winter’s first freeze wilt the leaves. Those soft bits tuck into the soil, making it fluffy and ready for spring planting.
- Early spring wrap-up (March-April): Mow or shallow-till (lightly break up) your cover crops two to three weeks before planting. That short wait gives soil microbes time to munch green matter. They turn it into rich food for your next veggies.
Planting cover crops can feel like a cozy winter project. You’ll love the soft, crumbly soil next spring, promise!
Sowing Techniques & Irrigation
After you spread seeds by hand (broadcast seeding) or drop them in neat rows with a tool (drill-seeding), press them gently into the soil. Use a flat board or the back of your trowel. That snug hug keeps each seed from bouncing away in the breeze.
Right after you press the seeds, give the bed a fine mist of water. The soft spray helps them settle without washing away. I once soaked mine too much – whoops.
Every morning, check your seed bed. If the top inch of soil feels dry, mist again at sunrise so roots can sip water as they wake. Keeping the soil gently damp until tiny shoots pop up makes all the difference.
Effective Termination Methods for Cover Crops in Raised Beds

See Step 5 for timing.
When your cover crops are ready to settle, you’ve got a few friendly methods to wrap them into your soil. Each one helps feed your future veggies.
-
Chop-and-drop technique: You simply cut the cover crop and leave the green bits on top. It makes a soft mulch (a plant blanket) that locks in moisture and keeps weeds at bay. You might even feel the soil stay damp under that green cover. It breaks down slow though (decomposition is when organic bits turn into plant food), so you’ll need to let it sit a bit longer before planting.
-
Cut-and-incorporate method: Here you mix fresh green bits into the top inch of soil. Soil microbes (tiny lifeforms that eat plant bits) get busy faster, turning it into nutrients your seedlings love. It gives a quicker feed but can leave the surface thirsty. So plan to water your bed soon after. Oops, I once mixed too deep and surprised my earthworms!
-
Light tilling: Gently turn over just the top 2 or 3 inches of dirt. It buries roots and shoots for fast decay and loosens compacted soil so water and roots can move easily. It’s like fluffing a pillow for your plants. But don’t dig too deep or you’ll disturb earthworms and let precious moisture slip away.
By the way, let the bed rest for two to three weeks so those soil microbes can munch on the bits and free up a nutrient feast for your seedlings. Then you’re all set to plant and watch your garden take off.
Troubleshooting Common Cover Crop Challenges in Raised Beds
Invasive Regrowth
Oops, little clover and mustard volunteers popping up everywhere? Those surprise sprouts come from leftover seeds or deep roots hiding in your raised bed (a wood box filled with soil). Grab a sharp mower blade or a hoe to skim the top two inches of soil, then run a rake over it. You’ll feel the warm earth crumbling between your fingers as you thin out extra plants and keep nutrients right where you want them.
Nitrogen Immobilization
Notice your seedlings looking pale or stunted after you turn under your green manure mulch (cover crops mixed into soil)? Soil microbes (tiny living things that break down plant matter) are munching on nitrogen (a key plant nutrient) to fuel themselves. They’re like busy bakers using all the flour. Give your soil two or three extra weeks before planting, or side-dress with a light sprinkle of compost (decayed organic matter) or blood meal (high-nitrogen organic fertilizer) to feed your veggies.
Drainage Issues
Ever step into a spongy patch that feels like a wet sponge? Grab a garden fork or broad fork (a tool with long handles and metal tines) and wiggle it through the top two inches to loosen the soil. Then level the surface so rain runs off instead of pooling. By the way, my cat loves sunbathing on the gravel path you lay to guide extra water away.
Residue Washout
After a heavy shower, do chopped green bits wash down the slope or clog your drains? That’s runoff carrying nutrients right out of your bed. Lay straw or wood-chip mulch in the little channels and along the edges. This soft buffer slows water flow, holds cut pieces in place, and keeps precious nutrients where they belong.
Final Words
In the action, you grabbed seed types, smoothed your soil, followed seasonal timing, nailed sowing density, and learned how to wrap up with mow-and-drop or a light till.
You’ve seen how legumes, grasses, and brassicas each bring perks, plus tips for pH checks and watering.
Next time you spot a stray weed or soggy spot, you’ll know a quick fix.
With cover crops for raised beds cheering you on, happy gardening ahead!
FAQ
What are the basic steps for quick-starting cover crops in raised beds?
The basic steps for quick-starting cover crops in raised beds include choosing legumes, grasses, or brassicas; smoothing soil; sowing at recommended rate; keeping seeds moist; then terminating and recycling the biomass as organic matter.
Which cover crop species work best for raised beds?
The cover crop species that work best for raised beds include legumes like clover (0.3 lb/100 sq ft), vetch (0.4 lb); grasses such as rye (2 lb), oats (1.8 lb); and brassicas mustard (0.5 lb), radish (0.6 lb).
How should I prepare my raised bed soil before sowing cover crops?
Raised bed soil should be lightly raked or tilled—or left untilled and top-dressed—to smooth without compacting, adjusted to pH 6.0–7.0, then topped with ¼–½ inch compost to boost early growth.
When is the ideal time to sow and terminate cover crops in raised beds?
The ideal time to sow cover crops in raised beds is late summer through early fall (August–September), with overwinter sowing in October–November. Terminate two to three weeks before main crops (March–April) to leverage frost-kill benefits.
What are the best sowing techniques and irrigation tips for cover crops?
For precise seeding, broadcast or drill at scaled rates—rye 60–90 lb/acre, clover 10–15 lb/acre—press seeds gently into soil, then water lightly right after sowing and keep soil evenly moist until germination.
How do I terminate cover crops effectively in a raised bed?
Effective termination in raised beds uses chop-and-drop mulch by mowing, cut-and-incorporate by severing at soil line, or light tilling 2–3 weeks before planting. Allow 14–21 days for residues to decompose and nutrients to cycle.
How can I troubleshoot common cover crop issues in raised beds?
To manage volunteer regrowth, mow or shallow-cultivate; prevent nitrogen lock by delaying planting or adding low-rate nitrogen; fix drainage with better bed design; and reduce residue washout by mulching pathways.