How to Use Lime Fertilizer to Fix Acidic Soil
Acidic soil is the quiet reason a lot of lawns and gardens underperform. You can feed, water, and weed on schedule, and the grass still comes in thin or the tomatoes still sulk — because when the pH drops too low, the roots simply can’t pull the nutrients out of the dirt, even when the nutrients are right there. Lime fertilizer fixes that at the source. It’s ground limestone that raises soil pH, frees up the calcium and magnesium your plants have been missing, and turns sour, tight dirt back into something roots can actually work in. I’ve spread my share of it, wasted a couple of bags by guessing instead of testing, and learned that the whole job comes down to four decisions: which lime, how much, when, and how you put it down. Here’s how I’d walk through each one.
As an Amazon Associate, Backyard Superstar earns from qualifying purchases at no extra cost to you.
What Lime Actually Does to Sour Soil
Soil pH runs on a scale from 0 to 14, where 7 is neutral, lower is more acidic, and higher is more alkaline. Most vegetables, flowers, and turf grasses are happiest somewhere around 6.0 to 6.8. When your soil drifts below that — and a lot of yards do, especially after years of rain, pine needles, or synthetic fertilizer — a few things start going wrong at once.
First, nutrients lock up. Nitrogen, phosphorus, and potassium can all be present in the soil and still sit unavailable to the roots because the chemistry won’t release them at a low pH. Second, aluminum and manganese can climb to levels that actually stunt root growth. You end up with plants that look hungry no matter how much you feed them.
Lime is calcium carbonate (calcitic lime) or a calcium-magnesium carbonate blend (dolomitic lime). When you work it into acidic soil, it neutralizes the excess acidity, nudges the pH back up toward that sweet spot, and in the process delivers calcium and magnesium — two nutrients plants need in their own right. As the pH climbs, the locked-up nitrogen, phosphorus, and potassium become available again, and soil microbes that break down organic matter get a friendlier place to live. The payoff is steadier growth, better color, and turf that handles heat and foot traffic instead of thinning out.
One thing to set your expectations on: lime is a slow worker. Standard ground limestone can take three to six months to meaningfully shift pH, because it has to dissolve and react with the soil over time. That’s not a flaw — it’s why lime is gentle and hard to overdo in a single pass — but it’s the reason timing matters, which I’ll get to below.
Calcitic, Dolomitic, or Pelletized: Which Lime to Use
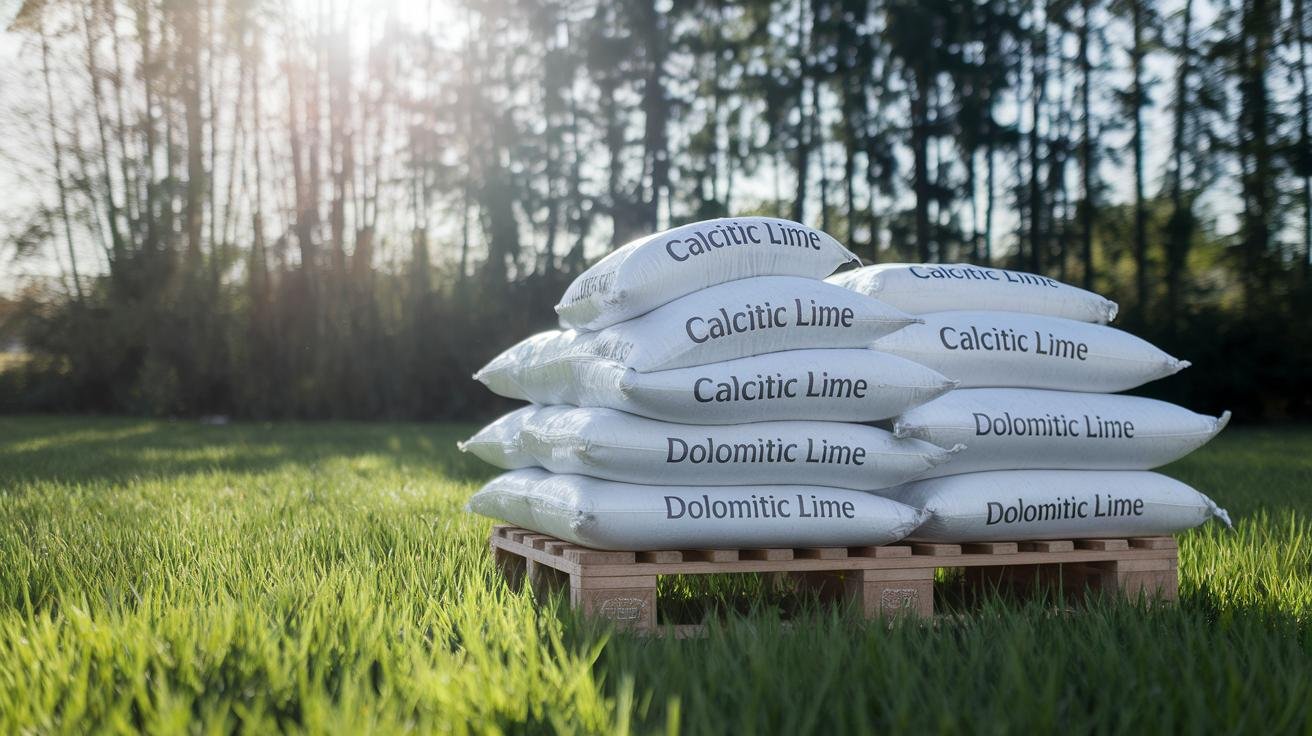
You’ll run into a few different products labeled “lime,” and the differences actually matter for your soil.
Calcitic lime is nearly pure calcium carbonate. Reach for it when your soil test shows you’re low on calcium but your magnesium is already fine. Push magnesium too high and you can actually tighten up clay soil, so this is the one to use when you don’t need the extra magnesium.
Dolomitic lime adds magnesium carbonate to the calcium. It corrects two shortages at once, which makes it the right call for the many soils — especially sandy ones in the eastern U.S. — that run low on both. A clean, easy version to handle is Espoma Garden Lime, a pelletized dolomitic limestone that pours without dust and works well for raised beds and smaller plots where you’re spreading by hand. It’s an inexpensive ($) way to cover a garden’s worth of beds.
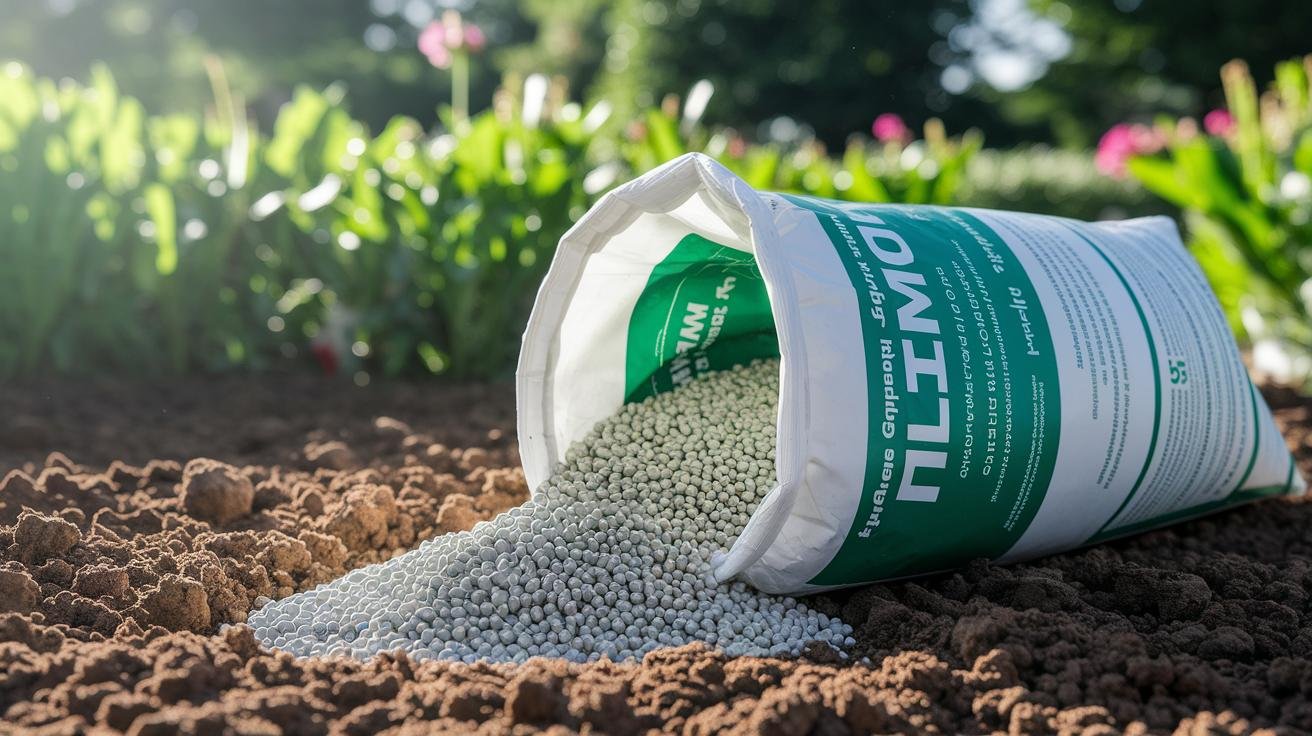
Pelletized lime describes the form rather than the chemistry: finely ground limestone bound into small pellets so it spreads evenly through a spreader and breaks down without coating you in white dust. If your main goal is to move the pH up quickly, a fast-acting pelletized product like Pennington Fast Acting Lime is what I’d grab — the particles are processed to start correcting pH sooner than ordinary ground limestone, and a single 30-pound bag covers roughly 5,000 square feet, so it suits a whole lawn ($$). It’s the closest thing to a quick fix lime offers, though “quick” is still weeks, not days.
Two others you’ll see but should treat with care: quicklime (calcium oxide) and hydrated lime are far stronger and react fast, but they can burn roots and skin if mishandled. For a backyard, the pelletized and dolomitic products above do everything you need with none of that risk.
| Type | What it contains | Best use |
|---|---|---|
| Calcitic lime | Calcium carbonate | Soils low in calcium but fine on magnesium |
| Dolomitic lime | Calcium + magnesium carbonate | Soils low in both calcium and magnesium |
| Pelletized lime | Granulated limestone in pellets | Even spreader application, no dust, faster pH shift |
Test Your Soil First — Don’t Guess
This is the step I skipped the first time, and it cost me a wasted bag and half a season. Liming without a soil test is just guessing with money — you might be raising a pH that was already fine, or barely denting one that needed a heavy correction. Ten minutes of testing tells you whether you even need lime, and if so, how much.
For a quick, cheap read you can do at the kitchen table, a DIY kit like the Luster Leaf Rapitest Soil Test Kit gives you pH plus nitrogen, phosphorus, and potassium across about 40 tests for a few dollars ($). It won’t match a lab to the decimal, but it’s plenty to tell you which direction your soil is off and roughly how far.
If you’d rather have hard numbers and an actual recommendation, a mail-in lab kit is worth the extra few bucks. The Soil Savvy Soil Test Kit has you collect a small sample, drop it in a prepaid envelope, and a lab sends back a report on pH plus a long list of nutrients with a fertilizer recommendation ($$). That’s the one I point people to when they want to stop guessing for good.
However you test, pull a representative sample: scrape away mulch and debris, dig 6 to 8 small scoops from across the area at about 0 to 6 inches deep (the root zone), and mix them in a clean bucket into one composite sample before testing. If you want the full rundown on at-home methods and what the readings mean, I walk through it in the soil pH testing guide. Aim to land your soil between about 6.0 and 6.8.
How Much Lime to Apply and How to Spread It
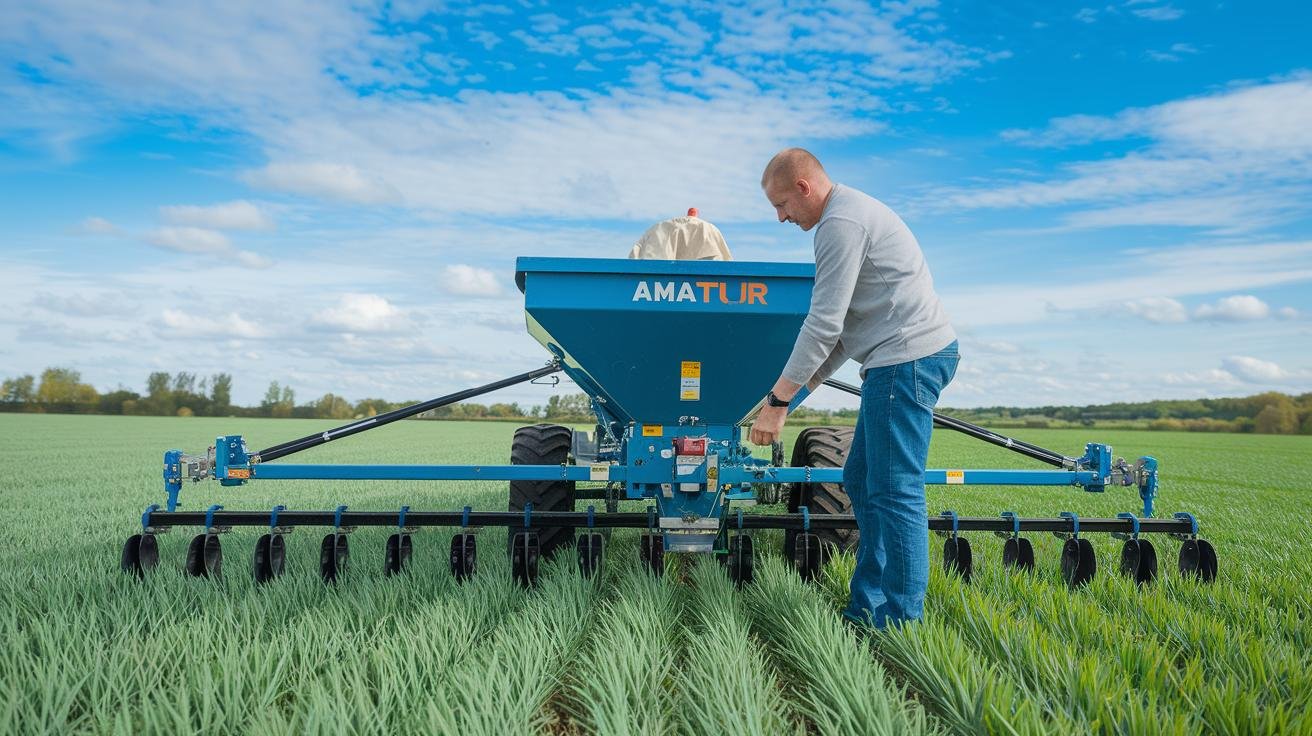
Your soil test should give you a target rate, and that’s the number to follow. As a rough frame of reference, raising the pH of a typical loam by a point often takes on the order of 5 pounds of lime per 100 square feet, but it varies a lot with soil texture — sandy soils need less, heavy clay needs more, and your test (and your local extension office) will give you the real figure for your dirt. When a test calls for a big correction, don’t dump it all at once: split it into two applications a few months apart so you don’t overshoot.
For spreading, even coverage is the whole game. Hand-tossing leaves streaks that show up later as patchy growth, so a Scotts Turf Builder EdgeGuard Mini broadcast spreader is the single piece of gear that most improves how a lime job turns out ($$) — it lays pellets down evenly, comes pre-calibrated, and the edge guard keeps lime off the driveway and out of the flower beds. Set the rate, walk at a steady pace, and overlap each pass slightly. You’re aiming for a light, even dusting, not drifts in one spot.
Once it’s down, work it in. On a garden bed, till or rake the lime into the top 3 to 4 inches so it mixes with the root zone; on an established lawn you can’t till, so water it in and let rain and time carry it down. If your lawn is compacted or thatchy, the lime (and everything else you put down) will just sit on top — pulling cores first helps it actually reach the roots, and I cover the gear for that in the lawn aeration tools guide.
When to Apply Lime and How Long It Lasts
Because lime takes three to six months to fully react, the best time to spread it is fall. Put it down over soft soil before the first hard freeze and let winter do the work — the moisture and the freeze-thaw cycles pull the lime down into the soil so the pH is corrected by the time you’re planting in spring.
If you miss the fall window, spring works too. Wait for the soil to thaw, spread your lime, and give it about two months to start reacting before you sow seed or set out transplants. That lead time keeps the lime from shocking young roots and gives it a chance to do its job before the plants are depending on it.
Once lime has reacted, a correction usually holds for about three to five years. Clay soils and beds rich in compost hold onto that adjusted pH longer; sandy soils drift back toward acidic faster because rain leaches them more easily. Retest every two or three years, and when the reading slips back below about 6.2, plan a lighter top-dressing the next fall. Liming once and feeding after is a natural pairing — once the pH is right, the lawn can actually use what you feed it, which is the whole point of the organic lawn fertilizer guide. A thick, well-fed lawn also shades out a lot of weeds on its own, which beats fighting them later — more on that in the organic weed control guide, and if you’re trying to fill in bare patches, the overseeding guide pairs well with getting the soil right first.
Handling Lime Safely and Protecting Waterways
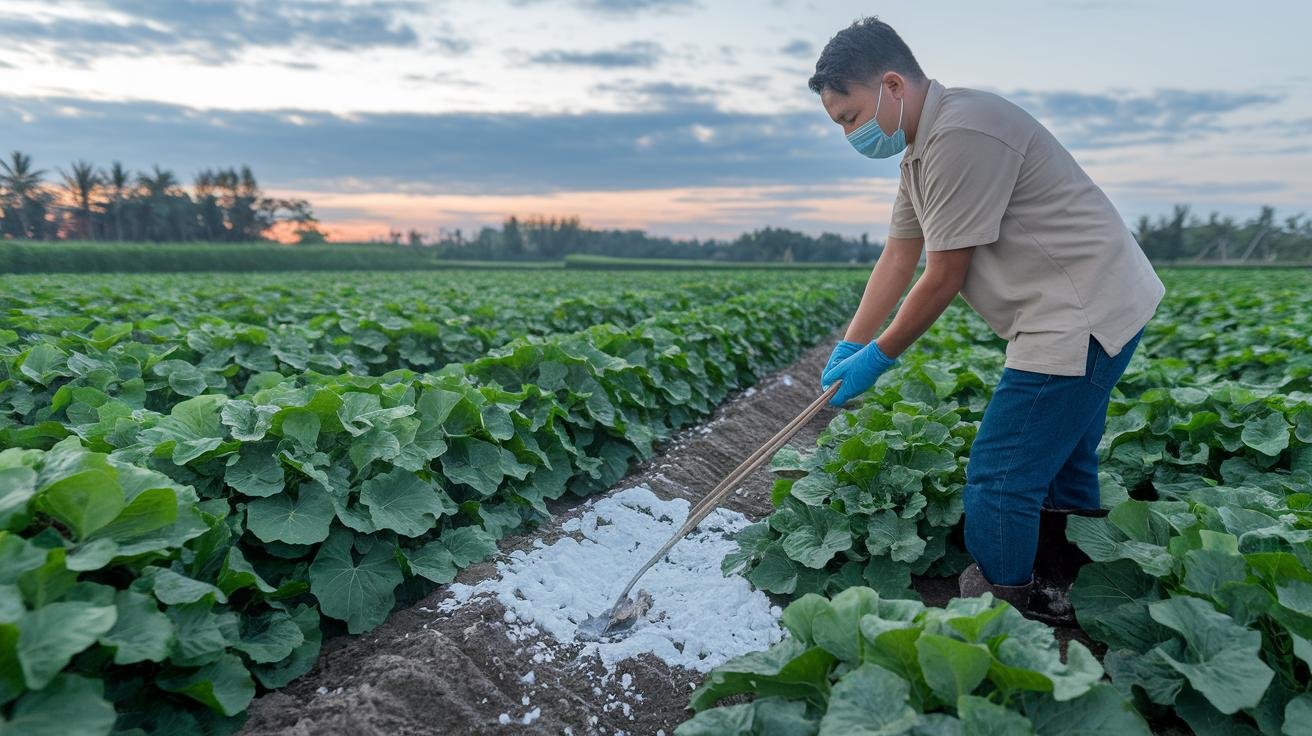
Pelletized lime is low-dust and easy to handle, but powdered and hydrated limes can kick up fine particles that irritate your skin, eyes, and lungs. Whenever you’re working with a dusty product, wear gloves, a basic dust mask, and eye protection, and if a gust kicks up a cloud, step back and let it settle before you move in. When you’re done, rinse your tools, boots, and arms so fine dust doesn’t linger.
There’s an environmental side too. Lime that washes off into ditches and streams can shift the pH of the water and affect fish and aquatic plants downstream. Spread on a calm, dry day, steer clear of steep slopes where runoff turns into a mudslide, and rake or water the lime into the soil so it stays put when the next storm rolls through. A thin strip of grass or wildflowers along the edge of a bed helps catch any runoff before it leaves your yard.
One last caution worth repeating: more is not better. Overshooting the pH locks up manganese and iron and can leave leafy greens pale and weak. This is exactly why the soil test up front matters — lime is gentle, but it’s still possible to push a soil too far alkaline if you ignore the numbers and just keep adding.
Recommended gear for liming your soil
As an Amazon Associate, Backyard Superstar earns from qualifying purchases at no extra cost to you.
- Test first — budget — Luster Leaf Rapitest Soil Test Kit ($). DIY kit reads pH plus N-P-K across about 40 tests so you know if you even need lime.
- Test first — premium — Soil Savvy Soil Test Kit ($$). Mail-in lab report on pH plus nutrients with a recommendation.
- Fastest pH fix — Pennington Fast Acting Lime ($$). Fast-acting pelletized lime; a 30-lb bag covers about 5,000 sq ft.
- Dolomitic / small beds — Espoma Garden Lime ($). Pelletized dolomitic limestone that adds magnesium; pours dust-free for raised beds.
- Spread it evenly — Scotts Turf Builder EdgeGuard Mini Spreader ($$). Even coverage with an edge guard that keeps lime off hardscape and beds.
FAQ
What is lime fertilizer and how does it work?
Lime fertilizer is ground limestone used to neutralize acidic soil. It raises pH and frees up calcium and magnesium so plant roots can absorb nutrients that low pH had locked away.
How do I know if my soil needs lime?
Test it. A DIY kit or a mail-in lab gives you the pH; if it reads below about 6.0, lime will help. Signs like moss, heavy weed pressure, and a lawn that stays thin despite feeding often point to acidic soil, but a test confirms it.
What’s the difference between calcitic and dolomitic lime?
Calcitic lime is mostly calcium carbonate and suits soils low in calcium but fine on magnesium. Dolomitic lime adds magnesium carbonate, so it’s the pick for soils short on both — common in sandy ground.
How much lime should I apply?
Follow your soil test’s recommended rate. As a rough frame, raising a typical loam by one pH point can take around 5 pounds per 100 square feet, but sandy soils need less and clay needs more. Split large corrections into two applications.
When is the best time to apply lime?
Fall is ideal, since lime takes three to six months to react and winter moisture and freeze-thaw cycles work it into the soil. Spring works too — apply about two months before planting.
Are there safety concerns when using lime?
Dusty powdered and hydrated limes can irritate skin, eyes, and lungs, so wear gloves, a dust mask, and eye protection. Pelletized products are far lower-dust. Avoid over-applying and keep lime out of waterways.