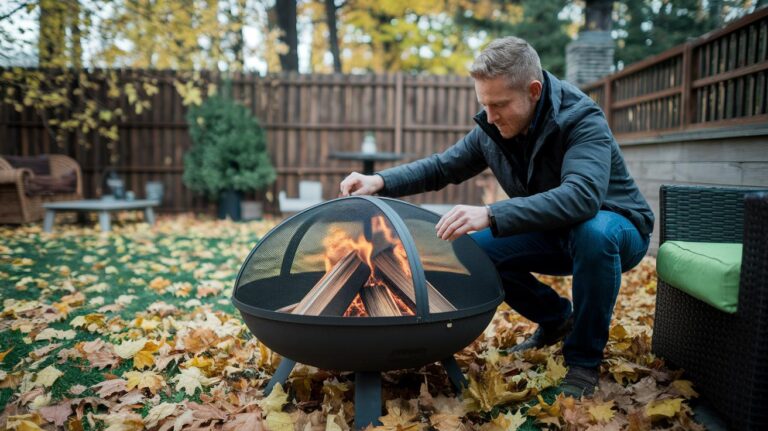
Garden Hammock Installation Tips For Uneven Terrain Perfect
Ever dreamed of swaying in a hammock on a slanted hill?
Imagine the soft fabric cradling you as the warm breeze brushes your face.
Oops, I once plopped my stand on a slope and tumbled sideways.
Um, not the dream.
But you don’t need a level yard or extra hands.
Simple wooden shims (tiny wedges) under each leg make the stand steady.
Just slide them until it feels balanced.
Or pick a flex stand (an adjustable frame) that bends with the ground.
It hugs slopes so your hammock stays put.
Even the bumpiest corner can become your new favorite nap nook!
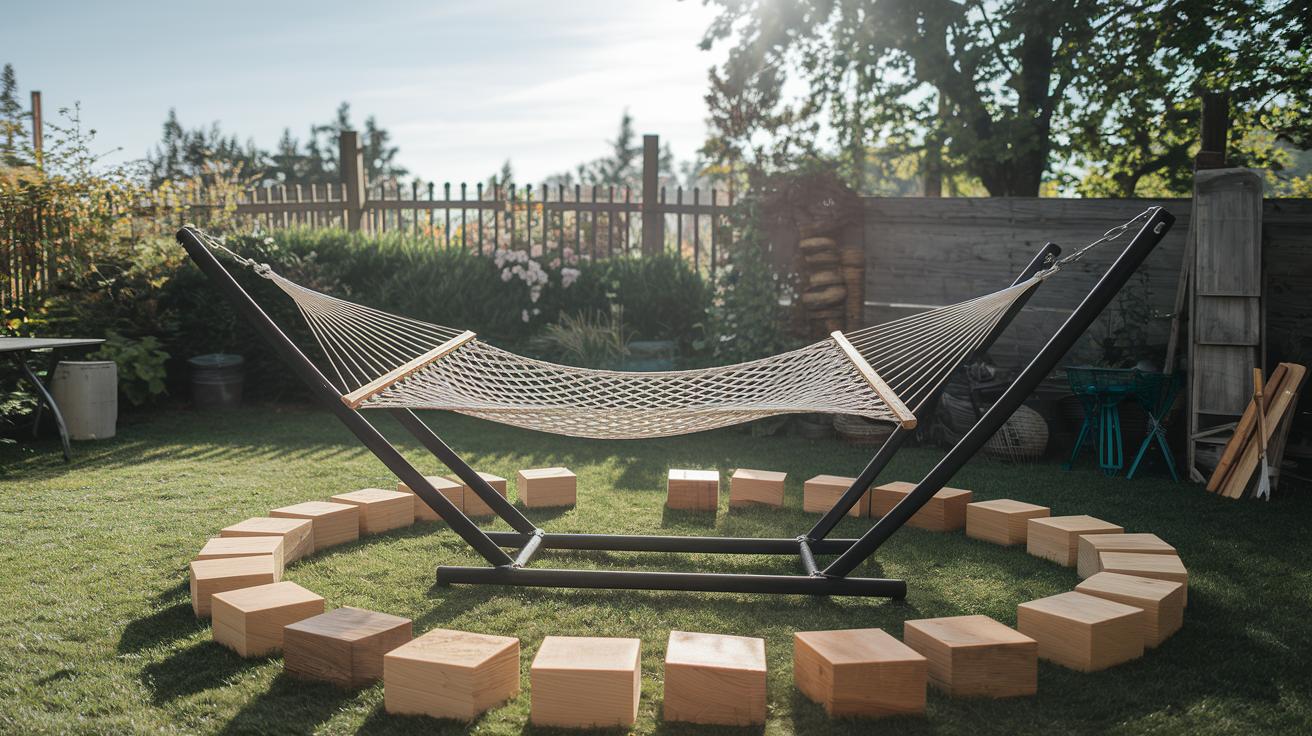
Step-by-Step Garden Hammock Installation on Uneven Terrain
Ready to hang your hammock on bumpy ground? First, find two stout anchor points – a pair of mature trees or sturdy posts about 12 to 15 feet apart. That perfect spacing keeps your hammock snug for a lazy afternoon swing. Feels good, right?
Next, check the slope (how tilted the ground is) with a simple digital inclinometer (a tool that measures angles). Aim for a lean less than 5 degrees. If it’s steeper, wedge in wooden blocks, paving stones, or old bricks under the stand legs or straps. You’ll stop any wobble and keep one side from sliding into a hollow.
No trees? No problem. Swap in an adjustable hammock stand rated for your weight capacity (how much you can hang safely). This trick is a real lifesaver when your garden has no handy trunks. Have you ever tried that?
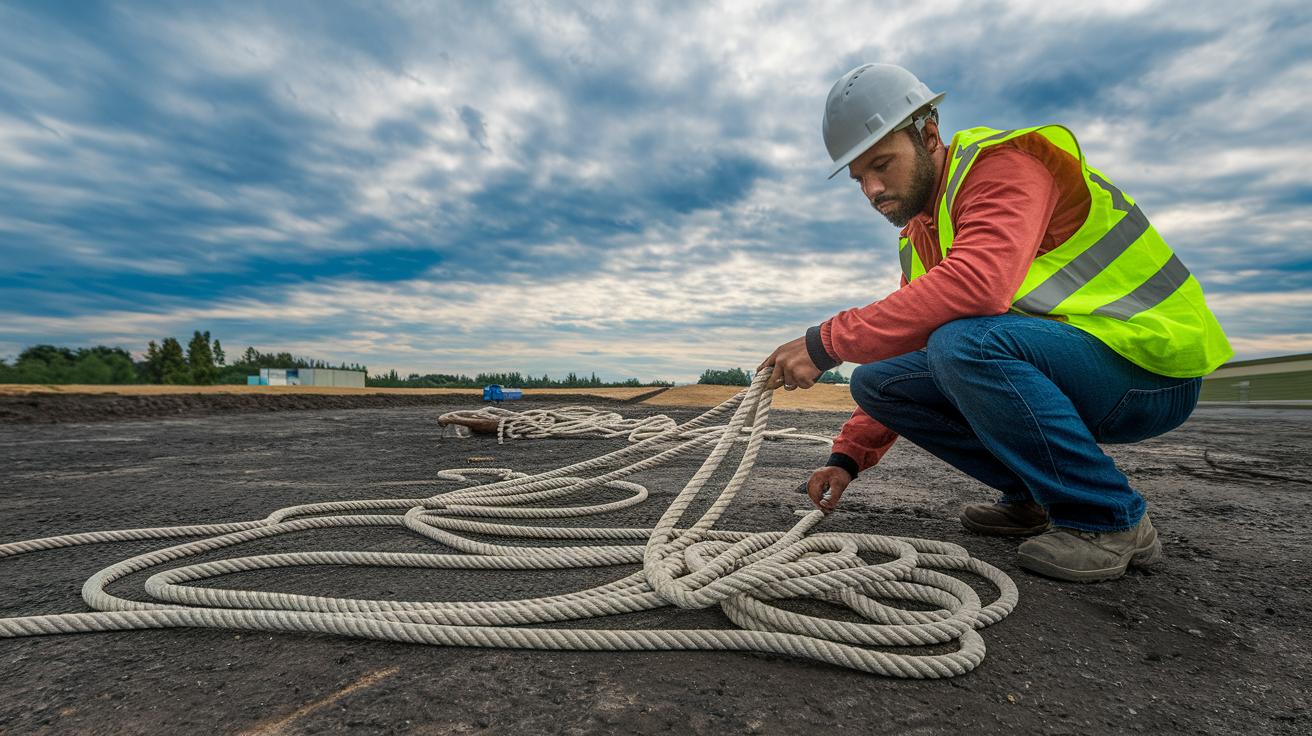
Attach heavy-duty straps or rope rated for at least 400 pounds. Clip on carabiners (metal clips) made for that weight. For extra grip in soft dirt, pound 12-inch steel stakes at a 45 degree angle near each base.
Hang your hammock so its lowest point sits about 18 inches off the earth. That makes it easy to climb in and out, you know? No more tripping or awkward scrambles.
Here’s a wallet-friendly tip. Oops, I once used leftover garden stakes and patio pavers instead of buying new supplies. Worked like a charm.
But keep safety first. Always double-check straps, stakes, and knots after wind or rain. Swap out any frayed rope before your next chill session. A quick slack and tight check keeps you from an unexpected tumble.
Essential Tools and Materials Overview
Got a hammock on your mind? Here’s what you’ll need to hang it up and chill in your backyard:
-
adjustable hammock stand ($100–$300)
You want a stand that bends to fit your space. Think about one you can tweak until it hugs the right spot. I love when it sits firm on soft grass. -
heavy-duty ratchet straps or rope rated 400 lb or more ($20–$30)
Ratchet straps (strong straps with a tightening handle) keep things tight and safe. Rope works too if it’s meant for 400 pounds. Oops, just don’t pick thin twine. -
carabiners rated 400 lb or more ($10–$15)
Carabiners are metal clips that lock your hammock to the straps. Make sure they say 400-pound capacity. You’ll feel better knowing they won’t pop open. -
digital inclinometer (slope gauge) ($25–$50)
This little gadget tells you the angle of tilt. It’s great for getting your hammock level. Trust me, you don’t want to lean too far one way. -
wooden blocks or bricks for leveling (under $5)
A few blocks or bricks can lift one end if your ground dips. They cost almost nothing. Nice hack, right? -
heavy-duty steel stakes, 12 inches driven at 45° ($5–$10 each)
Steel stakes are like strong metal spikes you pound into the ground at a slant. They stop your stand from sliding. I tap them in with a mallet. -
shovel, digging bar, or rubber mallet ($20–$40)
You’ll need something to dig or tap the stakes. A rubber mallet is my pick, it won’t bend the stakes. But a shovel or digging bar works too.
Now you’re set to hang that hammock. Plant it, lean back, and enjoy the breeze. Okay, maybe grab a cold drink first.
Measuring and Assessing Uneven Terrain for Hammock Placement
Okay, first grab your inclinometer (that’s the gadget that tells you how steep things are) or a manual clinometer. Find the sweet spot where you want your hammock and set it on the firm soil, feel the warm earth under your feet? Nice. Then nudge the little bubble gauge (tiny glass tube with an air bubble) until it rests at zero.
Now sketch out a simple grid across that patch. Walk in straight lines every few feet. At each point, pop down the inclinometer and jot the slope in degrees. I sometimes spill dirt on my notes, oops, but those numbers help a lot. Mark the highest tilt with a flag and do the same at your lowest dip.
Most hammocks need about 12 to 15 feet between anchors, trees, posts, or sturdy beams. Measure that span with a tape and aim for a gentle tilt under 5° (that slight slope feels comfy and stable). Have you ever felt your hammock lean too much? Me too. That’s why we check this.
If your spot is steeper, no sweat. Stack a block or switch to adjustable stakes under the low side until your inclinometer reads below 5°. No more wobbles. Now you’ve got a snug, level nook where you can sway in a warm breeze and watch sunbeams dance through the leaves. Ready to relax?
Leveling Techniques and Foundation Options on Sloped Ground
Have you ever watched a hammock slowly slide down a slope? Sliding wood blocks, bricks, or paving stones under each hammock foot helps you level small bumps. Lift the opposite side until the frame feels steady. It’s like tucking tiny steps under each post to stop wobble.
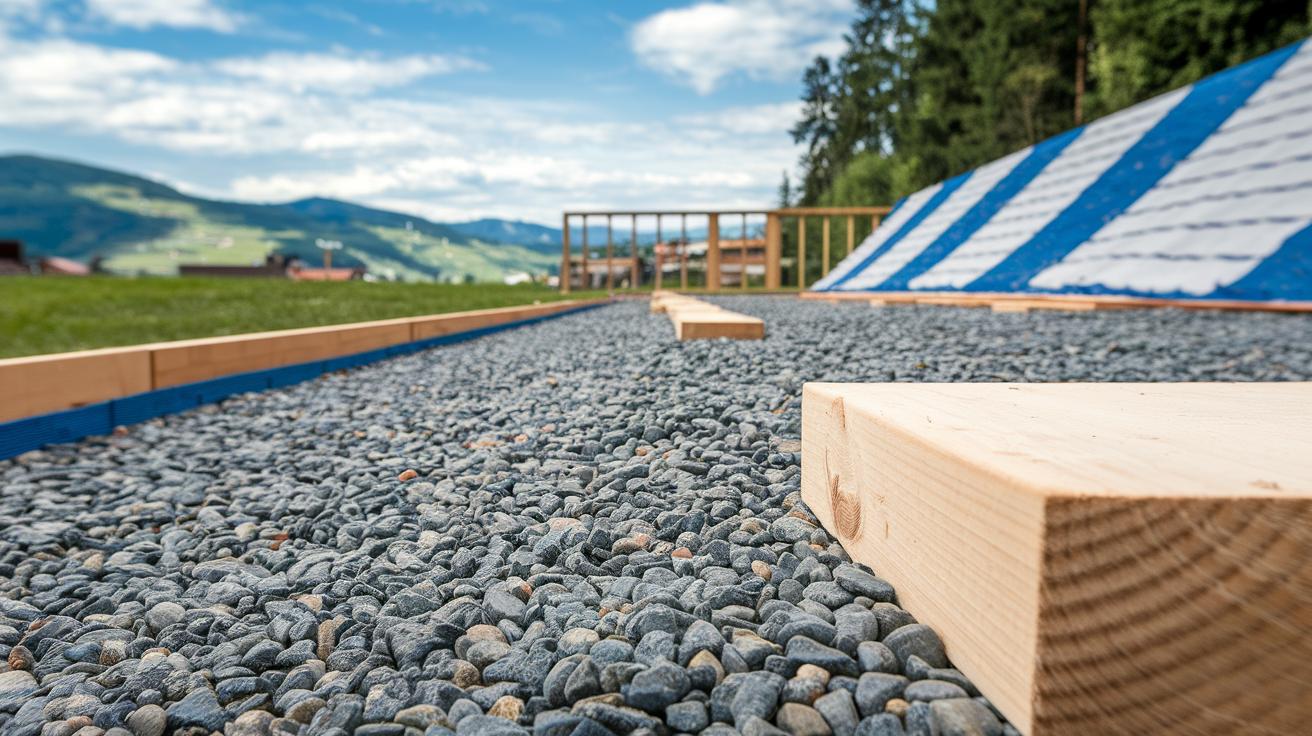
For a lasting pad, start with a geotextile membrane (sturdy fabric that keeps soil and stones apart). Then spread gravel bedding (small stones that let water flow) on top. You’ll hear a gentle crunch as you work. This layer sends water away from your footings and keeps things dry.
Next, use a tamping rod (a heavy metal pole) to press down the soil. Think of it as packing cookie dough so it holds shape. A firm base means no more bounce or wandering posts.
Now lay your board foundation beams (long, pressure-treated wood pieces) right on that packed soil and gravel. Picture building a little stage for your hammock. Once it’s solid, you can swing away with confidence.
| Technique | Materials | Best Use |
|---|---|---|
| Block Leveling | Wood blocks, bricks | Small height tweaks |
| Gravel Bedding | Gravel, membrane | Better drainage |
| Board Foundation | Pressure-treated boards | Long-term setup |
Got a tiny slope under two inches? Try shim stacking. Slip cedar shims (thin wood wedges) or plastic wedges under each support post until it sits level. This fine-tune trick keeps the frame even and stops one side from dipping.
When everything feels balanced, set your board foundation right on the packed soil and gravel. Combine gravel bedding, membrane, and locked shims so your base stays snug. Your hammock won’t tip over. If the ground loosens later, just tamp down the soil again and reset shims and boards.
Anchor Solutions and Suspension Adjustments for Uneven Terrain
Ever had a wobbly hammock or swing on sloped ground? No sweat. With a few anchors and cables you’ll get it level in no time. I guess my cat thinks it’s her own sun porch once it’s up.
Essential Tools
- UV-resistant tree straps (2-3" wide – sturdy fabric bands that hug bark and don’t fade in the sun)
- Galvanized pad eyes (metal loops you bolt to a post for a solid anchor point)
- Stainless steel D-shackles (U-shaped connectors that link straps and cables)
- Turnbuckles (twistable fittings that let you fine-tune tension)
- Ground stakes (metal rods you hammer into the soil) and a hammer
Step-by-Step Installation
- Wrap tree straps around a sturdy trunk or bolt on pad eyes to a post. Make sure they sit flat against the wood.
- Clip a D-shackle through each strap and the cable end so they join securely.
- Hook a turnbuckle between the two D-shackles.
- Twist the turnbuckle until the line feels snug and both sides hang level.
- Every three months, inspect straps, shackles, stakes, bolts, and turnbuckles. Tighten or swap out anything that looks worn.
A snug setup today keeps your backyard hangout safe all season.
Routine Safety Inspections and Maintenance on Uneven Ground
Have you ever set up a hammock on a patch of lumpy dirt? It can feel cozy, but uneven ground needs a little extra love. Let’s walk through some easy checks to keep your hangout spot safe and snug.
Every three months, I take a slow lap around my hammock area. I look at the straps (flat webbing that holds your hammock), ropes, stakes, and hardware (metal bits like shackles). Any frayed fibers (loose threads), bent stakes, or rusty loops need fixing. Oops, I once spotted a bent stake after a storm, glad I caught it early!
And here’s a simple strength test: tug your hammock downward with both hands. This static-load testing (pulling to check weight capacity) should leave everything put. If the straps slip or the stakes shift, tighten or replace them right away.
Metal parts love to collect rust. I wipe down each stake, shackle, and pad eye (metal loop mounted on wood or another surface) with a damp cloth. Then I spray a light coat of rust blocker (corrosion inhibitor) to keep them shiny and strong. You’ll thank yourself when you don’t see orange flakes next spring.
When cold weather comes, fold your hammock up and tuck it into a dry, shaded spot. This slows UV damage (sun fading) and keeps mold (that fuzzy green or black stuff) from building up. Trust me, a clean stash means a cloud-soft hammock all spring long.
Give your hammock area these quick checkups. You’ll feel safer swinging above soft earth, and your gear will last for seasons of backyard bliss.
Final Words
Jumping right in, we picked two sturdy anchor spots 12–15 feet apart, measured the slope with a clinometer, and leveled the base with blocks or gravel. Then we covered stands, 400 lb straps, steel stakes at a 45° angle, and the ideal suspension height.
Give your hammock regular checks, tighten turnbuckles, and stow it away in winter. With these garden hammock installation tips for uneven terrain, you’ll have a cozy retreat ready to enjoy.
FAQ
How do I choose anchor points for a hammock on uneven ground?
Choosing anchor points on uneven ground means picking two sturdy posts, trees, or stands 12 to 15 feet apart. They should handle at least 400 pounds and sit on firm soil or a stable base.
How do I measure the slope for my hammock setup?
Measuring the slope for a hammock setup starts with placing a digital inclinometer or manual clinometer across the site. Take readings at high and low points, aiming for under a 5-degree grade for comfort.
How can I level the ground under my hammock on a slope?
Leveling the ground under a hammock on a slope uses wooden blocks, bricks, or paving stones under posts or stand feet. For small height gaps, stack shims or add a gravel bedding layer over geotextile membrane for drainage.
What hardware do I need to secure a hammock safely on uneven terrain?
Securing a hammock safely on uneven terrain requires straps or ropes rated for 400+ pounds, carabiners, ratchet straps, 12-inch steel stakes driven at 45 degrees, turnbuckles for tension, and adjustable hammock stands if trees aren’t nearby.
At what height should I hang my hammock on uneven ground?
Hanging a hammock on uneven ground at the right height means setting the lowest point about 18 inches above the ground. This height offers easy entry, safe fall distance, and keeps you comfy in the middle.
How often should I inspect my hammock installation on sloped ground?
Inspecting a hammock installation on sloped ground every three months or after heavy storms helps catch worn straps, rust, or loose stakes. Replace damaged parts promptly and apply a corrosion inhibitor to metal hardware after cleaning.