How to Design a Pollinator Garden That Works
A pollinator garden that works is one where something is in bloom from the first crocus in March to the last aster in November, the flowers grow in clusters big enough for a foraging bee to find from across the yard, and the soil is alive with the worms and microbes that keep plants thriving without chemical inputs. Designing that garden takes a little planning up front and surprisingly little maintenance once it’s in.
This guide walks through the design principles — how to read your site, which plants to pick and how to group them, how to schedule bloom times across the seasons, the water and shelter features that turn a flower bed into actual pollinator habitat, the organic soil practices that keep the whole system humming, and the year-round maintenance rhythm. For the step-by-step process of sketching your specific layout to scale, see our companion guide on designing your pollinator garden layout on paper.
Read Your Site First
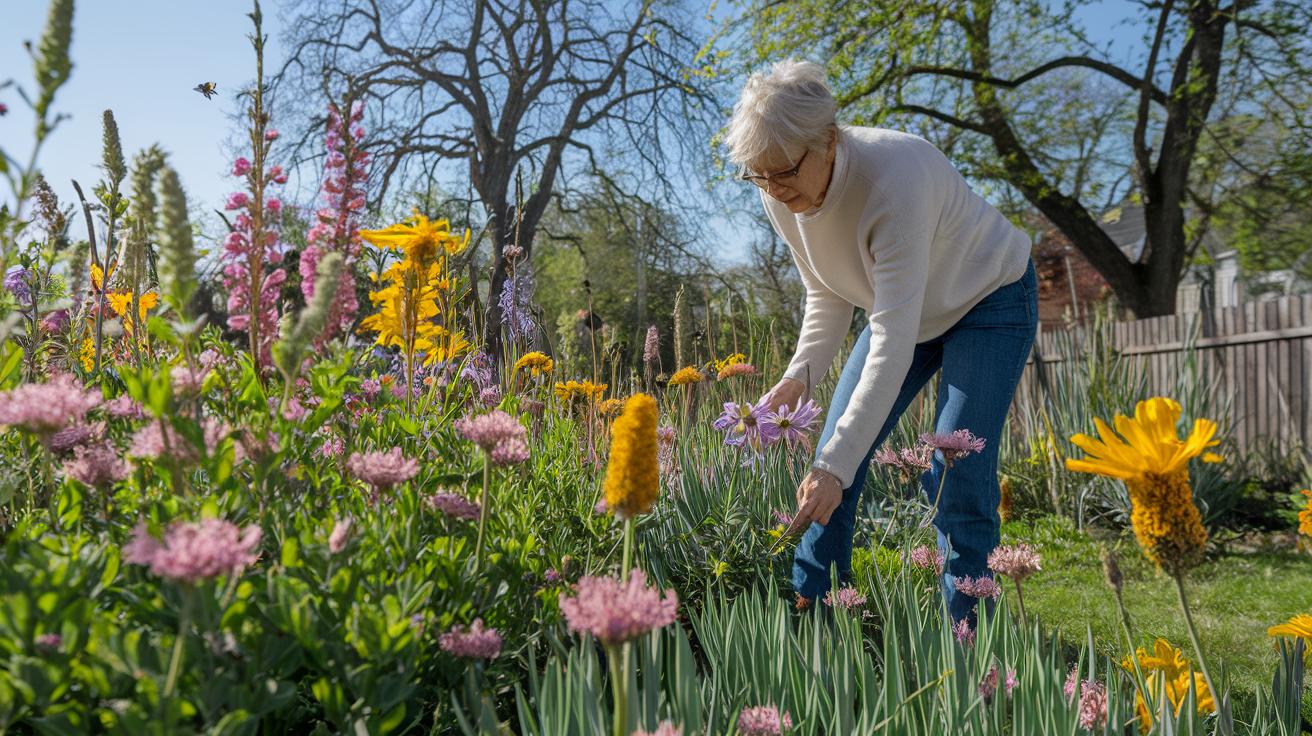
Before you order a single plant, spend a weekend learning what you’re working with. Three site conditions decide which plants will thrive and which will sulk: sun exposure, soil moisture, and existing structure.
Sun exposure. Walk the yard at 9 AM, noon, and 4 PM on a sunny day and note which spots are in sun and which are shaded. Full sun is 6+ hours of direct light, part sun is 4 to 6, part shade is 2 to 4, and full shade is under 2. Most flagship pollinator plants — coneflower, bee balm, milkweed, black-eyed Susan — want full sun. Shade pollinator gardens are possible (woodland phlox, foamflower, native columbine) but the plant list is shorter.
Soil moisture. After a heavy rain, walk the yard and notice where puddles form, where water runs through, and where the ground stays dry. Pollinator-friendly natives mostly want average-to-dry conditions; soggy spots are for rain garden plants like swamp milkweed and Joe-Pye weed. Pinch a handful of soil — if it crumbles when you open your hand, you have well-drained soil; if it forms a sticky ball, you have clay; if it falls through your fingers, you have sand.
pH check. Pick up a soil pH test strip or send a sample to your county extension lab. Most pollinator natives prefer pH 6.0 to 7.0. Below 6.0, work in lime to bring it up. Above 7.5, add elemental sulfur.
Sketch the yard on graph paper — one square per foot — and mark sun zones, wet and dry spots, and any existing trees, shrubs, or beds. This rough map becomes the foundation for everything else. For the full diagramming workflow, our walkthrough on building a DIY pollinator garden layout covers measuring, drawing to scale, and translating the sketch into an actual planting plan.
Pick Plants That Bloom in Waves
A pollinator garden fails when there’s a gap in the bloom calendar — even two or three weeks without nectar can drive pollinators elsewhere, and they don’t always come back. The fix is to plant for staggered bloom so something is always opening.
Build the plant list in three waves:
Early-season (March to May): crocus, daffodil, snowdrop, native serviceberry, woodland phlox, virginia bluebell, wild columbine. Bulbs are the cheapest way to load up the early calendar — plant them in fall and they come back every year.
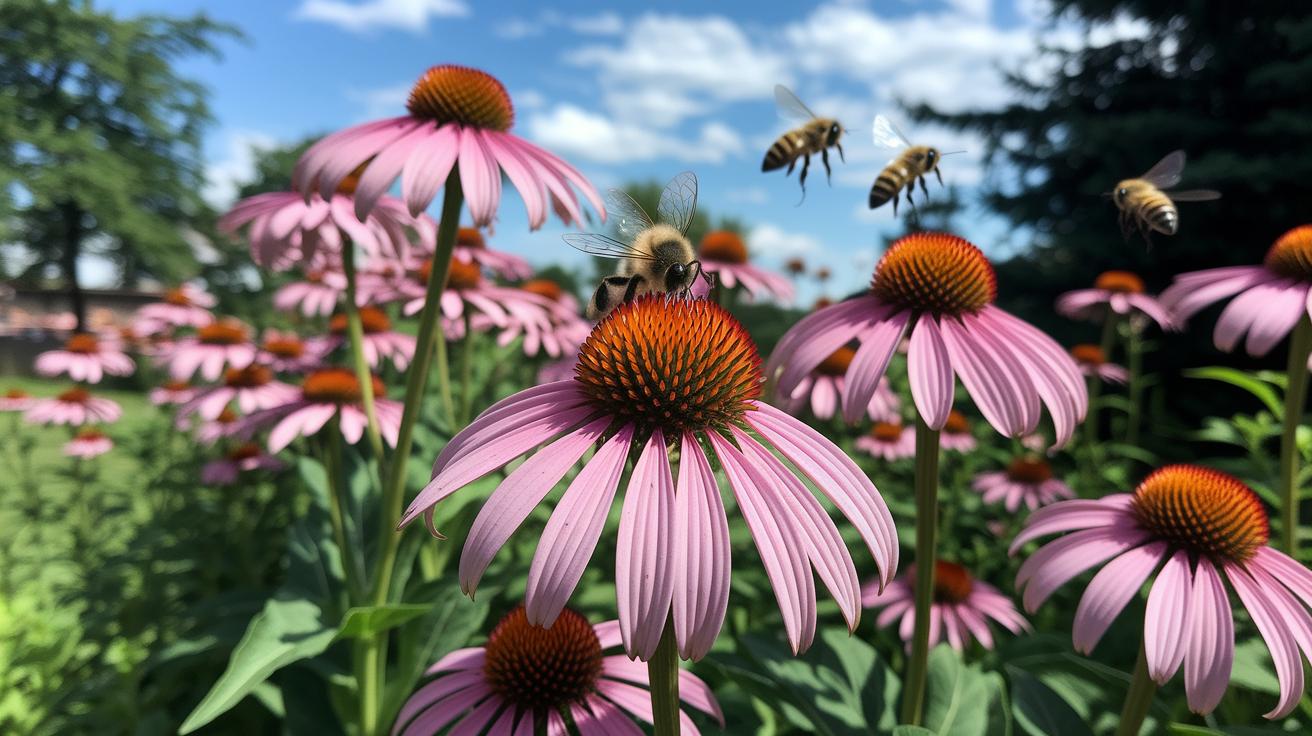
Mid-season (June to August): coneflower (Echinacea), bee balm (Monarda), milkweed (Asclepias), black-eyed Susan (Rudbeckia), butterfly weed, yarrow, lavender, coreopsis, blanket flower. This is the main showcase — these are the plants that draw the heaviest pollinator traffic and look like a real garden.
Late-season (September to November): goldenrod, New England aster, sedum (Autumn Joy), Joe-Pye weed, ironweed, blue mistflower. These bloomers feed migrating monarchs and the queens of native bee species who need to fuel up before overwintering.
Annuals fill gaps. Zinnia, cosmos, sunflower, and Mexican sunflower bloom through summer and into early fall. Direct-sow seed in late spring where perennials haven’t filled in yet.
Keep the list mostly native to your region — natives co-evolved with local pollinators and consistently outperform ornamentals for actual habitat value. Look up your state’s native plant list through the Lady Bird Johnson Wildflower Center or your local extension office.
One more rule: don’t plant invasive ornamentals — butterfly bush (in many regions), Japanese honeysuckle, autumn olive — that crowd out the natives the pollinators depend on. The “butterfly bush attracts butterflies” line is true in the short term and a habitat disaster in the long.
Layer for Height, Color, and Foraging Patterns
How you arrange the plants matters as much as what you plant. Three principles guide the layout:
Layer by height. Front-of-bed plants stay under 18 inches (creeping thyme, low-growing sedum, blanket flower, dwarf coneflower). Mid-tier plants run 18 to 36 inches (bee balm, black-eyed Susan, coneflower). Back-of-bed plants top 3 feet (Joe-Pye weed, ironweed, native sunflower, butterfly bush — if you choose a sterile cultivar). This three-layer arrangement gives pollinators visual landing strips and gives you visible blooms from every angle.
Plant in clusters, not singles. A single coneflower lost in a sea of mulch barely registers to a foraging bee. Five to seven coneflowers in a tight cluster broadcast for 20 feet. The general guideline: groups of 3, 5, or 7 of the same species, spaced 12 to 18 inches apart. Odd numbers look more natural than even numbers.
Color-zone the garden. Bees see ultraviolet, blue, and yellow best. Butterflies favor warm colors — red, orange, magenta. Hummingbirds key in on red and pink tubular flowers. Cluster cool colors (blue, purple, white) on one side of the bed and warm colors (yellow, orange, red, magenta) on the other. Each pollinator type can find its zone, and you get bigger visible color blocks that read as deliberate design.
Add foraging paths. Curved paths of gravel or stepping-stones between planting beds give you access for weeding and double as flight lanes for pollinators. Straight paths feel utilitarian; gentle curves invite both you and the bees to wander.
For specific plant picks that perform in partial shade, see our list of butterfly garden plants for shade.
Water and Shelter Make It Habitat, Not Just Buffet
Flowers alone are a restaurant. Add water and shelter and you get a place pollinators stay.
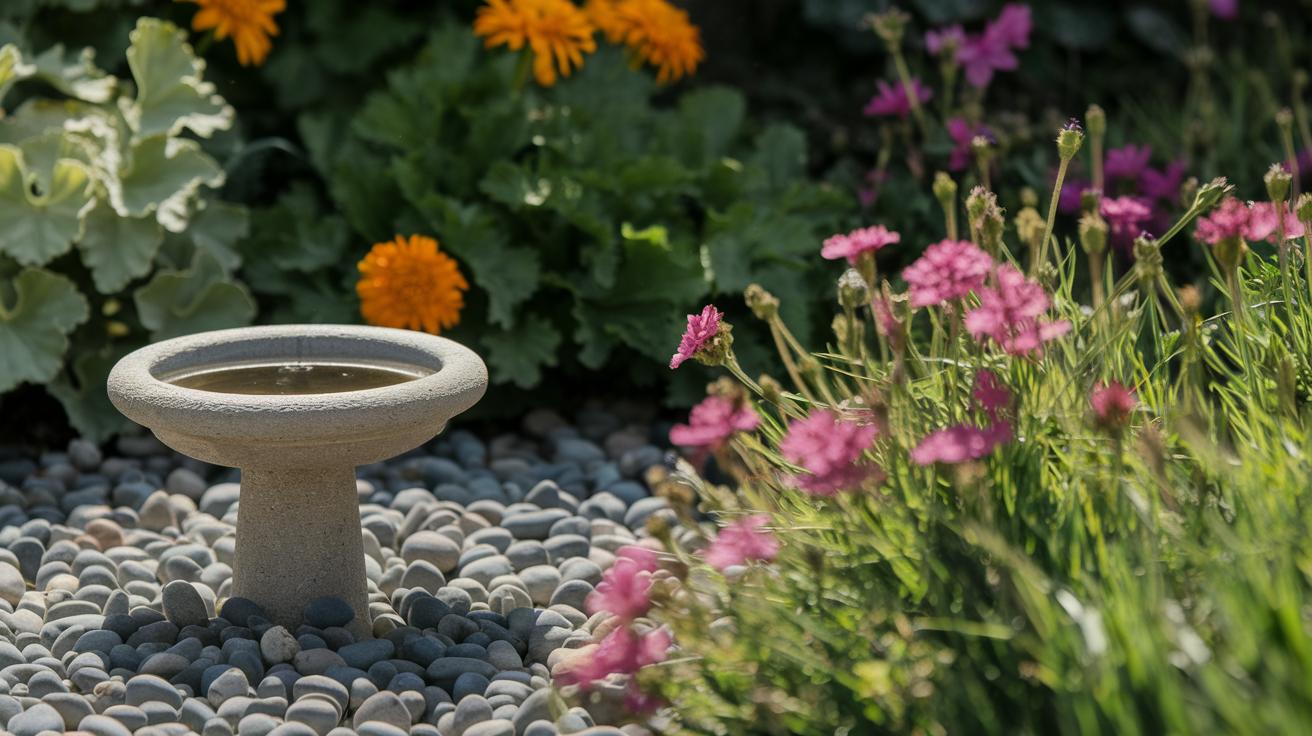
Shallow water sources. Bees and butterflies drown in deep birdbaths. A shallow dish, a flowerpot saucer, or a depression in a flat rock with half an inch of water and a layer of pebbles for landing pads is what they actually use. Refill weekly. Put one in full sun and one in light shade so pollinators have options in different weather.
Bee hotels. A bee hotel for solitary native bees (mason bees, leafcutter bees — most of the bees in North America are solitary, not honeybees) is a wooden frame packed with bamboo tubes or untreated wood blocks drilled with holes from 1/8 to 3/8 inch in diameter. Mount it in the morning sun, sheltered from heavy rain. Clean it each spring by swapping out old tubes and brushing out debris — un-cleaned bee hotels harbor parasites that hurt more bees than the hotel helps.
Ground-nesting space. About 70% of native bees nest in the ground, not in cavities. Leave a 1- or 2-square-foot patch of bare, undisturbed soil somewhere sunny. No mulch, no plants — just exposed dirt. This is the single highest-impact pollinator feature most gardens skip.
Brush piles and leaf litter. A small pile of twigs or branches in a corner gives overwintering shelter for solitary bees, beetles, and beneficial wasps. Resist the urge to “clean up” all the leaf litter every fall — bumble bee queens and butterfly chrysalises overwinter in leaf piles. A messy corner is good ecology.
Butterfly puddle station. Wet sand in a tray, sprinkled with a pinch of sea salt or wood ash, draws butterflies for “puddling” — they extract minerals they can’t get from nectar. Keep it slightly damp through the summer.
Build the Soil to Feed Itself
Pollinator gardens shouldn’t get sprayed with synthetic insecticides — full stop. Even pollinator-targeted neonicotinoid alternatives are usually broader than the label suggests. Build soil and beneficial-insect populations and you mostly skip the pest-control problem entirely.
The four-step organic soil routine:
- Test soil pH every two to three years. Adjust with lime (to raise pH) or sulfur (to lower it). Most pollinator natives want pH 6.0 to 7.0.
- Top-dress with 2 inches of compost every spring. Spread compost over the bed surface and rake gently. Worms work it down for you within a few weeks. This single practice does more than any fertilizer.
- Mulch beds with wood chips or chopped leaves. Mulch holds moisture, suppresses weeds, and breaks down into organic matter over time. Avoid dyed mulch — the dye is harmless but the bonding agents sometimes aren’t, and natural mulch looks better.
- Skip chemical sprays entirely. If you have a real pest outbreak, pull the affected plants by hand, blast with a hose, or release ladybugs and lacewings. Most “pest” populations balance themselves within two seasons of leaving them alone.
Deadhead spent blooms to push more flowers — most pollinator perennials respond to deadheading with a second flush. Late in the season, let the last round of flowers go to seed; many native bees feed on seed heads, and goldfinches will visit through fall. For more on the organic side of soil care that extends naturally from a pollinator garden out into the rest of the yard, see our walkthrough of natural lawn fertilizer recipes.
Seasonal Rhythm
The maintenance schedule for a pollinator garden is genuinely lighter than a conventional flower bed — natives don’t need the same coddling as ornamentals — but a few seasonal moves keep it humming.
Late winter (February-March): Cut back last year’s perennial stems to about 8 inches above the ground — leave the bottom because many native bees overwinter inside hollow stems. Refresh mulch.
Spring (April-May): Top-dress with compost. Direct-sow annual seeds (zinnia, cosmos, sunflower). Divide overgrown perennials and replant or share with neighbors. This is also the time to plant new perennials and shrubs.
Summer (June-August): Deadhead spent blooms on a weekly walk-through. Water deeply once a week during dry stretches — short shallow watering trains weak roots. Watch for the first monarchs on milkweed.
Fall (September-November): Plant spring-blooming bulbs (crocus, daffodil, snowdrop). Sow native wildflower seeds where you want spring color — many natives need cold stratification and germinate better from fall-sown seed than from spring-sown.
Winter (December-January): Leave the bed alone. Standing seed heads feed birds; leaf litter shelters overwintering pollinators. The “messy” winter garden is the productive one.
Budget Paths to a Real Garden
A meaningful pollinator garden doesn’t need to be expensive. Three budget paths, ranked by cost:
Wildflower meadow ($15-$40 total). Buy a regionally-appropriate wildflower seed mix (look for one from your state’s native plant society to avoid invasives masquerading as natives), rake an existing patch of lawn or bare soil, broadcast the seed, press it in by walking on it, and water through germination. Expect a thin first year, a full meadow in year two, and serious pollinator traffic by year three.
Reclaimed-wood raised beds ($30-$80 plus plants). Build a 4-by-8-foot raised bed from rescued pallet wood or untreated lumber. Fill with topsoil and compost. Plant 8 to 12 perennial starts at $5 to $15 each. Concentrates pollinator activity into a manageable space and looks deliberate.
Container clusters ($40-$100). Group three to five large pots (15-gallon nursery pots work great) on a patio or balcony. Plant one perennial or annual per pot — lavender in one, bee balm in another, milkweed in a third. Pollinators find pots almost as readily as in-ground beds, and you can rearrange the design every season.
Start small. A 100-square-foot pollinator patch with 8 plant species is better than a 1,000-square-foot bed half-finished in year two. Build outward only after the first patch is thriving.
A pollinator garden that’s been in the ground three years has more life moving through it on a sunny afternoon than most people see all summer. Plant for that.
Pollinator Garden Design FAQ
What plants are best for a pollinator garden?
Coneflower, bee balm, milkweed, black-eyed Susan, butterfly weed, and goldenrod form the backbone of most pollinator gardens. Pair them with early-season bulbs like crocus and daffodil and late-season asters so something blooms from March through November. Lean toward natives from your specific region for the strongest pollinator response.
How big does a pollinator garden need to be?
A 100-square-foot bed with 8 to 12 plant species draws meaningful pollinator activity. Larger is better for habitat value, but small beds, raised beds, and container clusters all work. Plant in clusters of 3, 5, or 7 of the same species rather than single specimens — clusters are visible to foraging bees from much further away.
How do you arrange plants in a pollinator garden?
Layer by height with low groundcovers in front (under 18 inches), mid-height perennials in the middle (18 to 36 inches), and tall back-of-bed plants topping 3 feet. Cluster the same species in groups of 3, 5, or 7. Zone cool colors (blue, purple, white) on one side and warm colors (red, orange, yellow) on the other so different pollinator types can find their preferred zones.
Do pollinator gardens need water features?
Yes — shallow water (under half an inch deep, with pebbles for landing pads) makes the difference between a buffet and habitat. A flowerpot saucer or shallow stone basin refilled weekly is enough. Skip deep birdbaths, which bees and butterflies drown in.
How do you maintain a pollinator garden through winter?
Leave the bed alone through winter. Standing seed heads feed birds, hollow stems shelter native bees overwintering, and leaf litter protects butterfly chrysalises and bumble bee queens. Cut back stems in late winter to 8 inches above ground and refresh mulch in early spring.
Can pollinator gardens work in containers or small spaces?
Yes. Three to five 15-gallon containers grouped on a patio or balcony, each planted with one perennial or annual, attract pollinators nearly as readily as in-ground beds. Lavender, bee balm, milkweed, and zinnias all perform well in large containers. Refresh soil and divide root-bound plants every two to three years.