Planting Tomatoes In Raised Beds: Bountiful Harvest
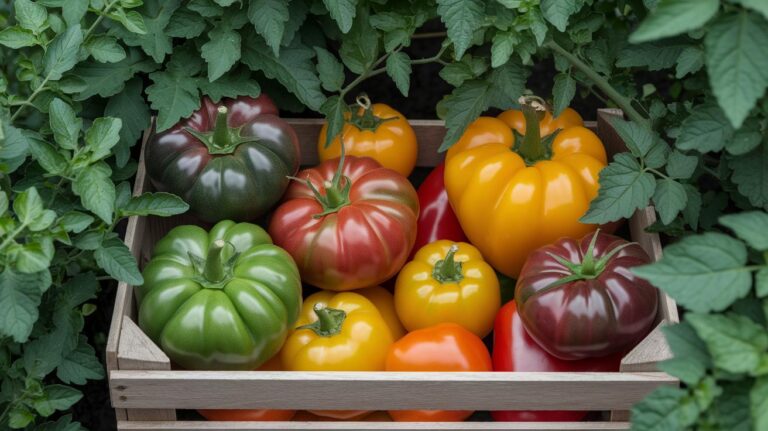
Ever feel like you’re wasting money on store-bought tomatoes when your own could taste like sunshine?
They’re so juicy you might swear you’re biting into a ray of sunshine.
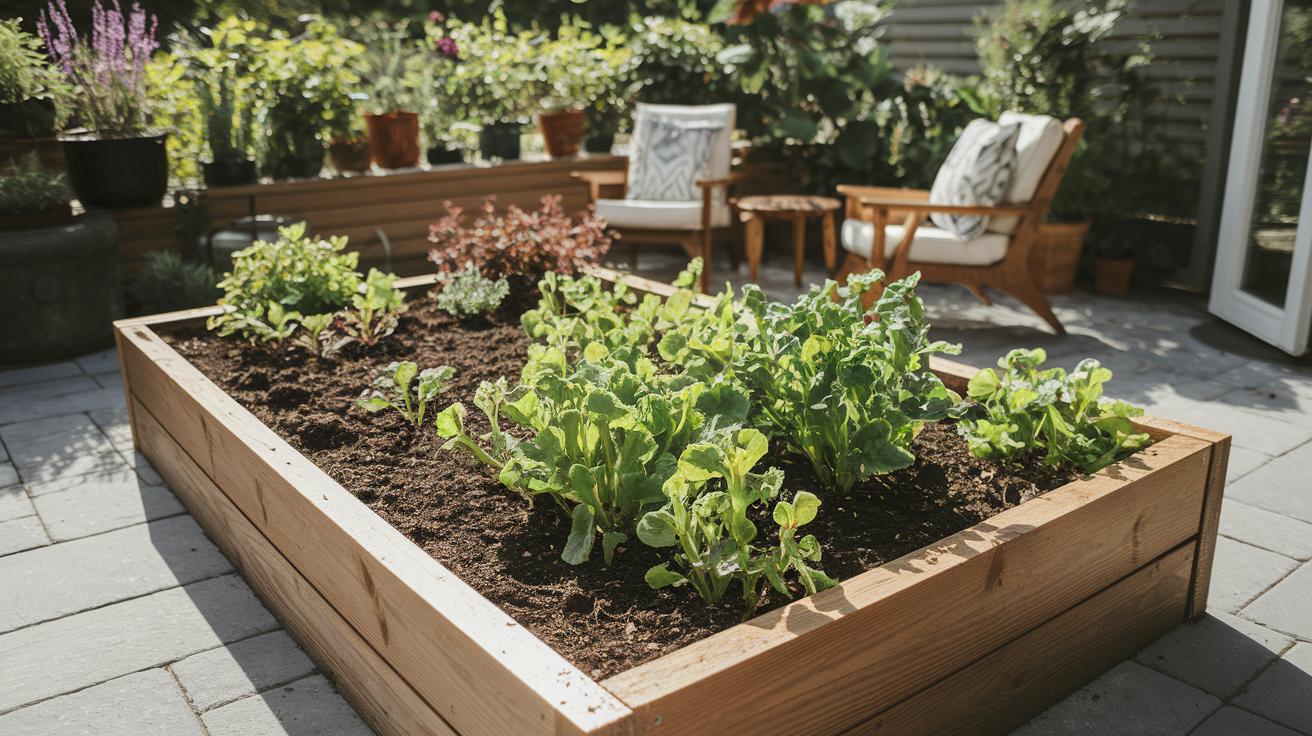
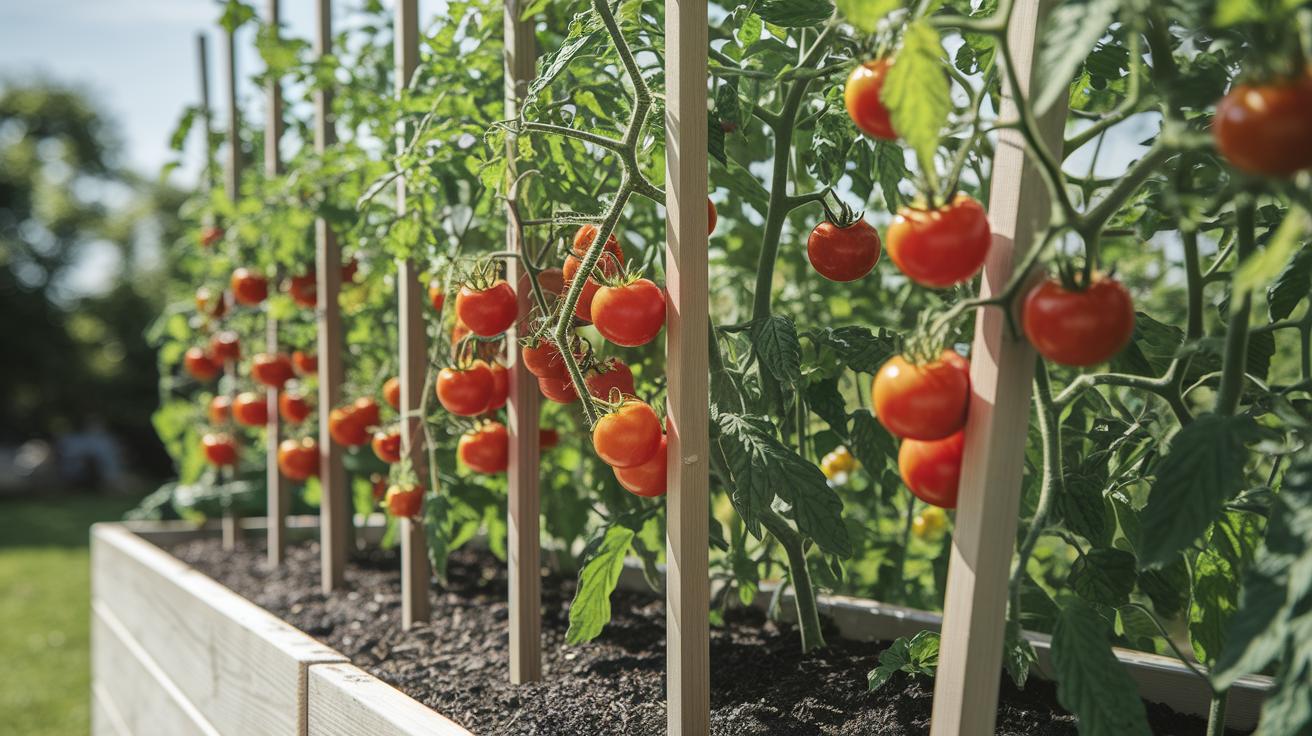
A raised bed (a shallow box filled with soil sitting above ground) gives your tomato plants a running start.
The warm earth crumbles between your fingers.
Roots stretch deep without sitting in soggy water.
Oops, I nearly forgot.
Gentle watering keeps everything happy, right?
In this guide, you’ll learn how to pick the sunniest corner of your yard.
Then we’ll build a sturdy 12-inch bed (one foot deep so roots can roam).
Next, we’ll stir your soil mix (a loose blend of garden soil and compost (decayed organic matter that enriches soil)) until it’s light and fluffy, just like cake batter.
And you’ll get simple care tips for a big harvest.
Planting now sets you up for a summer of vine-ripened goodness.
Quick Start Guide
-
Site Selection: Find a spot that gets at least 6-8 hours of direct sunlight each day. It’s like giving your plants a sun bath. Ever felt that warm morning glow on your face? Your veggies will love it.
-
Bed Build: Build a raised bed about 12-18 inches deep so roots (the parts that soak up water) have room to stretch and water drains away. By the way, my cat loves to nap in mine.
-
Soil Mix: Mix garden soil, compost (decayed organic matter that enriches soil), and aged manure (broken-down animal waste) in a 2:1:1 ratio. Think of it like making cake batter, get it smooth and even.
-
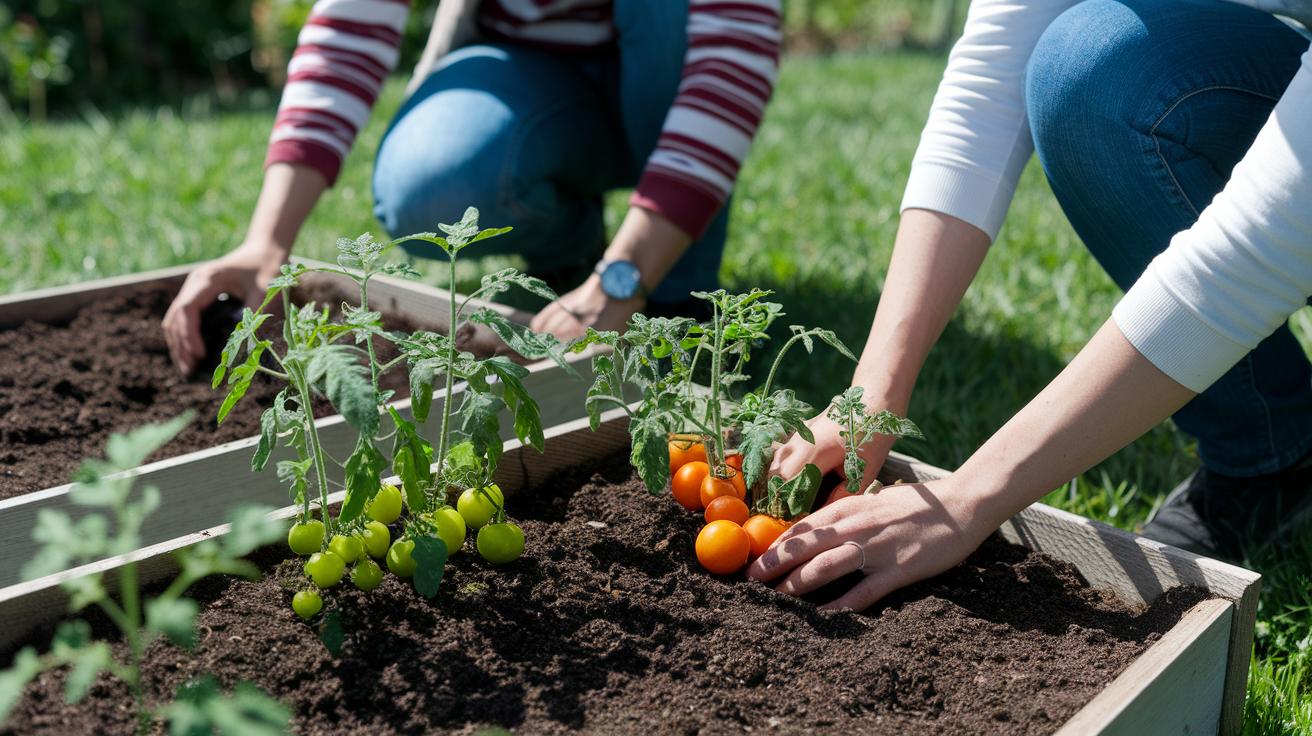
Planting: Plant seedlings deep, burying about two-thirds of the stem. Space them 18-24 inches apart so each plant has breathing room. Wait, I sometimes pack them a bit tight, but they still thrive.
-
Watering: Give each bed 1-2 inches of water each week at the base of the plants. Picture a damp sponge when it’s just right. You’ll know.
-
Support: Use stakes, cages, or trellises (frames that hold up vines) so your tomatoes, cucumbers, or beans grow upright instead of flopping around. It keeps your harvest neat.
-
Troubleshooting: Keep an eye out for pests, yellow leaves, or drooping stems. Check the troubleshooting section below for details on common garden bugs and plant boo-boos.
Advanced Bed Prep
You’ve picked a sunny corner and built a frame 12 to 18 inches deep. You’ve mixed garden soil (crumbly earth), compost (rotted plant bits), and well-rotted manure (aged animal poop that feeds plants) in a two-to-one-to-one ratio. Nice! Oops, spilled a bit of compost there, no harm done.
Now let’s fix two big headaches: soggy roots and sunken spots.
-
Create a 1 to 2 inch drainage layer using coarse gravel or broken pottery shards. They’re like a little raft under your plants, letting extra water slip away. Fun fact: tomato roots can’t swim, they’ll rot if they sit in water.
-
Fill the bed with your enriched mix, then let it rest for two to three weeks. This pause will squash air pockets and spread moisture evenly, almost like letting bread dough chill before baking.
Ready to watch those seedlings pop up?
Crafting the Ideal Soil Mix for Raised Bed Tomatoes
Want plump, juicy tomatoes? Start with a light, fluffy soil blend that feels soft under your fingers and gives roots room to breathe.
Here’s my simple recipe: two parts garden soil (the top, crumbly layer in your yard), one part organic compost blend (decayed organic matter that enriches soil), and one part well-rotted manure (aged animal droppings full of plant food). Oops, I once knocked over the wheelbarrow, no harm done!
This mix feeds young roots, holds just the right amount of moisture, and lets extra water drain off so your plants stay cheerful.
- Smooth and fluff the mix to break up any lumps
- Let the bed rest for two to three days so trapped air drifts away
- Notice puddles after you water? Stir in a handful of coarse sand or small pebbles for better drainage
- Dig holes deep enough to cover stems with a thin layer of mix
Timing and Techniques for Transplanting Tomato Seedlings in Raised Beds
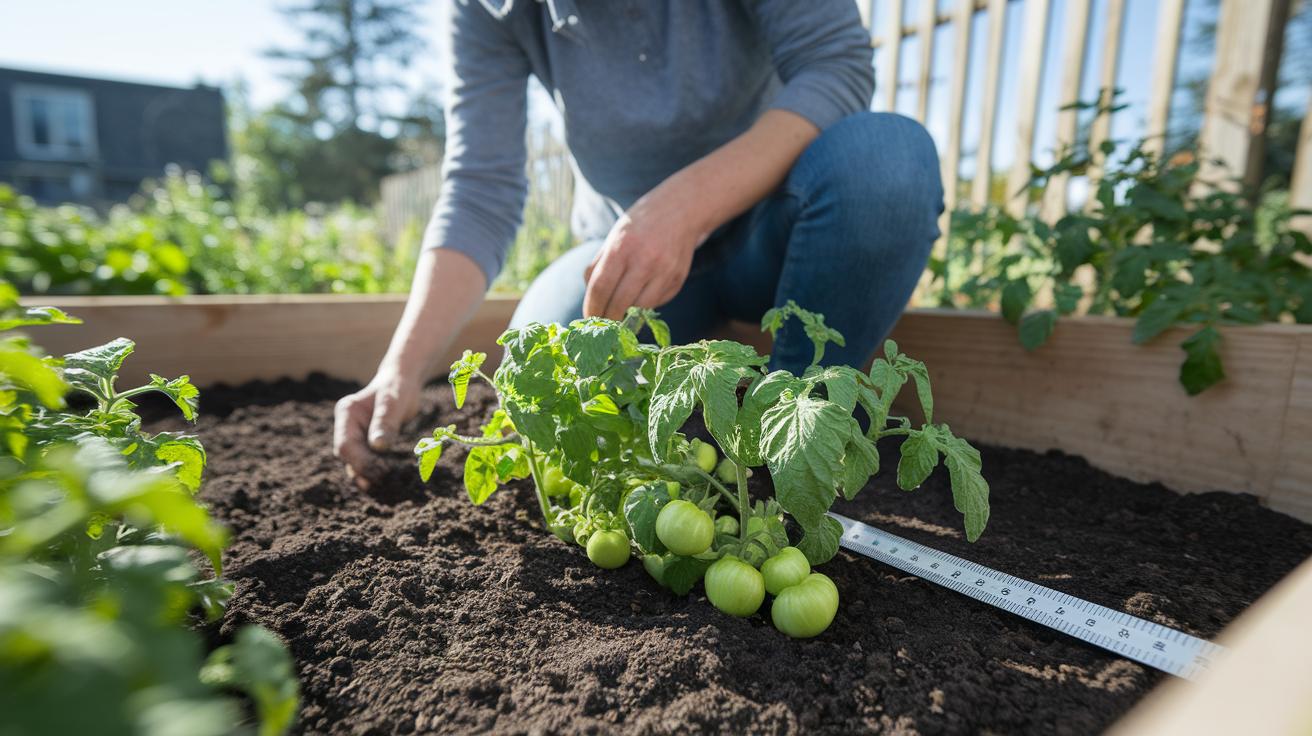
Check your soil first. Stick a little probe or even your finger about two inches down until it feels warm. We’re talking around 60°F. That tells you the ground is ready and safe from frost.
Time it right. Pick a cool, early-morning moment the day after the last frost. Give your seedlings (young tomato plants) a gentle start before the midday heat.
Dig a hole deep enough so you can bury two-thirds of the stem. This trick helps tiny side roots (lateral roots) sprout all along and give your plant extra grip in the soil. Oops, almost forgot to water, so dampen the soil around the stem right after planting.
Space them out. You’ll want about 18 to 24 inches between each plant so air can flow and prevent disease. And pick a spot that will soak up six to eight hours of sun every day.
By the way, my cat loves napping on the warm soil while I’m planting. Nice company as I tuck in my tomatoes.
Watering, Mulching, and Irrigation Strategies in Tomato Raised Beds
Aim for about 1 to 2 inches of water each week right at the soil line (the top of your bed). Use a rain gauge (a tool that measures rainfall) to see what nature provides. If the gauge reads low, run a soaker hose (a hose with tiny holes that slowly leak water) or a watering wand (a long nozzle for gentle watering).
Water early in the morning so the sun can dry stray drops on leaves. And keep water flowing at the base of each plant. That helps leaves stay dry and avoids fungal spots (tiny plant diseases).
Spread a 2- to 3-inch layer of mulch (straw or shredded leaves that hold in moisture) across your bed. It feels like a soft blanket over the soil. The mulch slows water loss so roots feel cool and snug on hot afternoons. It also smothers weeds before they can pop up.
For a set-it-and-forget-it trick, tuck drip irrigation lines (tiny tubes that drip water) under that mulch layer. They give slow, steady sips right where little root hairs can slurp them up. It’s like lining tiny drink straws in the dirt. Hook them to a timer or a simple controller for regular drinks.
Peek beneath the mulch now and then by poking your finger two inches into the soil. If it still feels damp, you’re winning at watering. If it’s dry, tweak your drips or give a quick sprinkle so your tomatoes reward you with plump, juicy fruits. Yum!
Supporting and Training Tomato Plants in Raised Beds
Tomato plants bursting with bright red fruit tend to flop without a little help. Lifting them off the warm earth (ground) and letting air swirl under leaves means fewer spots and less rot. You’ll find three main supports, stakes, cages, or a simple trellis, to match your raised bed’s size.
Stake Support
Have you ever smelled fresh tomato leaves on a summer morning? I push a tall wooden or metal stake (a sturdy stick) six to eight feet tall about eight inches deep beside a young stem. Then I tie the vine loosely with soft garden ties or old t-shirt strips. Oops, sometimes I tie too tight, so I always double-check and slide the tie up as the plant grows. No pinched stems here.
Cage Support
Wire cages (round metal supports) are like tiny pens for each plant. I press one into the soil when I plant, and the stems just rise up inside the rings. As branches fill out with juicy fruit, I spread the rings a bit to avoid crowding. Then I tuck or prune stray shoots. No more chasing fallen tomatoes around.
Trellis Systems
Want a neat tomato wall? I drive sturdy posts along the bed’s edge and stretch twine or wire between them. As vines climb, I weave them in, spacing each weave a few inches apart, and clip with soft ties. It’s like giving your plants a climbing ladder. Plus, next season you can swap in beans or cucumbers on the same frame. Score!
Companion Planting and Crop Rotation for Raised Bed Tomatoes
Have you ever tucked basil plants right next to your tomatoes? Companion planting (growing friendly plants together) can boost your yield and quiet down uninvited guests like bugs. Picture the fresh basil scent swirling through your warm tomato vines.
Plant basil beside your tomato rows. It adds flavor and chases off thrips (tiny, leaf-scraping insects). Then pop garlic cloves between the plants. That garlicky smell keeps aphids (small, sap-sucking pests) and other nibblers at bay.
At the edges of your bed, plant marigolds. Their roots release natural compounds that scare off nematodes (microscopic worms that munch on roots). And guess what? Chives can help cut down on blight (a disease that browns leaves).
For more pairing ideas, check out What to Plant in Raised Garden Beds.
When tomato season winds down, move them to a new spot next year. Shifting your crops breaks pest and disease cycles in the soil. Think of it like giving your garden a fresh start.
| Year | What to Plant |
|---|---|
| 1 | Tomatoes |
| 2 | Leafy greens (spinach, lettuce) |
| 3 | Beans or peas (they add nitrogen, the nutrient that helps plants grow) |
| 4 | Root crops (carrots, beets) |
Here’s a quick list of your tomato’s best neighbors:
- Basil: boosts tomato taste and repels thrips (tiny, leaf-scraping bugs)
- Marigold: puts off nematodes (microscopic worms that attack roots)
- Garlic: wards off aphids (small, sap-sucking pests)
- Chives: helps reduce blight (a leaf-browning disease)
- Nasturtium: attracts aphids away from your tomatoes
Try these simple tricks, and soon you’ll be tasting the difference, and spending less time swatting pests. Planting this way really perks up your raised beds.
Planting Tomatoes In Raised Beds: Bountiful Harvest
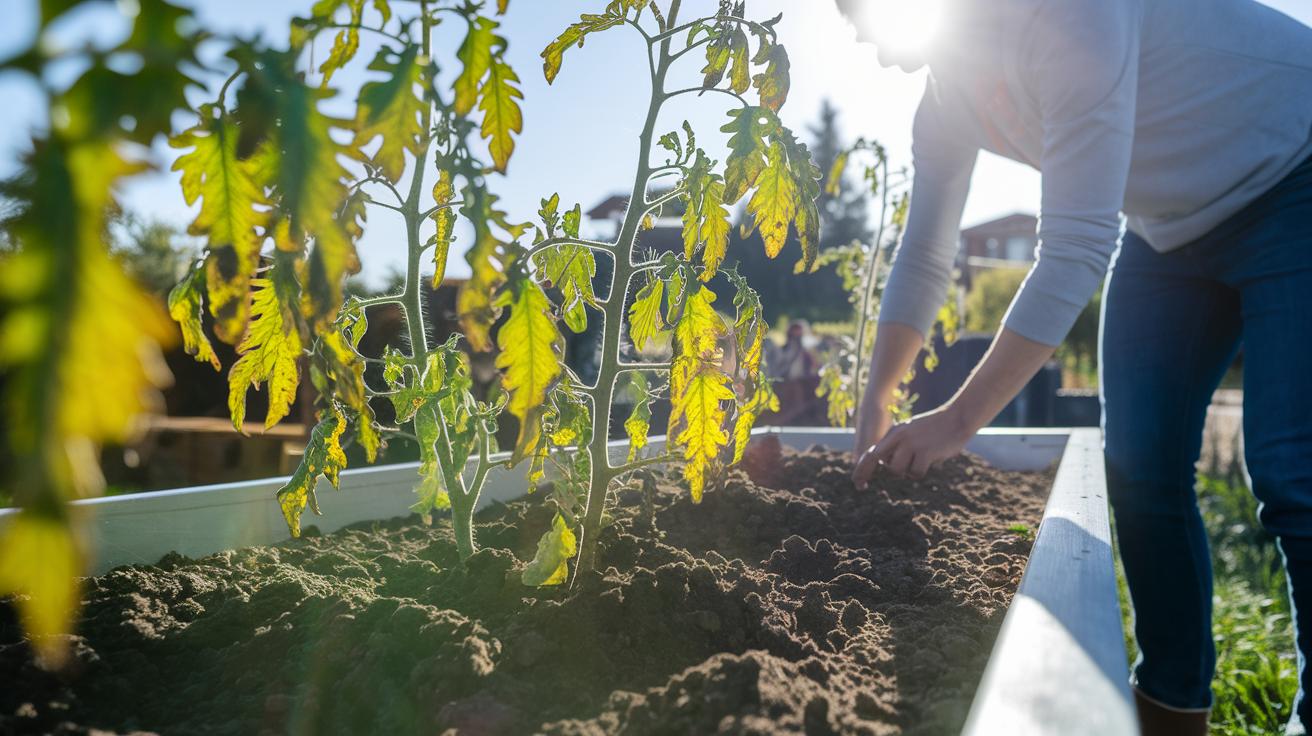
Peek under your tomato leaves each morning. See rusty red spots on bright green leaves? That’s blight (a fungus that rots leaves). Wilted stems with yellow streaks? Bacterial wilt (a bacteria that makes stems collapse). Tiny clusters of green bugs? Those are aphids (mini plant-sucking insects). No sweat. Just trim a half-inch below the bad spot and toss the scrap. That keeps the sickness from spreading.
Mix neem oil (organic spray from tree seeds) with water. Shake it up in a spray bottle. Then mist your tomatoes in the soft glow of dawn, before the sun’s heat gets too strong. Early morning works best. I once sprayed too late and fried a few leaves. Oops.
At dusk, take a slow stroll around your bed. The warm earth crumbles between your fingers as you move the mulch aside. Look for tomato hornworms (big green caterpillars about as long as your finger). They can gulp down a leaf in seconds! If you see one, pluck it off and dunk it in soapy water. You could also hang pheromone traps (sticky cards that lure moths) to cut down on next season’s babies.
Invite ladybugs and lacewings over. These tiny helpers feast on aphids and eggs. Plant dill or parsley nearby to make them feel at home. Pop a shallow dish of water with pebbles by the herbs so the insects can land and hydrate.
Spotted a sunken, leathery patch on the bottom of a tomato? That’s blossom end rot (a dry spot from low calcium). Water your beds like you’re wringing out a sponge, steady and gentle. Then sprinkle crushed eggshells (leftover shells from cooked eggs) into the top inch of soil for a quick calcium boost.
Keep an eye on those sturdy stakes and peek under curled leaves. By the way, my cat loves napping beside the tomato plants. Catching trouble early helps you protect your plants. Then you can savor a bushel of juicy, homegrown tomatoes all summer long.
Feeding and Fertilizing Tomatoes in Raised Beds
First, pick a balanced fertilizer that reads 5-10-10 or 8-24-24 (nitrogen-phosphorus-potassium). The middle number, phosphorus, feeds blooms. The last number, potassium, makes fruit firm. Sprinkle about a tablespoon around each plant every three to four weeks. Gently work it into the top inch of soil. Feel the rich mix crumbly under your trowel?
Then give your plants a slow, steady drink of water so the nutrients sink in like a sponge. My seedlings always stand a little taller after that gentle soak.
Blossom end rot is that dark, leathery patch on the bottom of a tomato. It happens when calcium or water is low. Keep soil evenly damp, no dry spells or flood-fests. By the way, I crush eggshells for a homemade calcium boost. Just sprinkle them on top. And if you spot rot, dust on garden lime or mist leaves with milk in the cool morning air. Milk has extra calcium.
Stick to this feeding plan and steady sips of water. You’ll see round, crack-free tomatoes ripen in happy clusters.
Final Words
In the action, we covered picking the sunniest spot, building a sturdy bed, mixing rich soil, and timing your transplant.
We chatted about setup, watering with a drip line, staking or caging for support, adding friendly plant neighbors, and spotting pests early.
With every step from site selection to troubleshooting, you’ve got a clear path to juicy fruits.
Your next step? Get out there with your trowel and enjoy planting tomatoes in raised beds with confidence and a smile.
FAQ
What are the main steps to planting tomatoes in raised beds?
The main steps to planting tomatoes in raised beds include choosing a sunny spot, building a 12–18 inch deep bed, mixing soil, transplanting seedlings, watering, adding support, and handling common issues.
How deep should my raised bed be and how much sun does it need?
A raised bed for tomatoes should be at least 12 to 18 inches deep and placed where it gets six to eight hours of direct sun each day for strong root growth and healthy fruit set.
What soil mix ratio supports healthy tomato roots?
A soil mix ratio of two parts garden soil, one part organic compost, and one part well-rotted manure offers nutrient-rich, moisture-friendly, and well-drained earth that helps tomato roots thrive.
When should I transplant tomato seedlings and how deep should they go?
You should transplant tomato seedlings outdoors once soil temperatures stay at or above 60°F and the risk of frost has passed, burying two-thirds of each stem to boost lateral root growth.
How often should I water and mulch my raised bed tomatoes?
You should water tomato plants at their base with one to two inches of water each week, then add a two- to three-inch layer of straw or shredded leaves to lock in moisture and curb weeds.
What support methods work best for tomato plants?
You can support tomato plants using sturdy stakes driven eight inches into soil, wire cages placed at planting time, or vertical trellises at bed edges, all tied loosely to promote airflow and keep fruit off the ground.
Which companion plants help tomatoes and why rotate crops?
Companion plants like basil, marigold, garlic, chives, and nasturtium boost flavor or repel pests, and rotating tomatoes to a new bed each season stops soil-borne diseases from building up.
How do I identify and manage pests and diseases in my raised bed tomatoes?
Identifying pests and diseases in raised bed tomatoes means checking leaves for yellow spots, wilting, and aphid clusters, then removing bad foliage, using organic sprays like neem oil, hand-picking hornworms, or bringing in beneficial insects like ladybugs.
What’s the feeding schedule and fertilizer ratio for tomatoes in raised beds?
A feeding schedule for tomatoes in raised beds calls for applying a balanced fertilizer high in phosphorus and potassium every three to four weeks, alongside steady watering to help prevent blossom end rot and support fruit development.