Budget-friendly backyard obstacle course equipment Epic Fun
Who said obstacle courses have to cost a fortune?
I set up a backyard challenge (a series of running, jumping, and climbing tasks) with bright cones, soft pool noodles, and old tires. The rough rubber squeaked under my sneakers and the noodles wobbled just enough to make you laugh.
By the way, my dog tried to chase the cones while I was laying them out. Funny, right?
Now, here’s how you can do it yourself without emptying your wallet. Grab $15 cones and $1 noodles, dig up a few free or cheap bits around the yard, and kids will zip, hop, and weave!
Ready to build your own mini race track on a shoestring budget?
Top Budget-Friendly Backyard Obstacle Course Gear and Costs
Hey neighbor, ready to turn your backyard into a fun race track without spending a ton?
Mixing store finds with a little DIY magic gives you an obstacle course (a setup of running, jumping, and climbing challenges) on the cheap.
Picture kids giggling as they dash under cones in the warm sun.
You’ll feel like a weekend hero when you watch them zoom through it.
A set of ten plastic cones (small traffic markers) makes a simple weaving path for about $15.
Pool noodles (foam tubes you float on) turn into balance beams or low hurdles for $1–$2 each.
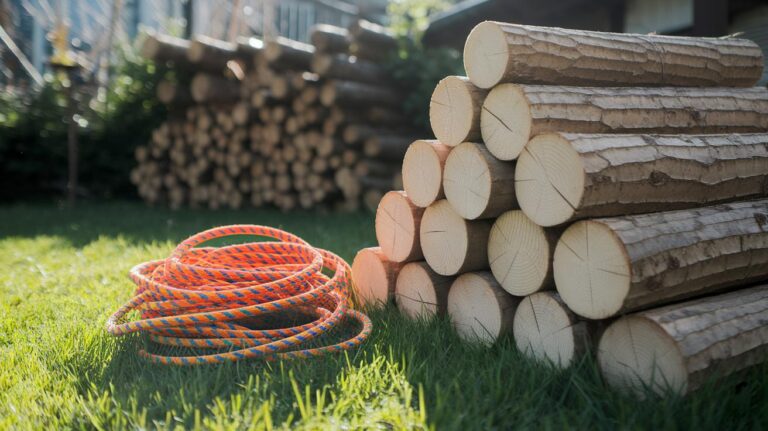
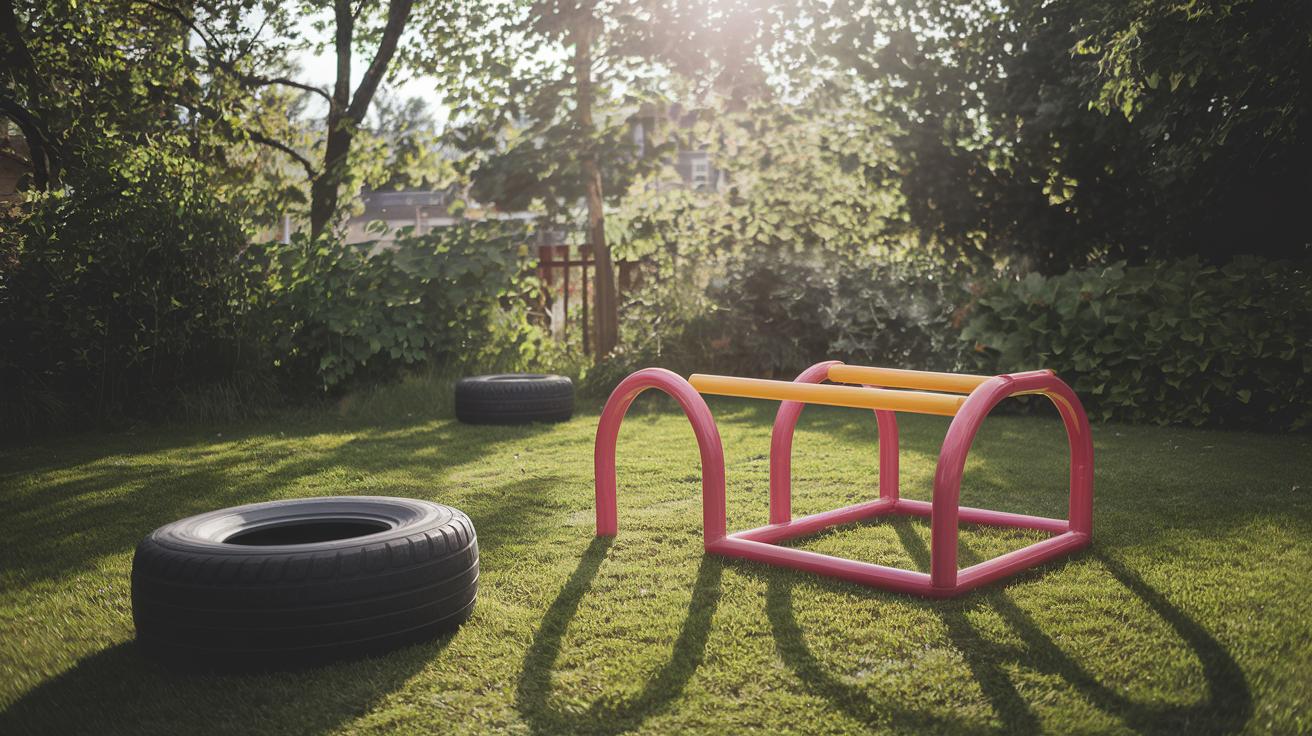
Repurposed tires from a garage sale or scrap pile work as stepping stones for free or up to $10 each.
Wooden pallets (stacks of wood slats bound together) can become low platforms or mini bridges at no cost or around $10 apiece.
And that rope ladder (a series of ropes and wood rungs) you tie from spare rope is under $20 total.
| Item | Type | Estimated Cost |
|---|---|---|
| Cones (set of 10) | Store-bought | $15 |
| Pool noodles | Store-bought | $1–$2 each |
| Repurposed tires | DIY | Free–$10 each |
| Wooden pallets | DIY | Free–$10 each |
| DIY rope ladder | DIY | Under $20 |
By the way, the best part is how sturdy homemade gear can be.
Those pallet planks turn into solid balance beams.
Just give each piece a quick wobble test before play and tighten any loose screws as needed.
For step-by-step ideas, peek at how to build a backyard obstacle course.
Or tweak it for little racers with kid-friendly backyard obstacle course ideas.
The kids are waiting!
DIY Backyard Obstacle Course Builds Under $20 per Feature
Ready to turn your backyard into a mini adventure park? Each of these fun obstacles costs less than $20 and uses everyday bits and recycled scraps. You won’t need fancy gear, just simple tools and a little creativity.
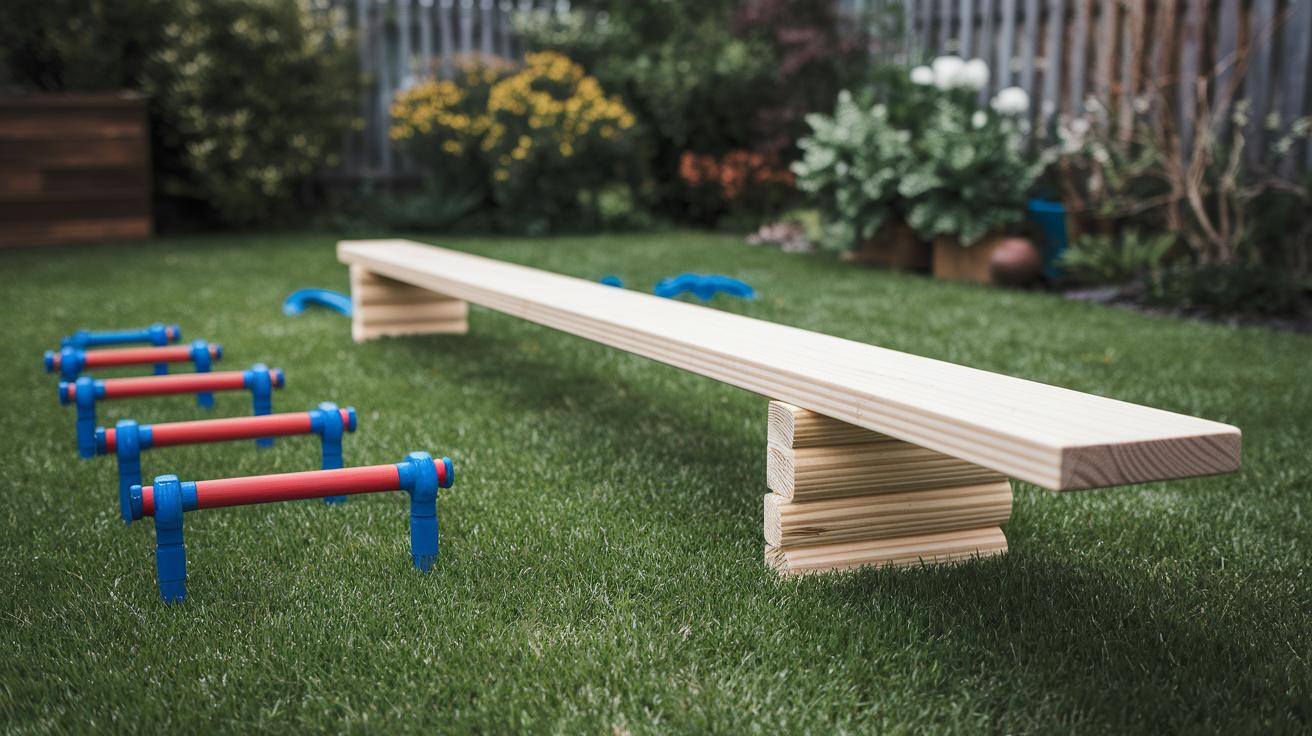
Picture this: a wobbly balance beam made from an 8-foot plank resting on sturdy buckets. You feel the plank underfoot as you cross. Pool noodle hurdles pop up next, bright and soft, using only two noodles and a couple of garden stakes, about $5 total. Then there’s our DIY cargo-climb net: weave 10 feet of scrap rope through an old pallet for under $15. It’s thrifty, it’s playful, and every racer gets a new thrill.
Materials and Tools Needed
- Hammer (for tapping stakes or boards)
- Saw (for cutting pipes and wood)
- Zip ties (20; plastic cable ties to hold pieces together)
- Strong adhesive (1 tube; heavy-duty glue)
- Wooden plank (8 ft; balance beam)
- Pool noodles (2; soft top bars for hurdles)
- PVC pipes (3) and T-joints (4; pipe fittings for hurdle frames)
- Scrap rope (10 ft; for cargo-climb net)
- Garden stakes (2; to support pool noodle hurdle)
Step-by-Step Assembly
- Mark each PVC pipe at the same height where you want two hurdle bars.
- Cut the pipes with your saw, then smooth rough edges with sandpaper or a file.
- Snap T-joints onto the pipes to make an “H” shape. Secure each joint with zip ties or a dab of glue.
- Push the vertical legs into the grass or mount them on wood blocks so your hurdle stays steady.
- Test by pressing down on each bar. If it wobbles, add another zip tie or trim a tiny bit off the legs.
- Swap in pool noodles for a softer top bar, just slide them onto the PVC before assembling.
- For color-coded lanes, spray paint each hurdle or grab markers and label the pipes. Racers will love lining up by color.
And there you have it, a thrifty, DIY obstacle course that brings backyard races to life. Have fun seeing who can dive under the noodle or conquer the plank first!
Sourcing and Buying Budget Obstacle Course Equipment
Shopping at your local sporting goods store feels like a mini adventure! You can grab an agility ladder kit (a ladder with adjustable rungs) for about $10 to $15. Run through it and hear the rungs clap under your shoes. It’s an instant energy boost in your own backyard.
| Item | What It Is | Typical Cost |
|---|---|---|
| Agility ladder kit | ladder with adjustable rungs | $10 – $15 |
| Climbing wall panel | flat panel for backyard climbing | $30 – $40 per panel |
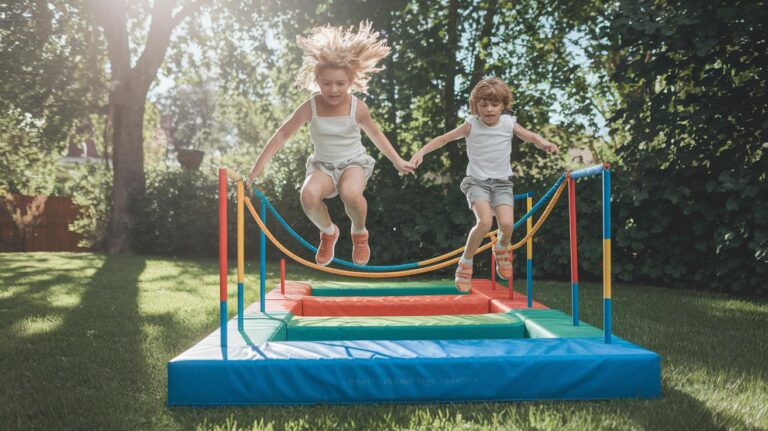
| Inflatable obstacle | bouncy obstacle you rent or buy | $50 – $100 |
| Cargo net | strong net for climbing or crawling | $20 – $30 |
And you’ll spot backyard climbing wall panels for roughly $30 to $40 per panel. Inflatable obstacles that bounce and wobble cost about $50 to $100. Online shops have cargo nets (strong nets for climbing or crawling) in the $20 to $30 range.
By the way, I once left out the net and my cat tried to climb it. Oops. That silly moment reminded me to test gear before friends arrive.
Or stretch your budget in a fun way by hunting on Facebook Marketplace or Craigslist. You can snag gently used cones, PVC hurdles, or cargo nets for about a third of the retail price. It feels like finding hidden treasure in your own neighborhood.
Before you click buy, clip coupons from brand newsletters or tap into coupon apps. A few saved dollars here and there really add up. You’ll be racing over hurdles and climbing walls without breaking the bank.
Planning and Measuring Your Budget Backyard Course
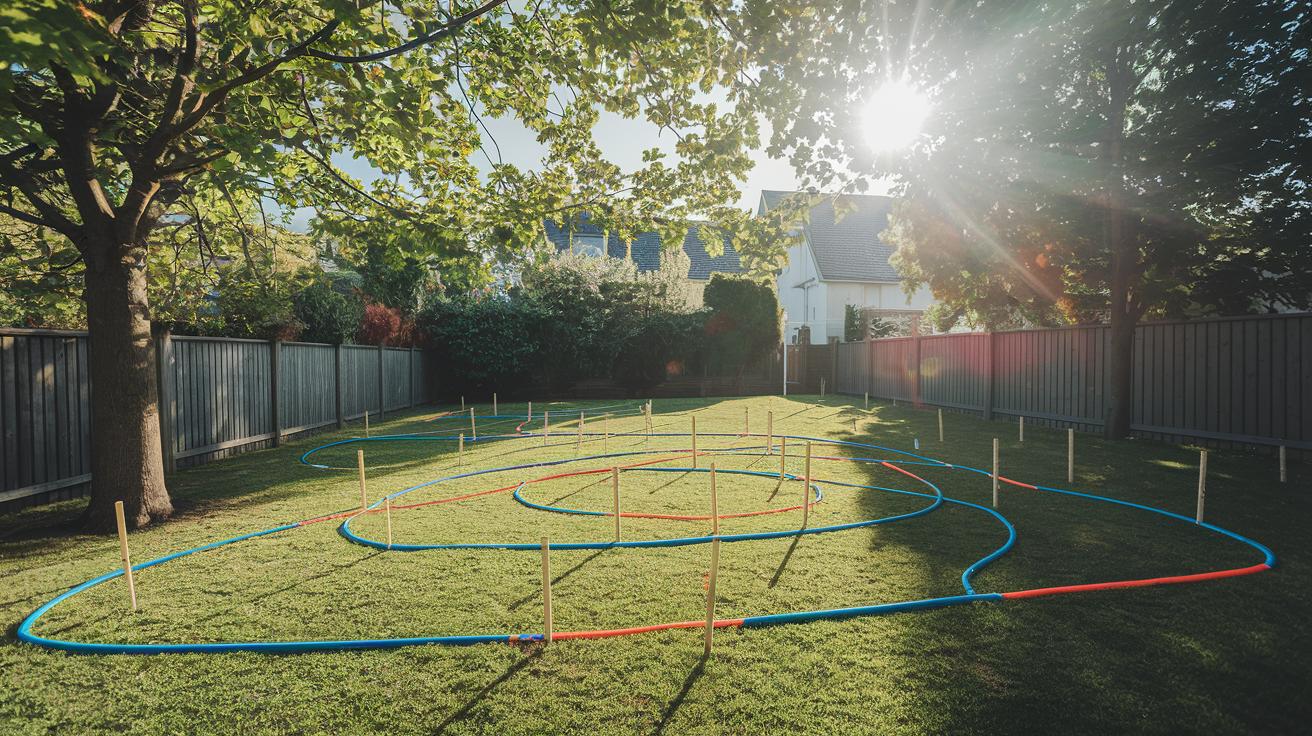
Planning your backyard obstacle course means giving each station room to breathe. A balance beam (a narrow board to walk on) needs about 8 ft, and an agility ladder (flat rungs you step through) should run straight for 15 ft. The tire run is best at about 5 ft wide with a crawl tunnel (a tube you scoot through) of roughly 10 ft long. Leave a buffer zone (empty space for safety) of 3 to 5 ft around each spot so racers can speed up or slow down safely on grass or soil.
Grab a garden hose or a piece of string and lay each shape right on the lawn. Mark corners with stakes or draw chalk lines on the pavement. You can also step off 3 ft by walking heel to toe in your shoes to eyeball your safety space. It’s half the fun to tweak things until the layout feels just right!
If your yard is narrow or full of odd angles, treat the layout like a puzzle. Angle the beam along a fence, coil the ladder like a snake, or swap in shorter sections to fit between flowerbeds. Potted plants or pool noodles can mark turns when you don’t have stakes handy. Every inch counts, and small tweaks make a big difference.
Safety Measures and Maintenance for Low-Cost Obstacles
Soft landing spots keep backyard racers safe. Lay down a foam landing pad ($20–30 each) or make your own pit with rubber mats or a layer of wood chips (small pieces of wood). Natural turf, sand, or rubber mulch (recycled rubber pieces) also give your jumps a gentle cushion. And wrapping raised planks or monkey bars in foam sleeves (pipe insulation) adds a cozy safety layer.
Before anyone races, give each obstacle a once-over. Have you ever heard a beam creak just before takeoff? Not fun! Gently tug rope ladders (woven cord) and tighten any loose screws on wooden beams. Oops, I once missed a frayed rope – not a good moment. Swap out frayed rope and worn zip ties (plastic straps) right away. These quick checks catch wobbles and weak spots before someone does!
Keep a small toolbox handy for simple repairs:
- Screwdriver and small wrench (for tightening nuts and bolts)
- Spare screws, nails, and zip ties (plastic straps)
- Extra rope or twine (thin cord)
- Sandpaper or a metal file (to smooth rough edges)
- A tube of strong adhesive (for reattaching loose padding)
- Pipe insulation or foam tubing (foam sleeves for extra padding)
Monthly check-ups make all the difference.
A quick walk-around, a few clicks of the wrench, and swapping out worn parts will keep your budget-friendly course fun and worry-free.
Upgrades and Course Expansion Without Breaking the Bank
You can start small. Slip in PVC monkey bars (PVC is a sturdy plastic) for about $15 to $25. Kids will love feeling the cool plastic under their hands as they swing low to the ground.
Then add a tire flip station (flip a heavy rubber tire to build strength) for $20 to $30. It’s like having a little strongman challenge right in your yard.
Or bolt in slackline anchors (for a tight rope balance test) at about $10 to $15. That wobble-your-way-across fun will have everyone cheering.
A zip line trolley attachment (a pulley on a cable ride) costs $25 to $35. You’ll hear the swoosh as you glide from one tree to the next. Oops, I once lost my hat mid-ride, but the laugh was worth it.
Take it step by step. Mix up portable ninja bits first. PVC monkey bars here and a slackline anchor there. Change the layout each afternoon for fresh excitement.
Next month, build or buy that tire flip station. You’ll feel the rubber under your hands as you flip. Trust me, you’ll notice your arms talking to you the next day.
Finally, clip on the zip line trolley once everyone’s ready. Phasing your upgrades like this keeps your wallet happy and your racers pumped.
Readers say their $20 tire flip station still stands strong after dozens of runs. And those PVC monkey bars shrug off sun and rain like champs.
Adding slackline anchors made their backyard ninja course feel extra legit without breaking the bank. Try one add-on at a time, check for wear, and watch your setup become the neighborhood’s crowd-pleaser.
Final Words
Mixing ready-made cones, pool noodles, and repurposed tires with your own rope ladder and balance beam made a course that thrills. You got price ranges for store gear and tips for digging out free pallets or scouring discount stores. We covered layout ideas, safety checks like secure screws and soft landing spots, and ways to grow your course over time.
Now you’re set to build a fun course that kids and adults will love and keep costs low with budget-friendly backyard obstacle course equipment.