Vertical Garden Irrigation System Design Made Easy
Have you ever peeked at your vertical garden (plants growing up a wall) at sunrise only to see dry soil and wilting leaves? It feels like your green wall is gasping for its morning drink!
Picture yourself at dusk, rushing around while leaves drip water as you scramble to patch leaks in hoses (flexible tubes that carry water). It’s like wrestling slippery snakes in a breeze, right?
But here’s the good part. Laying out each irrigation panel (flat board holding your drip tubes) is a snap. Choosing the right pump (device that moves water) and tubing (plastic water lines), balancing water pressure (the force that pushes water), and fine-tuning each drip line (thin hoses that drop water one drip at a time) is simpler than it sounds!
I’ll walk you through those four easy steps so every plant gets its gentle shower. No more scrambling, just steady watering and happy leaves.
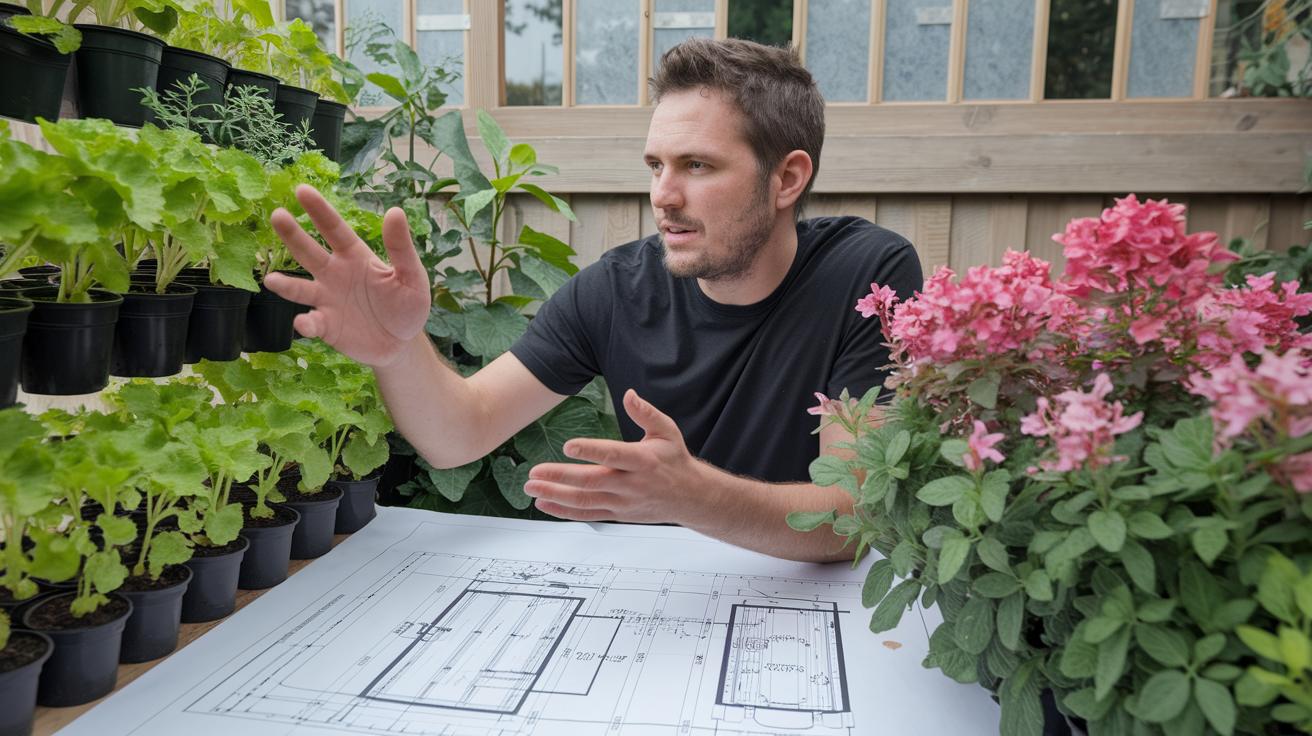
Vertical Garden Irrigation System Design Fundamentals: Layout, Components & Flow
You stand in front of your lush vertical garden. You can almost hear a soft drip of water on the leaves.
Setting up the right irrigation system feels like giving each plant its own little shower. We’ll break it down into four key stages. And you’ll see it’s not as tricky as it sounds.
First, sketch where each plant panel will go. Group ferns that love damp soil together. Put sun-loving succulents (plants with thick, water-storing leaves) nearby each other so they get just enough water. That way, you’ll match water needs without fuss.
Next, pick parts that work for your garden size. You’ll need a pump (device that moves water), a big hose called mainline tubing, smaller side hoses (lateral tubing), and tiny drip emitters (little nozzles that let water out). And hey, don’t forget valves for on/off control.
Then, think of your water like a gentle stream. A pressure regulator (tool that controls water force) and a manifold (water splitter with zone valves) help each drip line pour at just the right pace. It keeps upper ivy from drowning and lower plants from drying out.
Finally, fire it up. Run each zone, watch how long it drips, and jot down any leaks or slow spots. Tweak your settings until every plant gets its time under the gentle spray. Now you’re ready to plant.
You’ll need these must-have parts:
- Pump (moves water)
- Mainline tubing (the big hose)
- Lateral tubing (smaller side hoses)
- Pressure regulator (controls water force)
- Inline filter (catches debris)
- Solenoid valve and timer (automates on/off)
- Manifold with zone valves (splits water to zones)
- Emitters (tiny drip nozzles)
Draw simple zone maps and tag each part with a label. Snap a quick photo of your setup or sketch it out. You’ll avoid big headaches when you flush filters (rinse out grit), tweak the regulator, or swap emitters. Keep those notes handy.
And by the way, later on we dive deeper into pumps, tubing layouts, emitter setups, automation tips, and care tricks. Just hop to those sections when you’re ready. Happy gardening!
Pump and Tubing Configuration for Vertical Garden Irrigation
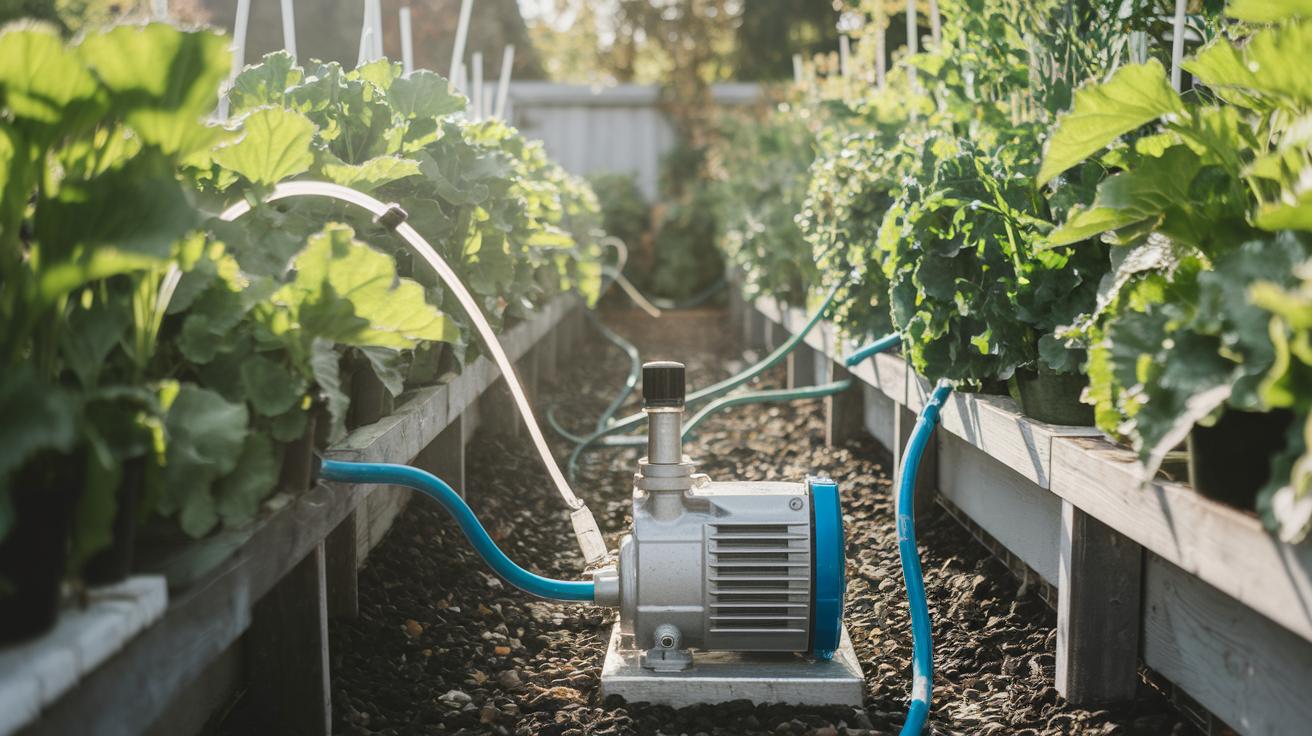
Pick a centrifugal pump (a machine that moves water by spinning blades) rated for 100 to 300 gallons per hour (GPH). Count your emitters and plan for about 1 GPH each. Also factor head height: every 2.3 feet you lift water adds about 1 PSI (pound per square inch).
Right after your pump add a pressure regulator (a device that tames water pressure). This keeps top panels from flooding and lower ones from running dry. Then install a dual-zone valve manifold (valves that divide water into two areas) so you can water tall and short sections on their own schedule.
Run a 1/2-inch mainline tube along the top frame like a water highway. Drop 1/4-inch laterals (thin tubes feeding each panel) down to every spot. I like quick-connect fittings that snap on and off for easy fixes. These tubing routes also make adding new panels or swapping parts feel like a breeze.
Check head loss before turning on the pump. You’ll lose about 1.5 PSI for every 10 feet of 1/4-inch tubing. Multiply emitter count by GPH per emitter to get total GPH. Then watch a pressure gauge and tweak your regulator until each drip trickles out just right. It’s magic when you get it right!
Emitter Distribution and Flow Calculation in Vertical Garden Irrigation
You want each plant to sip water just right. Ever watched water trickle down a living wall? It feels like a gentle rain for your roots. No soggy spots. No wilting leaves.
Pressure-compensating emitters (drip tips that keep water flow steady) put out about 4 gallons per hour (GPH) at 15–30 pounds per square inch (PSI). That means each tip gives the same stream even if your water pressure wiggles up or down. Think of them as tiny faucets lined up on a hose. They feed the roots evenly, top to bottom.
Here’s a quick layout plan:
- Space emitters every 8–10 inches vertically to cover the full root zone (the soil area where roots grow).
- For vining herbs (plants that climb or trail), use 180-degree micro-spray heads (spray tips that cover half a circle) at 12-inch spacing.
- To get total flow, multiply the number of emitters by 4 GPH.
- Install inline flow meters (little gauges that show real flow) so you can watch the actual output on each line.
- Add a manifold with individual ball valves (valves you turn to open or close each line) to tweak each panel’s drip.
Once you map out flow and spacing, give it a test run. Watch each little drop for a minute or two. Check your flow meter. If a drip slows or stops, just open that panel’s valve or turn the pressure dial. I promise it’s simple.
With these steps, every leaf on your green wall gets just enough water without waste. So you won’t have soggy patches or thirsty tips. Your vertical garden will stay fresh and happy.
Structural Integration: Mounting, Waterproofing & Support for Vertical Garden Irrigation
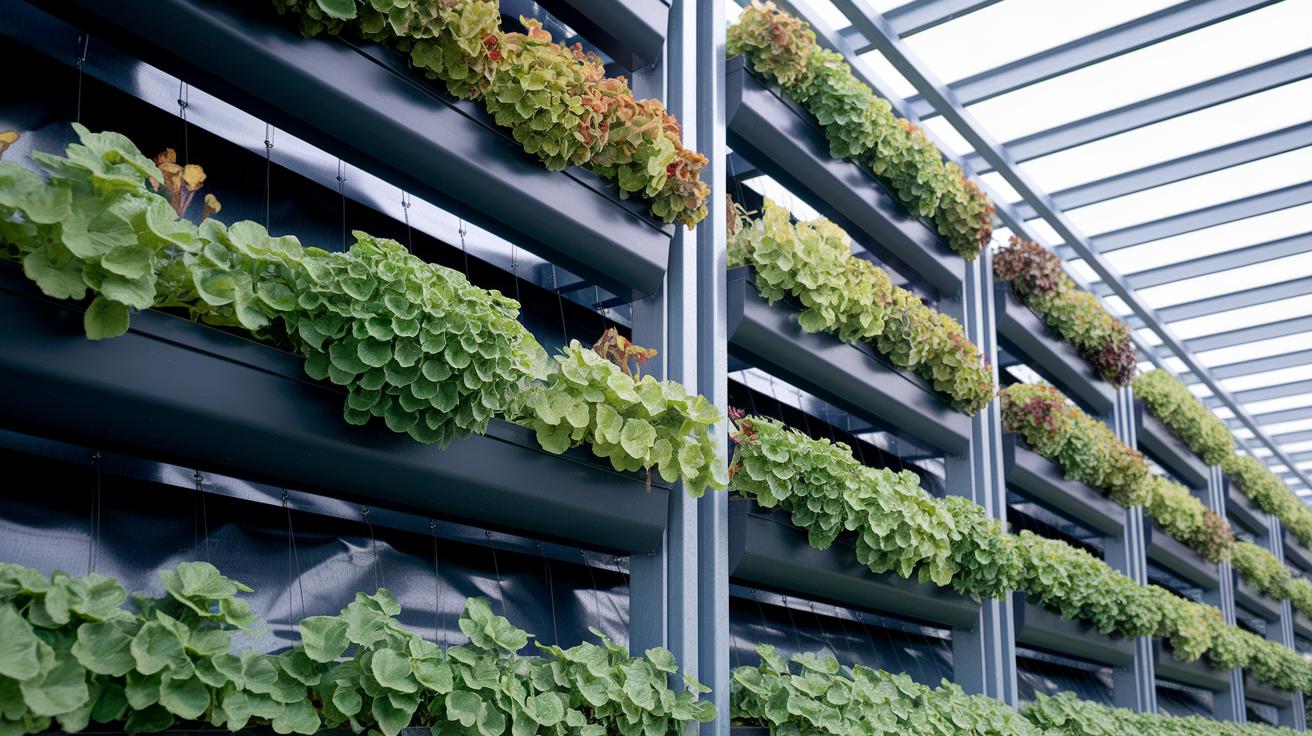
Let’s fasten each panel onto corrosion-resistant aluminum rails. Use stainless steel screws and nylon anchors so nothing rusts. For the support frame, pick powder-coated steel or treated wood (wood treated to resist rot). I once used cedar posts (cedar wood treated to resist rot) and they felt rock solid under my hand.
Slide a rubberized waterproof membrane (thin layer that blocks water) behind the panels. Seal every screw hole and tube opening with silicone caulk (flexible sealant you squeeze from a tube). This step stops moisture from sneaking behind your green wall.
Most modular panel kits snap right onto those rails. They usually come in 2 by 3 foot sections that lock together like puzzle pieces. Tuck the irrigation tubing (water tubes that feed your plants) into the grooves on the back so it stays hidden but easy to reach. Then slide in a drip tray (shallow catch basin) at the base to catch any overflow.
Give each planter tray a gentle tilt of about a 1% slope so extra water flows toward the drip tray. No more soggy corners. Once the frame is up and sealed, weave in your tubing, clip on the emitters (small nozzles that drip water), and watch your living wall come to life.
Automation & Control in Vertical Garden Irrigation System Design
I like to set up a digital timer or smart controller (device that schedules watering) to run 3 to 5 minute bursts twice a day. Those tiny showers arrive just before sunrise and again when the sun leans west. You can tweak the run times if the weather shifts.
I stick in moisture probes (sensors that measure water level) into the growing mix (planting mix). They send live data over LoRaWAN (long range wireless network) to a cloud dashboard. Now I know exactly when my plants need a drink without digging or guessing.
For flow control, I pair solenoid valves (electric valves that open or close) with a 24 VAC transformer. Each zone clicks on right when it’s supposed to. Splitting zones by panel height or plant group makes sure tall vines and thirsty ferns each get the right amount of water.
I peek at the system on my phone app. It shows watering logs and lets me pause any cycle with a tap. And I always tuck a backup battery into the controller so a power blink won’t leave plants parched. Have you ever had your setup go offline? A little backup goes a long way.
Maintenance, Troubleshooting & Seasonal Care for Vertical Garden Irrigation
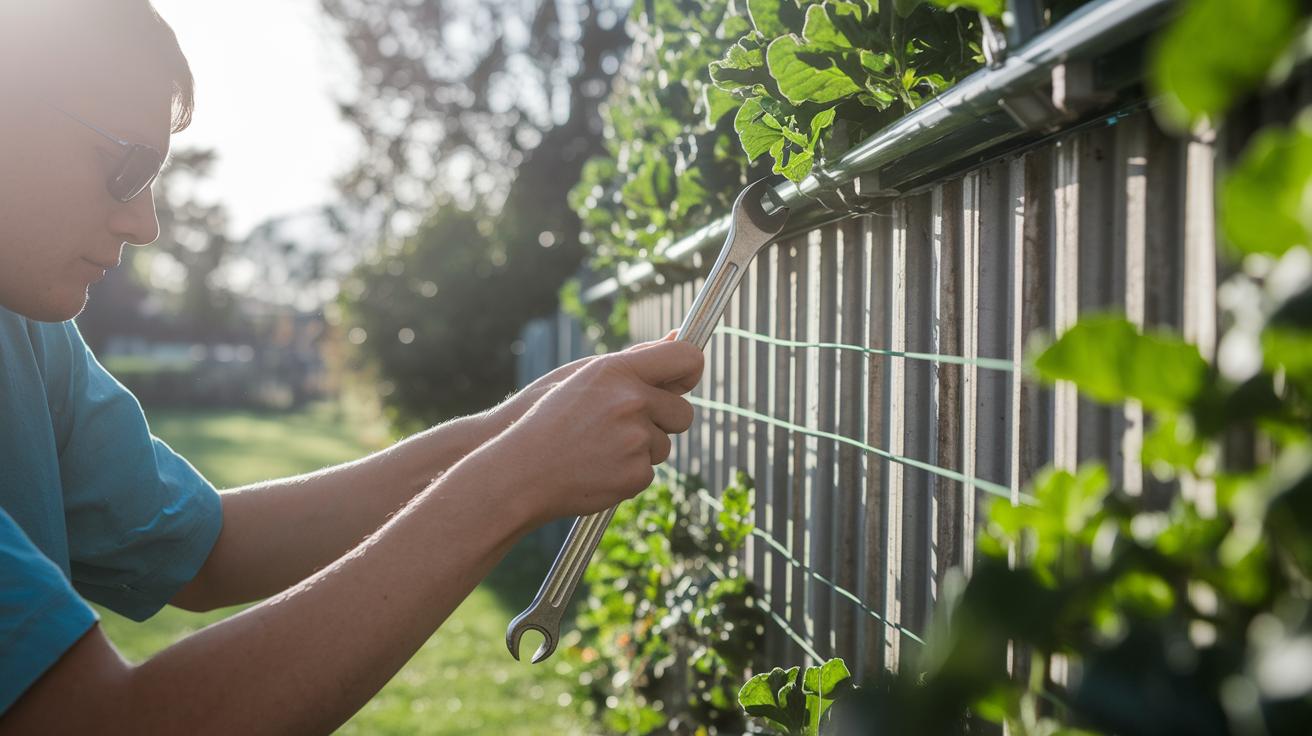
I like to do a quick check every month so my green wall never runs dry. First I flush the lines with a 2 percent bleach solution to zap slimy buildup. Then I open the filter cartridge (fine screen that traps grit) and give it a gentle rinse. Next I tap each drip emitter (tiny drip nozzle) to knock loose any stubborn clogs. This little routine keeps me out of big trouble later!
But here is a trick to stop algae before it even shows up. I swap in UV-resistant tubing under the hot sun and add an inline auto-air vent (tiny valve that sighs out trapped air) at the highest point. When I hear a soft hiss I know it just cleared out a bubble so I won’t get sputters. My plants drink happily without any splatters.
When frost starts creeping in I drain my pump (device that moves water) and pull off the inline filter cartridge. Then I hook up a compressor and gently blow the lines clear. In early spring I click each solenoid valve (electric on-off switch) open and give the filter another quick rinse. That makes sure every zone wakes up and flows smoothly.
I also keep an eye out for little odd things like slow drips, damp spots, or sun-faded wiring. I scribble a simple log in my garden notebook so I spot small trends before they grow. Oops I almost forgot the rubber gaskets (seals at pipe joints). I swap those seals once a year so everything stays snug.
Sustainable & Cost-Effective Vertical Garden Irrigation System Design Strategies
Imagine catching rain instead of running your tap. A 50-gallon tank (about 190 liters) with a leaf filter (a screen that keeps leaves out) and a first-flush diverter (a gadget that sends the dirty first rain away) sends the muddier water out, then stores clean water for your green wall. Gravity-fed header lines mean water trickles down without turning on the pump, cutting pump run-time by about 30 percent. And on cloudy days, a 20-watt solar-powered DC pump (a small pump that uses sun power) tops off the pressure. I even swapped in recycled-content tubing and drip emitters (little spouts that drip water slowly) to keep old plastics out of the landfill. By the way, my cat naps under that living wall, so peaceful.
Here’s a quick cost check for a 200-square-foot (about 18.6 m²) wall:
| Part | Unit Cost | Quantity | Line Total |
|---|---|---|---|
| 4 GPH emitter (4 gallons per hour drip part) | $2.50 | 60 | $150 |
| ¼” tubing (per foot) | $6.00 | 40 | $240 |
| Solar DC pump | $150 each | $150 | |
| Subtotal | $540 | ||
| Rainwater tank & filters | $260 | ||
| Approximate total | $800 | ||
Try these budget-friendly tips and sourcing hacks:
- Buy emitters and tubing in bulk. You’ll snag lower prices.
- Use gravity feed for most sections and only fire up the solar pump at the top.
- Check out local reuse centers or Habitat ReStores for secondhand tanks, valves, or fittings.
- Pick UV-resistant tubes so they won’t crack after one summer sun.
- Slip in a sediment trap before the pump. It catches grit and helps your filter last longer.
- Think about a rain sensor kit that pauses watering on wet days.
A few smart moves like these keep your setup costs down and make your green wall thrive for years. And if you shop with hydroponic suppliers or landscape wholesalers, you might score recycled-content parts that save money and help the planet. Happy gardening!
DIY Vertical Garden Irrigation Case Study: Balcony System Build
Ever thought about turning a weathered pallet (flat shipping wood platform) into a living wall? I did on my tiny balcony and was rewarded with fresh herbs and greenery. And I did it solo with simple parts and less than $200 tied up in supplies. The morning sun warmed the plants as I worked, and the earth in each panel felt soft under my fingers.
Here’s a quick rundown of the build:
- First, I measured my balcony wall and marked the studs (vertical wood supports).
- Then I bolted a wooden frame made from the pallet into those studs.
- Next I mounted four modular panels (each 2×3 ft) on galvanized rails (rust resistant metal bars).
- I ran ½" mainline tubing (thick water pipe) along the top and dropped ¼" drip tubing (thin water line that drips) to each panel.
- I clipped on six 180° micro-spray heads (tiny sprayer nozzles), one for each row of plants.
- Then I hooked up a 40 GPH DC solar pump (moves 40 gallons per hour) and tucked in a small battery backup.
- I stuck moisture sensors (probes that measure water level) into the potting mix (bagged soil blend).
- Finally, I tested each zone one by one, adjusting the pressure regulator (device that controls flow) until every spray looked even.
It took about four hours total. I spent roughly $180 on materials and about $50 renting a few tools. Once it’s running you’ll see soft mist covering each pocket of greenery. And you’ll cut your water use by close to 20% compared with hand watering.
To keep things cool, tuck the pump into a shaded corner so it never overheats. And group your plants by type, ferns together, herbs together, so each gets just the right airflow and light. By the way, my cat thinks the pump is the perfect napping spot.
But here’s the kicker: you don’t need a pro team to nail this. With a little curiosity and elbow grease you’ll get pro-level performance and a balcony that feels like a secret garden oasis.
Final Words
We jumped right into the nuts and bolts of site layout, pump sizing, tubing runs, flow balancing, and firing up your zones.
We also named the must-haves, the pump, mainline and lateral tubes, regulator, filter, valves, manifold, and emitters, and pointed you to deep dives on tubing tips, emitter spacing, mounting tricks, smart controllers, and upkeep hacks.
Now you’ve got a clear path for vertical garden irrigation system design. Go ahead and bring those green walls to life with confidence and ease.
FAQ
What are the key design stages and components for a vertical garden irrigation system?
The key design stages for a vertical garden irrigation system include site layout, component selection, flow balancing, and commissioning. Essential parts are pump, tubing, filter, regulator, valves, timer, and emitters.
How do I choose the right pump and tubing layout?
The right pump is a centrifugal model rated 100–300 GPH based on emitter count and height. Use ½″ mainline, ¼″ laterals, a pressure regulator, and quick-connect fittings for easy routing.
How should I space emitters and calculate flow?
Emitter spacing and flow calculation start with pressure-compensating emitters every 8–10″ for root coverage. Total flow equals emitter count times 4 GPH. Verify distribution with inline flow meters and individual valves.
How do I mount panels and waterproof the irrigation system?
Mount panels on corrosion-resistant aluminum rails using stainless screws and anchors. Add a rubberized waterproof membrane behind panels. Seal penetrations with silicone caulk and slope trays 1% for proper drainage.
What options exist for automating and controlling a vertical garden irrigation?
Automation options include a digital timer or smart controller for scheduled cycles, capacitive moisture sensors sharing wireless data, solenoid valves on a 24 VAC transformer, and a mobile app for manual overrides.
How do I maintain and troubleshoot my vertical garden irrigation?
Maintenance involves monthly line flush with bleach, cleaning filters, inspecting emitters, and draining lines for winter. Troubleshoot low flow by checking filters and leaks. Replace rubber gaskets annually for reliable performance.
How can I integrate rainwater and make my system eco-friendly and cost-effective?
Integrate a rainwater tank with leaf filter and diverter, use a gravity-fed header to reduce pump runtime, choose a solar-powered DC pump, recycled-content tubing, and budget about $800 for a 200 sq ft wall.
What should I know before building a DIY balcony vertical garden irrigation?
For a DIY balcony build, measure wall space, install the support frame, mount panels, lay ½″ mainline and ¼″ drip lines, add micro-spray heads, a 40 GPH solar pump, moisture sensors, and test coverage.