How To Design A Pollinator Garden Awesome Plan
Ever dreamed of turning that bare patch into a buzzing café for butterflies, bees, and hummingbirds? I love hearing their tiny wings brush the morning air.
First, wander around and mark spots where the sun hangs on the longest. Then feel the soil, you know. You’ll want patches that hold a little dampness (no more soggy roots!).
Next, sketch a simple map of your sunny, damp spots. Oops, almost forgot. Grab a pH strip (it shows how acidic or basic the soil is) and test your dirt. No fancy lab needed.
Group milkweed (butterflies’ favorite snack) and bee balm (bees and hummingbirds can’t resist) in those prime spots. Watch as pollinators throw their own little party.
Planting now sets you up for color, hum, and early-morning magic.
Foundations for a Pollinator Garden
First, take a slow stroll around your backyard and see what’s already growing. Jot down trees, shrubs, and any flowers you spot. Notice where water pools after a rain and run your fingers through the warm earth crumbling beneath your hands to check if it’s damp or dry. Try a soil pH strip (a tiny strip that tells you if soil is too acidic or too alkaline) to see what your ground needs – this helps blooms pop and butterflies find treats!
Spend a sunny afternoon tracking how many hours each spot basks in light or rests in shade. You’ll see which patches get the most sun. Sun-loving blooms like coneflowers soak it up best, while mint and parsley prefer cooler nooks. And a simple kitchen thermometer can tell you if the ground’s warm enough to wake seeds.
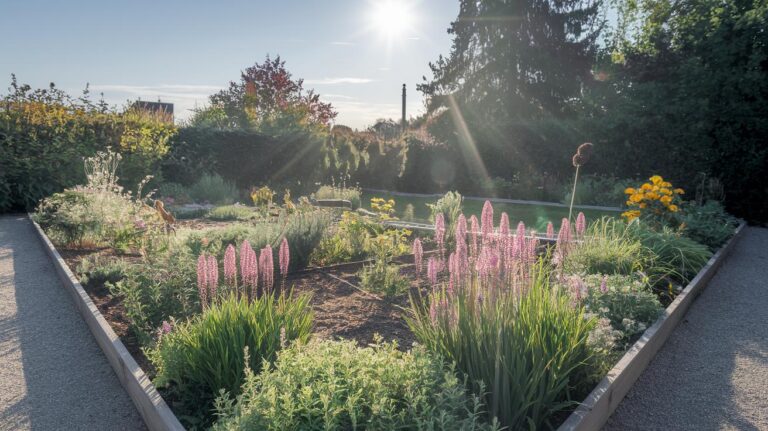
Next, sketch a quick map of your garden zones. Draw your yard’s outline and mark spots as full sun, part shade, or damp. Add arrows to show where rainwater runs, and circle edges near wild areas or lawn borders – those are bee highways. Um, I once planted lavender in a soggy dip – lesson learned!
This simple plan turns your notes into a pollinator party blueprint. You’ll know where butterflies flutter, hummingbirds sip, and bees buzz from bloom to bloom. And keeping an eye on slight rises or dips will stop puddles from drowning roots. Have fun tweaking spots as plants grow!
Pollinator Garden Plant Selection and Bloom Time Scheduling
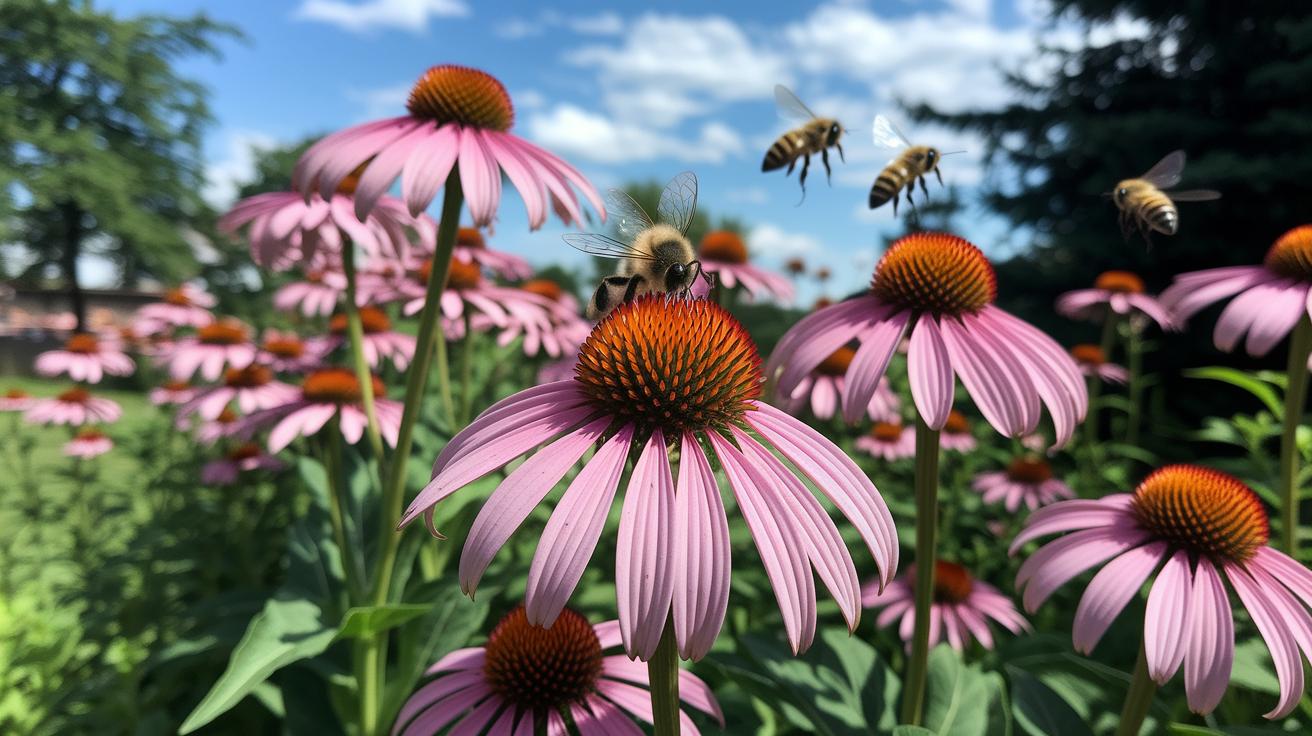
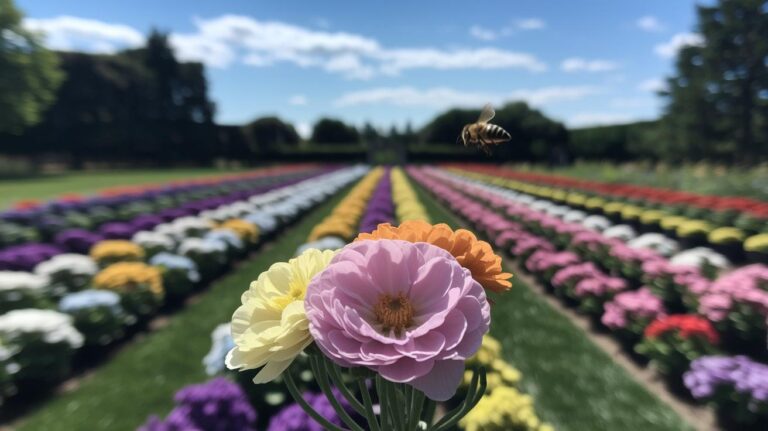
Choose a mix of native perennials (plants that come back year after year). Milkweed, coneflowers, and bee balm feed local butterflies, bees, and hummingbirds. Have you ever smelled fresh bee balm on a morning breeze? I live for that. Group these flowers in tight clusters so pollinators can spot the nectar (sweet flower juice) without flying all over the yard. Plus, clustering cuts down on chores. You’ll thank me later.
To fill in any lonely patches, plant a few annuals (plants that live one season). Zinnias and cosmos are my go-to for bright, quick blooms that pop all summer. I usually sprinkle seeds where my perennials are still snoozing in spring. Soon enough, those annuals take the stage and keep the garden humming.
Yes! Let’s talk bloom timing. You want something flowering from crocus in early spring to asters in fall. Start by popping crocus and daffodil bulbs into the soil for an early color show. Then midseason stars like black-eyed Susans and more bee balm keep things rolling. Finally, goldenrod and asters swoop in for a late-season encore.
No nectar droughts.
And here’s a neat trick: add companion herbs. Lavender (fragrant shrub) draws in bees while gently warding off deer. Thyme’s tiny flowers invite helpful hoverflies that snack on aphids. Just tuck these herbs near your perennials and annuals. You’ll spot more wings flitting around, and your garden care stays delightfully low-key.
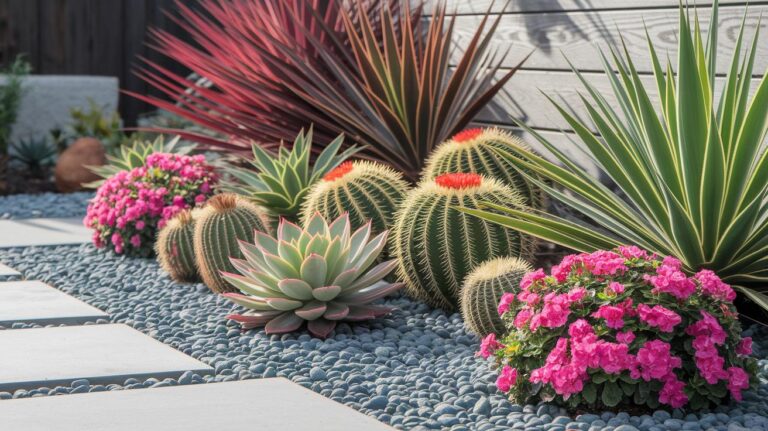
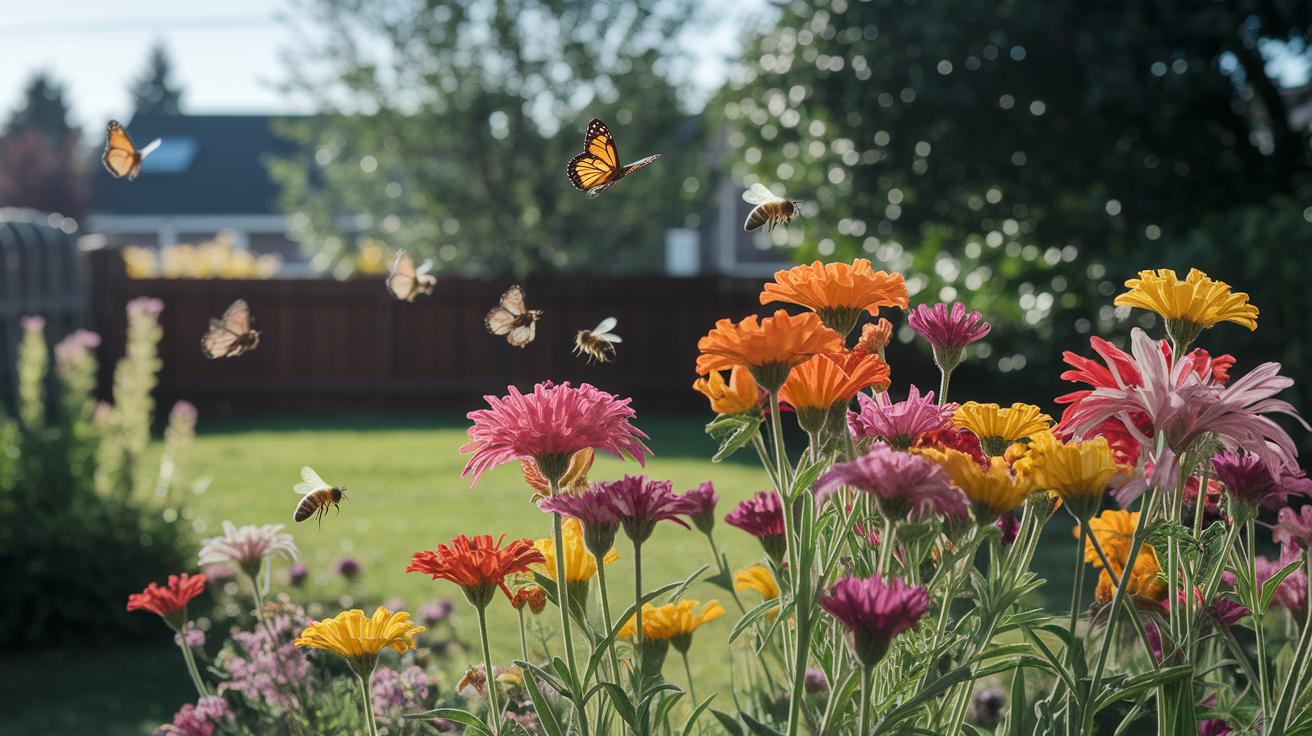
Structuring Plant Layout for Pollinator Attraction
I like to plant flowers in tight clusters. That way bees, butterflies, and hummingbirds zoom right to their favorites. For example, I tuck coneflowers next to black-eyed Susans and blanket-flower. It feels like they’re being waved in with bright signs.
Oh, and clumping cuts down on hiding spots for pests. You’ll spend less time checking for critters and more time sipping iced tea. Have you seen how happy bees look when they land in a big patch of blooms?
Then I think about layers. First, I spread creeping thyme (a low plant that covers the soil) like a soft green carpet. Next, I add bee balm and coreopsis for a mid-height splash of color. Finally, I tuck in taller shrubs like butterfly bush, viburnum, weigela, and quince so pollinators can rest.
Color planning is like setting up a pollinator highway. I start with cool blues and purples to lure in bees. Then I move to warm yellows, oranges, and reds where butterflies love to linger. Big blocks of color are easier for them to spot than scattered single blooms.
I can’t forget the paths. I carve gentle curves with gravel or stepping stones to lead me through each color zone. They double as safe flight lanes so pollinators can flit between nectar stops. It’s my favorite way to walk through the garden and watch the show.
Creating Water and Shelter Features in Your Pollinator Garden
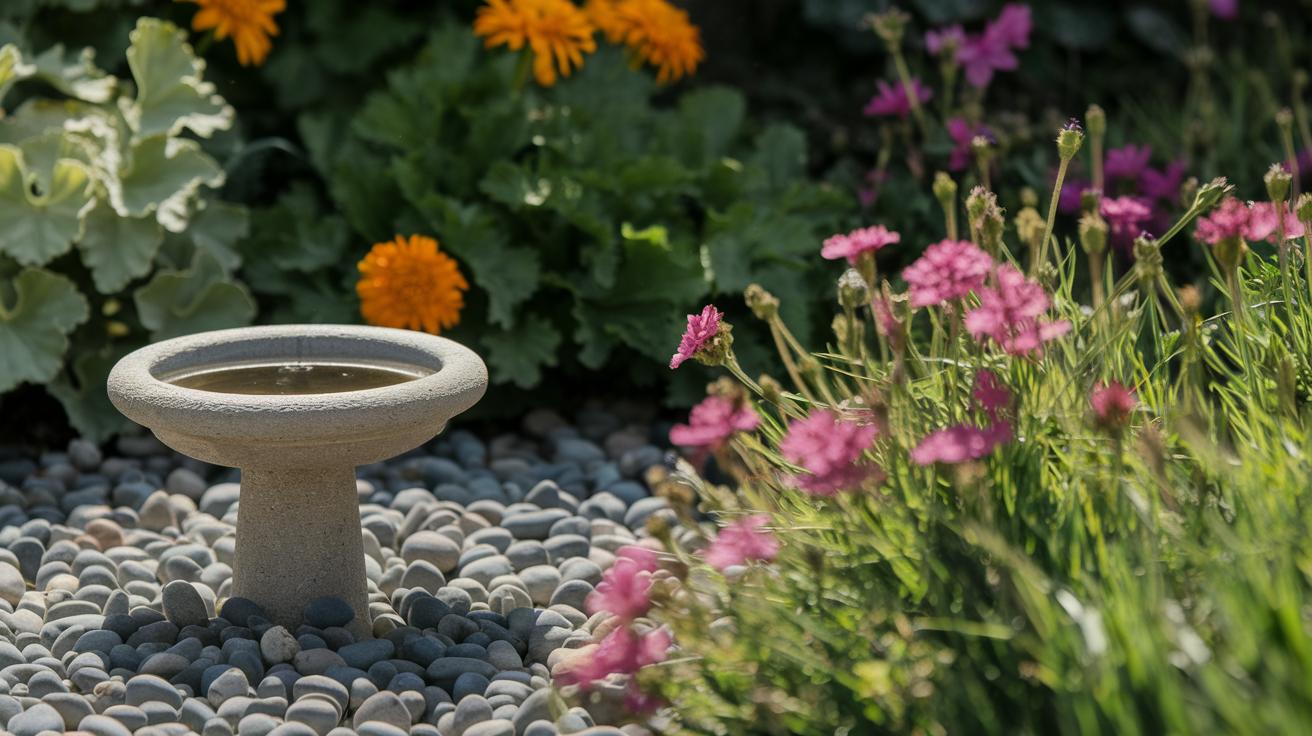
Designing Shallow Water Sources
Ever see a butterfly struggle on a deep birdbath?
Try a shallow dish about a half-inch deep.
Scatter smooth pebbles or stones so bees and butterflies can land safely. I like to set one in full sun and another in light shade. The morning sun warms the water and helps freshen it by noon.
And if you want to invite birds, use small shallow bowls on low pedestals or simple stilts at different heights. Hummingbirds hover at the top while ground beetles and hoverflies tiptoe in at the bottom. By the way, my cat naps under mine. So simple.
Building DIY Bee Hotels and Nesting Sites
Want to make a bee hotel? Grab untreated wood blocks or bamboo tubes (hollow stalks) about 4 to 6 inches long. Drill holes in sizes from a quarter inch to three eighths inch wide (that’s the hole’s diameter).
Think of each hole as a little room in a tiny apartment for solitary bees. Pack the tubes snugly into a simple wood frame.
Point the frame toward morning sun and tuck it out of heavy rain. Next, leave a patch of loose earth (about one or two square feet) for ground-nesting bees to burrow.
Toss in a small brush pile of twigs near the hotel for extra shelter. Oops, I meant keep it tidy each spring.
Swap out old tubes and brush away debris so new bees can emerge healthy.
Pop a butterfly house in a sunny, sheltered nook for caterpillars and chrysalis stages. Soon your garden will buzz and flutter with life. Yes!
Soil Preparation and Organic Practices for Pollinator Health
Think of your garden soil like warm earth crumbling between your fingers, a snug home and a picnic spot for buzzing friends like bees and butterflies. Testing your dirt and feeding it natural goodies helps your flowers bloom strong and keeps pollinators coming back all season long.
Oops, I once skipped the compost step and my zinnias looked sad. Lesson learned!
- Test your soil with a simple kit to check its pH (how acidic or basic it is). If it’s too low, stir in lime. If it’s too high, sprinkle on some sulfur.
- Spread 2 to 3 inches of organic compost (rotted plant bits that enrich soil). Then mix it into the top layer until the dirt feels light and fluffy.
- Lay down wood chips or straw mulch. This locks in moisture. It smothers weeds and keeps roots cool on hot days.
- Brew compost tea. Just steep compost in water for a few days and give your plants a nutrient-rich drink. You can also scatter organic granules like fish meal for a quick root snack.
- Skip chemical sprays. Pull pests off by hand. Tuck lavender and thyme among your blooms to balance out insects. And welcome lacewings or ladybugs to patrol your plants.
By doing these steps, you’re creating a simple natural pest management plan. You feed your soil. You crowd out weeds. You keep bad bugs at bay. All without harsh chemicals.
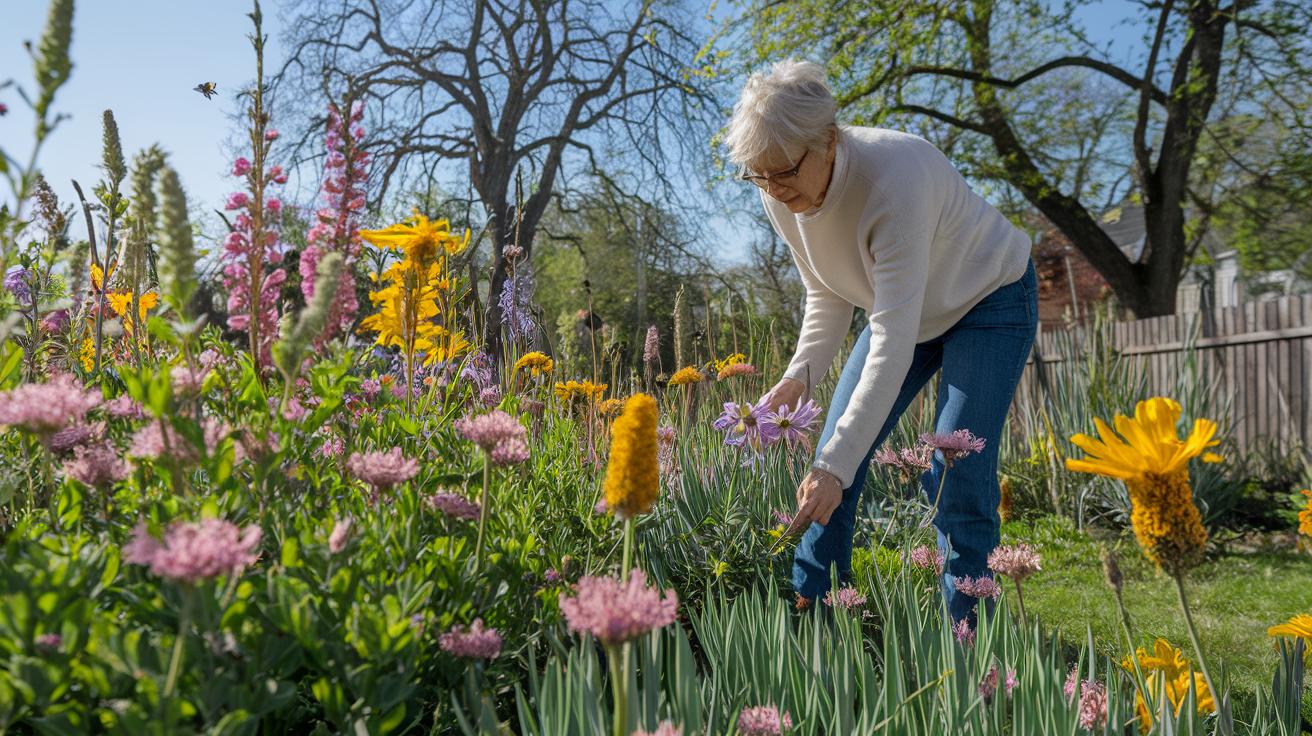
Don’t forget deadheading. Snip off faded flowers. It’s like sending your plants a clear “more blooms, please” note.
Healthier blooms. Steady nectar flow. A garden that hums with happy pollinators.
Seasonal Maintenance Schedule for a Pollinator Garden
Spring’s here! Can you feel that soft breeze with hints of flower buds? Start by clearing away last winter’s twigs and leaves. Then stir in some fresh compost (decayed organic matter that enriches soil) until the earth feels crumbly between your fingers. Next, tuck crocus or daffodil bulbs into the ground. Oops, I once spilled a wheelbarrow of compost, worth it.
This timing gives early bloomers a head start. And don’t forget to test soil pH (acidity level) so roots can grow strong.
When summer heats up, I grab iced tea and tiptoe through the flowers. Deadhead spent blooms by snipping them right at the base, this little trick keeps new flowers coming. Lightly prune perennials for extra blooms. And watch for aphids or caterpillar damage while you relax on a lawn chair.
As leaves start to crisp, it’s time for fall cleanup. Sow clover or rye cover crops to feed the soil. Leave some seed heads standing, free snacks for birds and bees. Mulch around plant crowns with a thin layer of straw or leaves. Then stack a small brush pile for critters looking for a cozy spot. By the way, my cat loves sunning on that pile.
Planting now sets you up for next year’s summer party of blossoms.
When the garden settles into winter quiet, take a step back. Let leaf litter lie where it fell, that’s snug bedding for bugs. Keep nesting blocks in place for solitary bees. Resist heavy tilling; nature does its own soft-turning under frost. Have you ever felt the crunch of fallen leaves under your boots? Right?
Yes! Even off-season, life hums on.
Budget-Friendly Pollinator Garden Designs and Cost Estimates
If you’ve got a small patch of lawn or a corner yard begging for color, throw down a wildflower seed mix (a bag of different wildflower seeds). It costs about $10 – $20 and will cover up to 100 square feet. Just rake the warm dirt, sprinkle seeds, press them lightly, and wait for poppies, black-eyed Susans, and coreopsis to hum with the soft buzz of bees!
For a tidier look, build raised beds from reclaimed wood (old wood rescued for new use). I once grabbed old pallets and turned them into 4-foot by 8-foot beds. Fill each bed with potting mix (a soil blend for containers) and tuck in plant starts (young plants) for $5 – $15 each; try coneflowers, bee balm, or native asters. By the way, my cat loves to snooze on the wooden edge, so let’s get back to prepping your bed for easy weeding and watering.
No yard? No problem. Container gardening (growing plants in pots) shines on patios or balconies. Repurpose buckets, wooden crates, or nursery pots and fill them with free-draining potting mix (soil that lets extra water flow away). Plant one type per pot, lavender in one, zinnias in another, and group three to five containers for a tiered look that won’t blow your budget.
| Planting Method | Estimated Seed Cost | Estimated Plant Cost |
|---|---|---|
| Wildflower Meadow | $10 – $20 per packet | $0 |
| Reclaimed Wood Raised Beds | $0 | $5 – $15 per plant start |
| Container Gardening Style | $0 | $5 – $15 per container plant |
Final Words
Right in the action, you learned to check sunlight levels, test your soil, and sketch out garden zones. That site mapping lays the groundwork for every bloom.
You chose native perennials, filled gaps with annuals, and timed blooms for nectar. Grouping heights and color themes help pollinators wander.
Shallow water spots, DIY bee shelters, and organic care keep insects safe. A seasonal plan and budget-friendly tips mean less stress and more blooms.
Grab your tools and plant that first seed with confidence. Here’s how to design a pollinator garden.
FAQ
How do I assess my garden site for pollinators?
The process of assessing your garden site for pollinators starts with a thorough analysis of sunlight exposure, soil type, moisture levels, and existing vegetation to find spots that attract more pollinators.
What plants should I choose for a pollinator garden?
Choosing plants for a pollinator garden means focusing on native perennials like milkweed, coneflowers, bee balm, plus annuals such as zinnias and companion herbs like lavender to invite pollinators all season.
How can I schedule blooms for continuous forage?
Scheduling blooms for continuous forage means picking early bulbs like crocus and daffodils, mid-season perennials such as black-eyed Susan, and late bloomers like goldenrod so pollinators find food from spring through fall.
What layout techniques attract more pollinators?
Layout techniques that attract more pollinators include grouping similar species together, layering plants by height from groundcover to shrubs, and adding paths so pollinators and you can move through the garden easily.
How do I add water and shelter features?
Adding water and shelter features involves placing shallow dishes with pebbles for bee landings, small birdbaths at different heights, bare soil patches for ground bees, and a sunny butterfly house for shelter.
What steps should I follow for soil prep and organic care?
The steps for soil prep and organic care include testing soil pH, adding compost, mulching with straw or wood chips, using natural fertilizer like compost tea, deadheading blooms, and hand-picking pests to keep the garden pesticide-free.
How often should I maintain my pollinator garden by season?
Maintaining the garden by season means spring cleanup of debris, composting, and planting early bloomers; summer deadheading and checking water; fall sowing cover crops, leaving seed heads, and minimal winter disturbance.
How can I create a pollinator garden on a budget?
Creating a budget-friendly pollinator garden means using wildflower seed mixes for meadows, repurposing containers, building raised beds from reclaimed wood, and mixing containers and beds for a varied yet low-cost layout.