Vertical Garden Irrigation Systems Compared
A living wall doesn’t have to be a fussy, expert-only project. The part that trips most people up isn’t the plants — it’s the watering, and that’s exactly where the right vertical garden irrigation system earns its keep. Get a green wall hydrated evenly and the daily hose chore disappears, along with the soggy bottom rows and the crispy top ones. There are really only three ways to do it: drip, hydroponic flow, and capillary wicking. Here’s how each one works, what it costs, and how to pick the one that fits your wall and your patience.
As an Amazon Associate, Backyard Superstar earns from qualifying purchases at no extra cost to you.
How the Three Watering Methods Compare
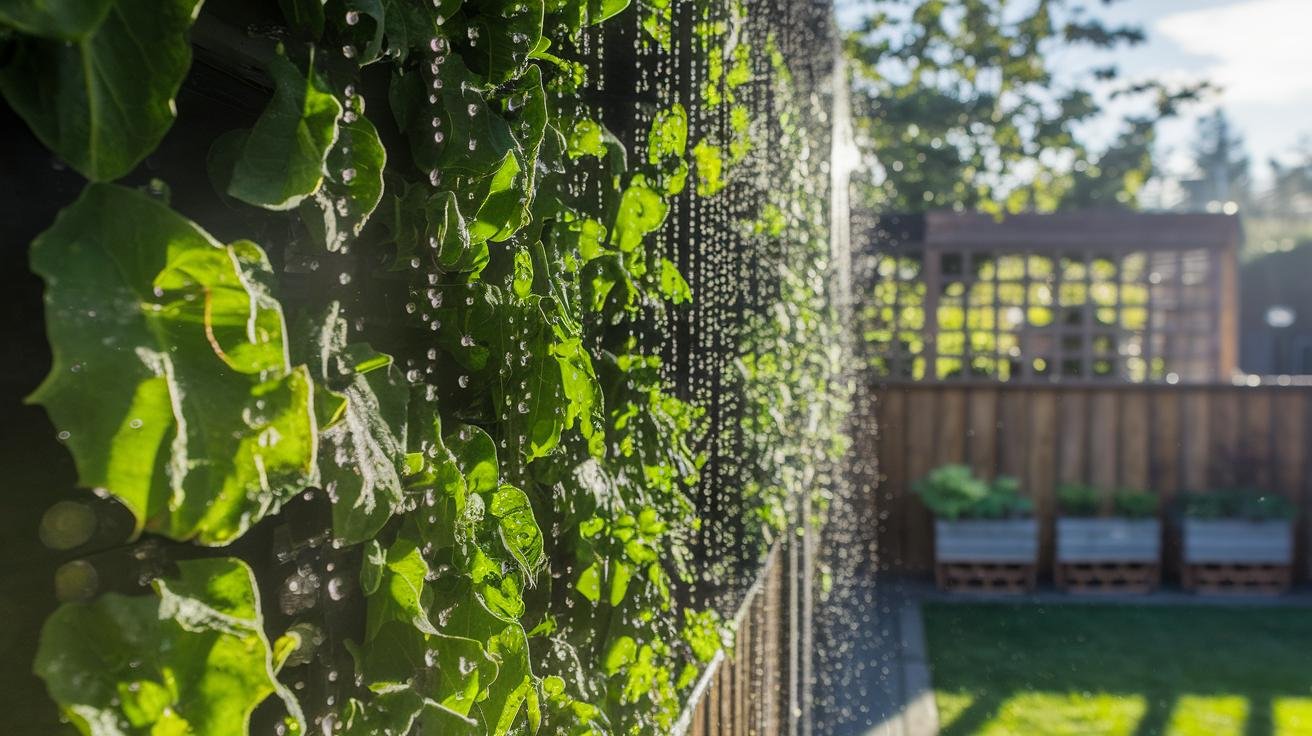
Picture a leafy wall on your balcony or patio, every pocket getting exactly the drink it needs. Three systems get you there, and each one suits a different wall size, plant list, and budget.
Drip irrigation runs low-pressure water through tubing and lets little emitters dribble it right at the roots, usually one to four gallons per hour per emitter. It’s precise and stingy with water, which is why it’s my go-to recommendation for most home walls. Hydroponic flow skips soil entirely: a pump pushes a nutrient-rich mix through trays at around half a gallon to a gallon per minute, the roots drink, and the leftover drains back to a tank. It grows plants fast but asks the most of you in gear and weekly attention. Capillary wicking is the gentle one — absorbent mats or ropes pull moisture up from a reservoir with no pump and no timer, and a full tank coasts for three to five days.
Here’s the quick side-by-side.
| System | How it waters | Typical flow | Cost tier | Best for |
|---|---|---|---|---|
| Drip irrigation | Emitters at the roots | 1–4 gallons per hour | $ | Most home walls; water savings |
| Hydroponic flow | Pumped nutrient loop, no soil | 0.5–1 gallon per minute | $$$ | Fast growth, edible greens |
| Capillary wicking | Mats wick from a tank | Reservoir lasts 3–5 days | $ | Small walls; hands-off care |
The results back this up. In a university trial, a drip-watered wall used up to 40 percent less water than the same wall watered by hand, and the soil stayed evenly moist between cycles instead of swinging from drenched to bone-dry. Commercial hydroponic living walls have pushed yields 25 to 30 percent higher per square foot, with lettuce, basil, and microgreens shooting up faster on a clean nutrient loop. And office walls on capillary mats have hummed along at over 90 percent uptime for six months with little more than a seasonal mat swap. Drip and hydroponic win on precision; capillary wins on simplicity and price.
Setting Up Drip Irrigation on a Living Wall
Drip is the friendliest place to start, and the setup feels like building with blocks. Many vertical gardens use snap-together panels that hold the planting pockets and the tubing, so you stack sections until the wall is as tall as you want. If you’re building the structure too, my walkthrough on DIY modular vertical garden panels pairs nicely with this.
Start at the water source — an outdoor spigot or a hose adapter. Add a filter to catch grit and a pressure regulator so the line doesn’t gush, then run your main tubing in straight or grid lines across each panel. Clip a pressure-compensating emitter at every plant site so each root ball gets its own steady drip. Space the drip zones roughly 6 to 12 inches apart so every pocket stays moist without runoff, and pair emitters under thirsty herbs while a single dripper is plenty for a small succulent.
To size it, count your emitters, multiply by each one’s hourly output, and give yourself 10 to 20 percent of headroom so the far end of the wall still gets pressure. A little planning here is the difference between a wall that drinks evenly and one that drowns the bottom row. I sketch the layout pocket by pocket first; if you’d like a template, my notes on vertical garden irrigation layout lay it out.
For a first wall, a plug-and-play kit takes the guesswork out. The Raindrip Automatic Watering Kit with Timer waters up to 20 plants out of the box and is the easiest budget way in ($). When you outgrow it or want to customize the runs, the Rain Bird Gardener’s Drip Kit gives you tubing, emitters, stakes, and a pressure regulator to shape the layout your way ($$). Open the valve slowly the first time and watch each emitter — if one races or chokes, flush the line or drop in a small downstream regulator.
Hydroponic Flow for a Soil-Free Green Wall
Hydroponic flow is the showpiece option: cool, nutrient-rich water winding through pipes to feed every leaf, with no soil at all. A submersible pump pushes the water-and-food mix up into grow trays, the plants drink their fill, and the extra drips back into a tank. Plan the reservoir and a refill rhythm well and you’ll use about 20 to 30 percent less water than a soil bed.
Here’s the short shopping list: a reservoir holding 20 to 100 gallons depending on wall size, a pump rated around half a gallon to a gallon per minute, tubing long enough for each row, nutrient dosing gear, and grow trays with inlet and outlet ports. Lay the tubes so each pocket of roots gets an even flow. On a 10-foot wall with six trays, you might split into two loops running about 0.7 gallons per minute each.
When you pick the pump, add up your loops times their flow rate, then choose one that can handle 10 to 20 percent more than that total. That cushion keeps things steady when lines fill or a small clog pops up. A quiet, adjustable workhorse like the VIVOSUN 400 GPH submersible pump sits right in the home-wall range and comes with nozzles to fine-tune the lift ($).
Then listen for the soft, steady drip — that’s the sound of a happy loop. Check the pH and nutrient strength once a week, and top off the reservoir before it drops below half. A timer that runs the pump in short cycles, especially overnight, keeps levels even and saves energy. Precise flow makes for happy roots, and happy roots make a happy wall.
Capillary Wicking: The No-Pump Option
If pumps and timers make you want to lie down, capillary wicking is your friend. Have you ever watched water climb a thin rope? That same quiet pull does all the work here. Absorbent mats or ropes lift moisture from a tank at the base of the wall — no electricity, no schedule, just steady hydration.
Reservoir size is what matters most. Aim for a tank that holds about three to five days of water, roughly one to two gallons per square foot of planting, and you’re no longer chasing the hose every other morning. A reusable, easy-to-cut option like the Gardener’s Supply self-watering capillary mat tucks behind the planting pockets and wicks evenly across the whole wall ($).
The other half of the magic is the planting mix. I like a blend of coconut coir and perlite, with a little compost worked in for richness — it holds moisture without going swampy, which is exactly what wicking wants. My guide to the best soil mix for container gardening walks through the ratios. Lay the mat between the tank and that mix so water climbs evenly, and keep an eye out for soggy corners or dry pockets in the first week while it settles. If you want a ready-made version of this idea, a self-watering vertical herb garden uses the same wicking principle in a compact kit.
Automating Your Watering With Smart Controllers
Once your system is running, a little automation means your plants sip exactly when they need to with no work from you. A smart controller clips onto your drip line or hydroponic loop, pulls in local weather, and pauses watering when rain is coming. A moisture sensor checks below the surface and skips a cycle if the mix is still damp. It’s like keeping a tiny gardener in your pocket.
The pieces worth adding are a weather-aware controller, a moisture probe for the planting mix, a timer for the nutrient pump on hydroponic walls, and app alerts so a leak or a low battery pings your phone. Setup takes minutes: clip the probe into a pocket, plug in the controller, connect it to Wi-Fi, enter your zip code, and pick your watering windows.
For the brains of the operation, the Orbit B-hyve smart hose faucet timer with Wi-Fi hub turns any spigot into a weather-adjusting, app-controlled system and is the premium pick I’d reach for ($$). To spot-check by hand before you trust the automation, a simple XLUX soil moisture meter reads the root zone instantly with no batteries ($). On a balcony or off-grid spot, a small solar-powered pump can push water up the wall even when the grid is down. If you’re new to reading what your plants are telling you, my container garden watering tips are a gentle place to start.
Maintenance and Seasonal Care
A vertical watering system asks for only a little weekly care and a few seasonal tweaks to stay lush. Keep a short rhythm and most problems never start.
Every week, flush the emitters and tubes so mineral grit doesn’t build up. Every couple of weeks, rinse or swap the screen filters. Every two to four weeks on a hydroponic wall, test the nutrient tank’s pH and top off with fresh plant food. And now and then, peek at your capillary mats; if you spot mold, replace them once a year.
When something acts up, it’s usually one of three things. Uneven dripping means a clogged emitter — pop it off, soak it in vinegar, and flush the line. A slimy green film in the tank is algae, so cover the reservoir to block sunlight and scrub the walls with a soft brush. A pump that’s lost its push usually has debris in the impeller, so cut the power, clear it, and make sure the hoses are snug.
Seasons matter too. As nights cool, slow the drip rate by about 25 percent so roots don’t sit waterlogged. Before the first frost, drain every tube, blow out the leftover water, bring pumps indoors, and wrap any aboveground pipe with foam. When spring returns, flush the lines, drop in fresh filters, and test the pH before you fire it back up. A little care now means no wilted leaves later — and the soft hum of a thriving wall all year.
What It Costs and Which Brands to Trust
Budget usually decides the system before anything else does, so here’s the honest lay of the land. Capillary wicking is the cheapest way to a self-sufficient wall ($), since there’s no pump or controller to buy. A drip setup lands in the low-to-mid range ($–$$) and gives you the best water savings for the money, which is why I steer most beginners here. A full hydroponic rig is the big-ticket choice ($$$), justified when you’re growing edible greens and want the fastest growth.
On brands, drip gear from Rain Bird and Netafim has earned its reputation for parts that hold up outdoors, and General Hydroponics is a long-standing name for nutrient systems. Whatever you buy, check the current warranty and reviews on the listing before you commit, since coverage and pricing shift over time. Spend where it counts — a reliable pump or controller — and save on the parts you can easily replace yourself, like tubing and emitters.
Recommended gear for watering a living wall
As an Amazon Associate, Backyard Superstar earns from qualifying purchases at no extra cost to you.
- Easiest start — Raindrip Automatic Watering Kit with Timer ($). Plug-and-play drip for up to 20 plants — the simplest way onto a wall.
- Customize the drip — Rain Bird Gardener’s Drip Kit ($$). Tubing, emitters, and a regulator to shape the layout your way.
- Hydroponic flow — VIVOSUN 400 GPH Submersible Pump ($). Quiet, adjustable, and sized right for a home wall’s nutrient loop.
- No-pump option — Gardener’s Supply Self-Watering Capillary Mat ($). Wicks moisture from a tank for days with zero electricity.
- Hands-off automation — Orbit B-hyve Smart Hose Faucet Timer with Wi-Fi Hub ($$). Weather-aware, app-controlled watering from any spigot.
- Quick spot-check — XLUX Soil Moisture Meter ($). Instant root-zone reading, no batteries — confirm before you trust the timer.
FAQ
What are the main vertical garden irrigation systems?
The three main systems are drip irrigation, where low-pressure emitters deliver water slowly to each plant’s roots; hydroponic circulation, where a pump moves nutrient-rich water through a soil-free loop; and capillary wicking, where absorbent mats draw moisture up from a reservoir without any pump.
How does drip irrigation work and is it affordable?
Drip uses emitters rated about 1 to 4 gallons per hour to target each plant through tubing, a filter, and a pressure regulator. Plug-and-play starter kits are the most budget-friendly entry point ($), which makes drip the easiest first system for most home walls.
What is hydroponic flow and how much water does it save?
Hydroponic flow circulates a nutrient mix at roughly 0.5 to 1 gallon per minute through trays and back to a reservoir, cutting water use by about 20 to 30 percent versus soil. It’s the priciest tier ($$$) but grows edible greens fastest.
How do capillary systems keep a green wall watered?
Capillary mats or ropes wick water from a base reservoir, keeping plants hydrated for three to five days with no pump or timer. Sizing the tank for about one to two gallons per square foot is what lets it coast between refills.
How can I automate my vertical garden watering?
Add a weather-aware smart controller, a moisture sensor for the planting mix, a timer for the nutrient pump on hydroponic walls, and app alerts for leaks or low batteries. Solar-powered pumps handle off-grid balconies, and most controllers manage everything from your phone.
What maintenance does a vertical irrigation system need?
Flush emitters weekly to prevent clogs, rinse filters every couple of weeks, and test pH and refresh nutrients every two to four weeks on hydroponic walls. Slow the flow about 25 percent in cool weather and drain the lines before the first frost.
Which system should I choose for my wall?
Choose capillary wicking for a small, hands-off wall, drip irrigation for the best water savings on most home walls, and hydroponic flow when you want the fastest growth for edible greens. Match the system to your wall size, plant list, and how much weekly attention you enjoy.