Patio Fire Pit Maintenance and Cleaning Guide
A patio fire pit needs routine care to stay safe, efficient, and good-looking through seasons of regular use. Ash buildup clogs ventilation and makes fires burn unpredictably. Rust spreads quickly on neglected metal surfaces. Gas burner ports clog with debris and spiders between uses. None of these problems are difficult to fix — but they do require a consistent schedule.
This guide covers every maintenance task your fire pit needs: the tools to keep on hand, safe ash removal and disposal, gas burner cleaning and leak testing, rust prevention and surface sealing, a seasonal maintenance calendar, safety inspection checkpoints, and quick fixes for common issues. For help choosing between gas and wood-burning models before diving into maintenance, see the gas vs. wood burning fire pit comparison guide.
Essential Tools and Materials for Patio Fire Pit Cleaning
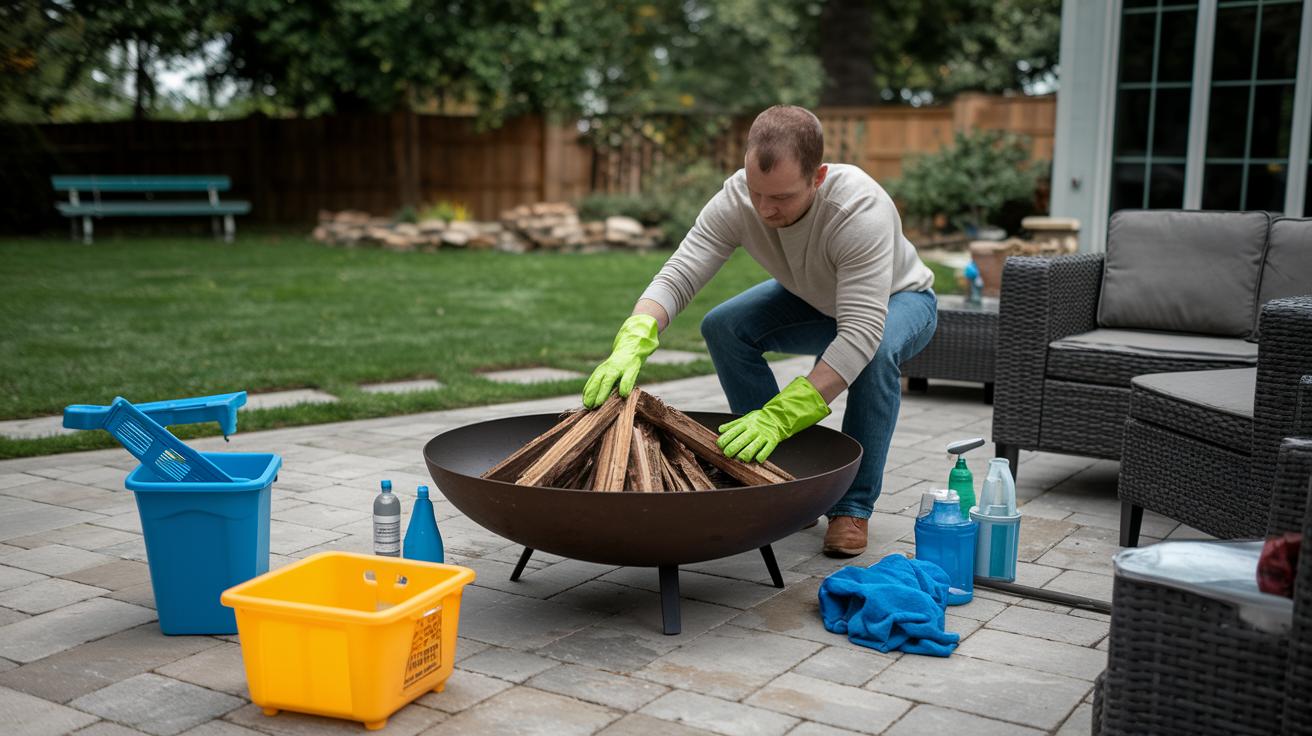
Having the right tools within reach makes cleanup faster and more thorough. Here’s what to keep in your fire pit maintenance kit:
- Wire brush for scraping rust spots and baked-on soot from metal surfaces.
- Ash vacuum (a vacuum rated for fine ash) for fuss-free ash removal without stirring up dust clouds.
- Broom and dustpan for sweeping out larger burnt wood debris.
- Soft cloths and mild dish soap for washing down interior and exterior surfaces.
- Garden hose for rinsing away dirt and soapy residue.
- Heat-resistant gloves to protect your hands from residual warmth and sharp metal edges.
- Rust-inhibitor spray to shield metal surfaces from moisture-driven corrosion.
- Water-repellent sealant for stone or concrete fire pit bowls.
- Adjustable wrench and soft brush for cleaning gas burner ports.
| Tool | Purpose | Estimated Cost |
|---|---|---|
| Wire Brush | Rust and soot removal | $10–20 |
| Ash Vacuum | Safe ash extraction | $50–150 |
| Broom & Dustpan | Debris cleanup | $5–15 |
| Cloths & Dish Soap | Surface washing | $5–10 |
| Garden Hose | Rinsing | $20–40 |
| Gloves | Hand protection | $5–10 |
| Rust Inhibitor | Corrosion prevention | $15–25 |
| Sealant | Waterproofing stone/concrete | $20–40 |
Ash Removal and Disposal Techniques
After any fire, wait at least 12 hours before touching the ash. Fine ash retains heat longer than it looks like it should, and sweeping too early stirs up embers and fine particulate that can irritate lungs and eyes. Touch the ash surface with a gloved hand before starting — it should feel completely cold.
Once the ash is cold, vacuum or sweep it into a metal container with a tight-fitting lid. Place that container on stone, brick, or another non-combustible surface while you confirm it’s fully cool. Never dump ash into plastic bins or near dry leaves or grass — even ash that feels cold can contain live embers that reignite when exposed to oxygen and dry material.
- Confirm ash is cold to the touch with a gloved hand before starting.
- Vacuum or sweep ash into a metal container with a tight lid.
- Set the sealed container on a non-combustible surface until disposal.
- Never bag ash in plastic or place near dry vegetation.
- In dry climates, cool ash can be composted for its mineral content — check local regulations first.
Clean ash after every use or at minimum once a week during active seasons. Skipping this step clogs ventilation vents and causes fires to burn unevenly or produce more smoke than usual. Wood-burning fire pits accumulate ash faster than gas models, so they need more frequent attention.
Gas Fire Pit Burner Cleaning and Inspection
Plan a full burner inspection every three to six months, or at the start and end of the primary fire season. This is also the right time to check for spiders and insects, which routinely nest in burner ports during periods of non-use.
Start by shutting off the gas supply completely — disconnect the propane tank or close the natural gas shutoff valve. Then remove the burner cover or media (lava rocks, fire glass) to access the burner ring directly. Use a soft brush and warm soapy water to scrub each burner port clean, working out any grit, spider webs, or compacted debris. Rinse with clean water and allow everything to dry fully before reassembling.
While the burner is exposed, inspect the ignition module, gas jets, and supply hoses for cracks, corrosion, or sticky buildup. Any damage to hoses warrants replacement before next use — cracked rubber hose is a gas leak risk.
Before lighting, run a leak test: mix dish soap and water in a spray bottle, mist all connections and hose joints, and watch for bubbles. No bubbles means no leaks. Reassemble everything snugly, light the pilot, and listen for a steady whoosh as the flame catches. An even, consistent flame confirms the ports are clear. A flickering or sputtering flame means one or more ports still need cleaning. For more on burner design and how air-to-gas ratios affect flame quality, see how smokeless fire pits work.
Rust Prevention and Surface Protection
Metal fire pits begin rusting as soon as the protective factory finish wears thin — typically after the first full season of heavy use. Catch it early. Use a wire brush to scrape away any flaky rust patches until clean metal is visible underneath. Blow off the dust and wipe the surface with a damp cloth.
Apply a rust-inhibitor spray or high-temperature paint rated for grill and fire pit surfaces. Thin, even coats work better than one thick one — allow each coat to dry fully before adding another. One application per year is typically enough if the pit is covered during periods of non-use. A cover that fits snugly and drains water away from the surface extends the interval between treatments significantly.
Stone and concrete fire pit bowls don’t rust, but they absorb water. A water-repellent sealant applied every one to two years prevents moisture from penetrating the surface, reduces staining, and protects against freeze-thaw cracking in colder climates. Cast iron fire pits benefit from a light coat of cooking oil rubbed in with a soft cloth after each deep clean — this seals the finish and prevents the surface oxidation that looks like surface rust.
Seasonal Maintenance Schedule
| Season | Tasks | Frequency |
|---|---|---|
| Spring | Scrub the fire bowl, apply sealant or rust inhibitor, inspect gas lines and connections | Once |
| Summer | Brush off morning dew, keep cover on during the day, spot-check for standing water | Weekly |
| Autumn | Tighten loose bolts and handles, sweep away fallen leaves, prep for cooler wet weather | Monthly |
| Winter | Drain and disconnect gas lines, secure cover, clear snow accumulation after storms | After storms |
Spring is the most important maintenance window. After a winter of non-use, scrub the fire bowl inside and out with soapy water, rinse, and let it dry completely before applying a fresh coat of rust inhibitor or stone sealant. Inspect all gas lines and connections for cracks or corrosion before the first light of the season.
Through summer, dew and light rain are the main threats. Pull the cover back each morning to let condensation evaporate, and snap it back on tight by afternoon. Doing this weekly prevents surface moisture from sitting on metal long enough to start corrosion. In autumn, a monthly check catches loose hardware and clears accumulated leaves that trap moisture against surfaces. Winter maintenance is minimal — drain gas lines, secure the cover with straps if you’re in a high-wind area, and remove snow after storms so the weight doesn’t stress the structure.
For step-by-step instructions on closing a wood-burning fire pit for winter — including how to treat metal, store lava rocks and grate, and cover the pit correctly — see how to winterize a wood-burning patio fire pit.
Safety Inspections and Best Practices
Place your fire pit on a non-combustible surface — stone, brick, concrete pavers, or a dedicated fire pit pad. Keep at least 10 feet of clear space in every direction from structures, overhanging trees, and patio furniture. Keep a fire extinguisher or coiled garden hose within reach so you can respond quickly if embers escape or the flame gets out of hand.
Before each use, inspect the spark screen and grate for holes, warping, or separation at the seams. Use a wire brush to knock away any ash or soot that might be blocking the mesh. A tight-fitting screen is your primary defense against sparks landing on nearby furniture or dry grass. Give the entire pit a gentle test for stability — grip it at two points and apply light pressure. If it rocks, tighten all bolts and handles until the structure feels solid before lighting.
Light the pilot and watch the initial flame. A steady blue-orange glow across the entire burner ring indicates proper gas flow and clean ports. A sputtering flame, uneven burn pattern, or delayed ignition is a signal to shut off the gas and re-inspect the burner before continuing. Never force ignition repeatedly — if it doesn’t light cleanly within two attempts, find the cause rather than the workaround.
Troubleshooting Common Patio Fire Pit Issues
Use this section as a quick reference when something isn’t working right:
- Flames look weak or burn unevenly: Blocked burner ports are the most likely cause. Clean them using the soap-and-brush method in the burner inspection section above.
- Rust spots or surface corrosion: Wire-brush the affected area to clean metal, then apply rust inhibitor or high-temperature paint. Touch up annually before the problem spreads.
- You hear a hiss or smell gas: Shut off the gas supply immediately and run the soap-bubble leak test on all connections before relighting. Do not light the pit again until the source of the leak is found and corrected.
- Small cracks in stone or concrete: Fill with high-temperature masonry caulk or fire-rated mortar. Allow full cure time before next use.
- Loose bolts, squeaky hinges, or a misaligned spark screen: Tighten with an adjustable wrench and realign the screen so it sits flush on all sides. A loose screen gaps at the edges and allows sparks to escape.
Consistent maintenance keeps each of these issues from escalating. A fire pit that gets a five-minute check before each use and a thorough seasonal deep-clean will stay in service for a decade or more without major repairs.
Frequently Asked Questions About Fire Pit Maintenance
What is the goal of patio fire pit maintenance?
The goal of patio fire pit maintenance is to keep the pit clean, structurally sound, and safe to use so it performs reliably and lasts for many seasons without major repair.
What tools and materials do I need to clean a fire pit?
You need a wire brush for rust and soot, an ash vacuum or broom for debris, mild dish soap and cloths for washing, a garden hose for rinsing, heat-resistant gloves, and rust inhibitor spray.
How do I remove and dispose of ashes safely?
Wait at least 12 hours for ash to cool completely. Confirm it’s cold with a gloved hand, then scoop or vacuum it into a metal container with a tight lid. Store the container on a non-combustible surface until disposal. Never bag ash in plastic or place it near dry vegetation.
How often should I clean the gas burner and inspect it?
Inspect and clean the gas burner every 3–6 months or at the start and end of fire season. Shut off gas, brush ports with soapy water, check hoses and connections, run a soap-bubble leak test, then relight to confirm even flame.
How do I prevent rust on a metal fire pit?
Wire-brush any rust spots to bare metal, then apply a high-temperature rust inhibitor or paint annually. Keep the pit covered when not in use. Oil cast iron surfaces after deep cleans to seal the finish against surface oxidation.
What is the seasonal maintenance schedule for a fire pit?
Spring: deep clean and apply sealant or rust inhibitor; inspect gas lines. Summer: weekly moisture checks and keep cover on. Autumn: monthly bolt tightening and leaf clearing. Winter: drain gas lines, secure cover, clear snow after storms.
What safety practices should I follow when using a fire pit?
Place the fire pit on a non-combustible surface with 10 feet of clearance all around. Test stability, inspect the spark screen, tighten all hardware, and keep a fire extinguisher or garden hose within reach. Shut off gas immediately if you smell a leak.
How do I troubleshoot weak flames or uneven burning?
Weak or uneven flames usually indicate clogged burner ports. Clean each port with a soft brush and warm soapy water, rinse, dry, and relight. If the issue persists, inspect the gas supply pressure and hose connections for restrictions or leaks.