How to Hang a Backyard Hammock Without Trees
A backyard without trees doesn’t mean a backyard without a hammock. Freestanding stands, sunk-in support posts, ceiling beams under a covered patio, and ground anchors all work — and in many cases they work better than trees, because you can position the hammock exactly where you want it and you’re not waiting twenty years for a sapling to mature.
This guide covers every realistic way to hang a hammock in a backyard without trees: which method to pick for your space and budget, how to build it correctly so it lasts, the hardware load ratings that actually matter, how to handle sloped or uneven ground, and the care routine that keeps it ready for next summer. It replaces three older posts on the topic — what was the “uneven terrain” guide is now the uneven-terrain section below, and what was the “weight capacity” guide is now the hardware section.
Five Ways to Hang Without Trees
Before you buy anything, pick your method. Each one trades cost, portability, and setup time differently.
| Method | Cost | Setup time | Permanence | Best for |
|---|---|---|---|---|
| Freestanding steel stand | $80–$300 | 30–60 min | Portable | Renters, frequent rearrangers |
| Sunk wood or steel posts in concrete | $50–$150 plus tools | 1 weekend (plus 48-hour cure) | Permanent | Long-term backyard fixtures |
| Wall anchors (between two solid walls) | $30–$80 | 1–2 hours | Permanent | Patios, porches, garage walls |
| Ceiling-mounted eye bolts | $20–$50 | 1 hour | Permanent | Covered porches with solid joists |
| Auger-style ground anchors | $30–$60 | 30 min | Semi-portable | Camping, temporary setups, soft soil |
The two most common choices for a backyard setup are the freestanding stand (no hole-digging, no commitment, $100-ish to get in) and the sunk-post method (more work, but creates a clean integrated backyard fixture that lasts for years). The rest of this guide walks through both paths in depth.
Freestanding Hammock Stand Setup
The freestanding stand is the lowest-effort path. Most stands ship as a kit of steel tubes, bolts, and feet that bolt together in about half an hour. Quality varies widely with price, so the spec sheet matters more than the photo.
What to look for in a stand:
- Span: 12 to 15 feet between the hooks. Shorter and most hammocks won’t fit; longer and the stand starts to wobble. 13 feet is the standard for most rope and quilted hammocks.
- Weight capacity: 400+ pounds rated capacity. That gives you the 20–30% safety margin you want over the actual occupants. See the hardware section below for what these ratings actually mean.
- Frame material: Powder-coated steel beats raw steel (which rusts) and aluminum (which flexes more). Tube wall thickness of at least 1.5mm signals real durability.
- Foot pad design: Wide rubber-footed pads sit firmly on grass and won’t sink. Cheap stands ship with small bare-metal feet that dig into soft soil.
- Adjustability: Look for chain-link or carabiner adjustment at each end so you can fine-tune the sag.
Prices land in three tiers. Entry-level stands run $80 to $130 (steel tube, basic powder coat, 400-pound capacity, fine for one adult). Mid-range $150 to $220 (heavier tubing, better powder coat, 450–500 pound capacity, wider stance). Premium $250 to $400 (often comes with the hammock included; thicker steel, replaceable feet, finer adjustment).
Setup steps
- Pick the spot. You need a flat area roughly 12 feet wide by 5 feet deep with no overhead obstructions. Soft grass, gravel, and packed soil all work. Avoid setting up on a deck unless the stand’s foot footprint matches the joist spacing — point loads on a deck board can crack it.
- Lay out the parts. Spread everything on the lawn and tick off the parts list. Missing pieces are the most common cause of half-finished assembly.
- Assemble the long beams first. Bolt the main spine together before adding crossbars. Hand-tight only at this stage — final tightening comes after the frame is square.
- Add the crossbars and feet. Use the included hardware (the bolt sizes are matched to the steel grade — substituting hardware-store bolts is a downgrade).
- Square the frame. Measure both diagonals across the rectangle. If they’re equal, the frame is square. If not, loosen the bolts slightly and shift until they match, then tighten.
- Check level. Set a four-foot level on the spine and on each crossbar. If the stand isn’t level on its current spot, see the uneven-terrain section for shims and pads.
- Hang the hammock. Hook the hammock loops to the stand’s chain or carabiners at roughly chest height when standing. Adjust so the hammock’s lowest point sits 16 to 18 inches off the ground.
- Sit test. Sit down slowly with most of your weight, then ease into a full lie. Listen for any creaks. Tighten any bolt that’s pulling.
The stand should feel rock-solid. If it rocks or shifts when you transition from sitting to lying, the feet aren’t level and you need to add shims or move the stand.
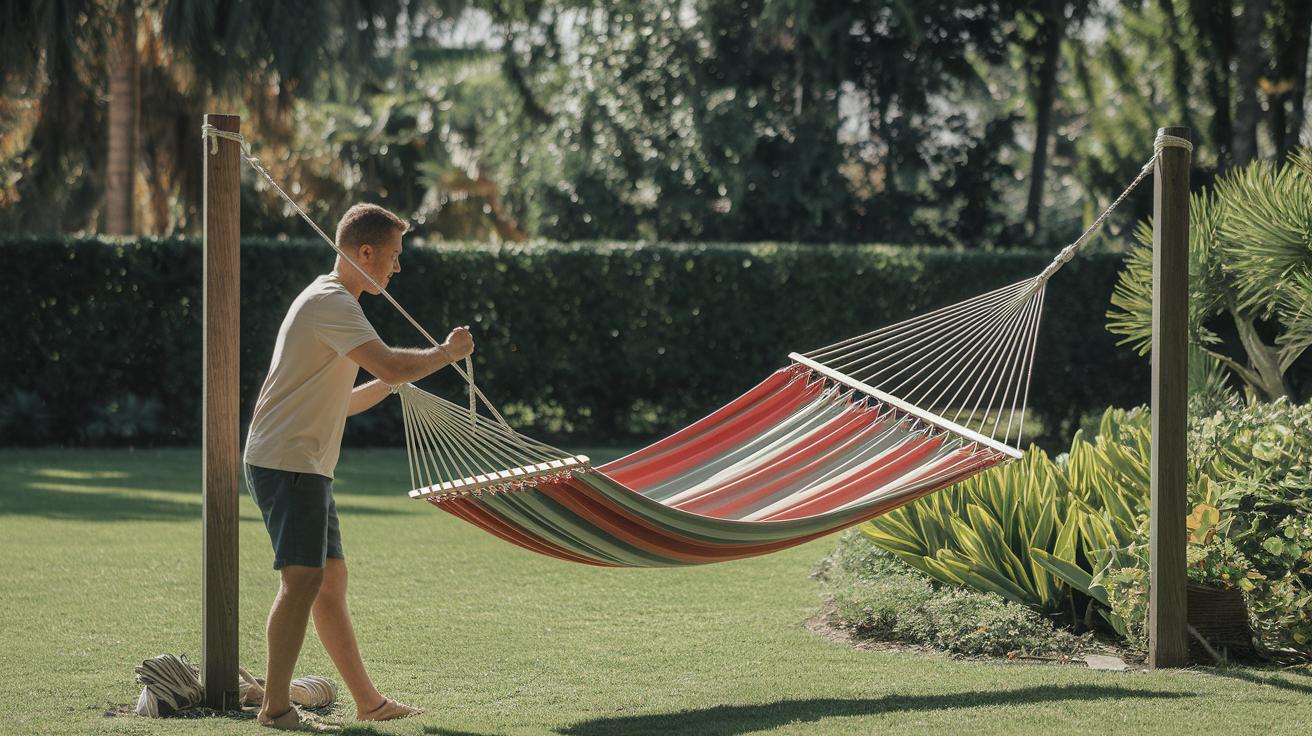
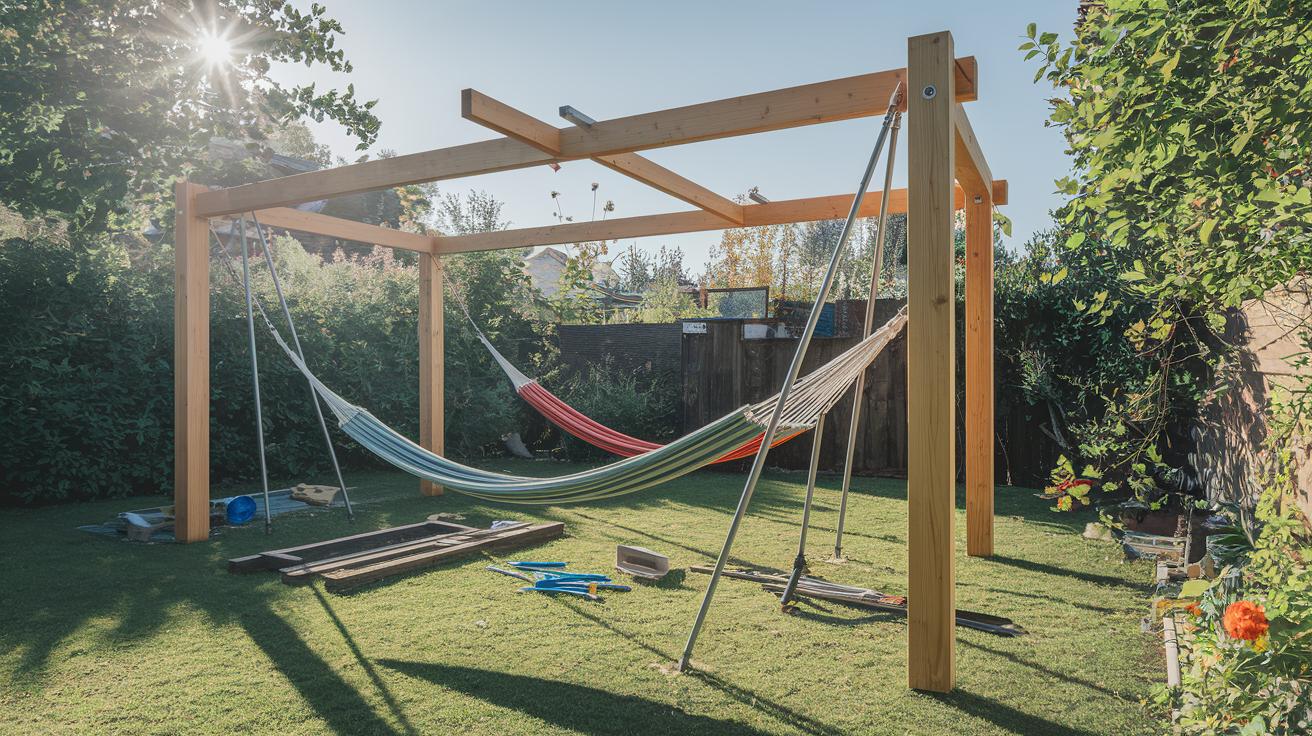
Building Sunk-Post Anchors
For a permanent setup, two posts sunk in concrete give you a hammock spot that looks like it belongs in the backyard rather than parked on it. The work is straightforward but takes a weekend with a 48-hour cure between digging and using.
Post material choice
Treated 4×4 or 6×6 lumber. The traditional choice. Warm, natural look that ages nicely. Pressure-treated lumber resists rot and termites for 15 to 25 years. The 6×6 is stronger and looks more substantial; the 4×4 is cheaper and entirely adequate for a hammock load. Needs an annual coat of clear wood sealant to keep its color.
1.5-inch steel pipe. Slimmer profile, modern look. Galvanized or powder-coated steel doesn’t need annual sealing but will eventually develop surface rust at any chips. Steel pipe is also lighter to handle during install.
Either works. Pick the one that matches your yard’s aesthetic.
Footing sizing
The concrete footing is what keeps the post from leaning over time as soil settles or freeze-thaw cycles shift it.
- Wood post (4×4 or 6×6): 12-inch diameter footing, 30 inches deep. Use about a 60-pound bag of fast-setting concrete per footing.
- Steel pipe (1.5-inch): 8-inch diameter footing, 30 inches deep. Smaller cross-section needs less anchor mass.
In freeze-prone climates, dig the hole deeper than your local frost line (in much of the northern US, that’s 36 to 48 inches — check with your municipal building department). A footing above the frost line will eventually heave the post out of square.
Installation
- Mark the post locations. Drive a stake at each post location, 12 to 14 feet apart (depends on your hammock length — see measuring span below).
- Dig the holes. A clamshell post-hole digger handles most soil. For rocky or hard ground, rent a power auger ($60/day at most rental yards).
- Optional: install a removable post sleeve. A galvanized steel sleeve set in the wet concrete lets you pull the post out later for winter storage or replacement. Costs $20 per post but saves rebuilding later.
- Mix the concrete. Pre-mix bags blend with water in a wheelbarrow to a thick pancake-batter consistency. Pour into the hole.
- Set the post. Drop the post (or sleeve) into the wet concrete. Use a four-foot level on two adjacent faces to check plumb. Brace with 2×4 scraps and stakes.
- Cure. Leave the post braced for 48 hours minimum, longer in cold weather. The concrete needs to cure before any hammock load goes on it.
- Mount the hardware. Drill pilot holes and install eye bolts at the height you want (chest-height when standing — about 4 to 5 feet). See the hardware section for what to buy.
Measuring Span and Setting Sag
The “right” hammock hang is the 30-degree rule: the suspension lines should meet the hammock at roughly a 30-degree angle from horizontal. That gives the cradle shape that’s comfortable to lie in flat (diagonally across the hammock) and doesn’t bow your back when you lie straight.
Getting there is mostly math:
- Span (distance between anchors): Your hammock’s total length minus 2 feet. A 12-foot hammock wants a 10-foot span. A 13-foot hammock wants 11. Don’t stretch your hammock taut between anchors — it should sag visibly.
- Hanging height: Each anchor point sits 4 to 5 feet above the ground.
- Sag depth: The midpoint of the hammock should hang 16 to 18 inches above the ground. That’s low enough for an easy sit-down, high enough that you don’t drag.
If you can’t hit 30 degrees because your anchors are too close or too high, use longer or shorter straps rather than forcing the hammock fabric into the wrong shape. Most hammocks ship with built-in suspension loops; adding 4-foot adjustable straps with daisy chain or carabiner attachments fixes most geometry problems for under $25.
Hardware Load Ratings and Weight Capacity
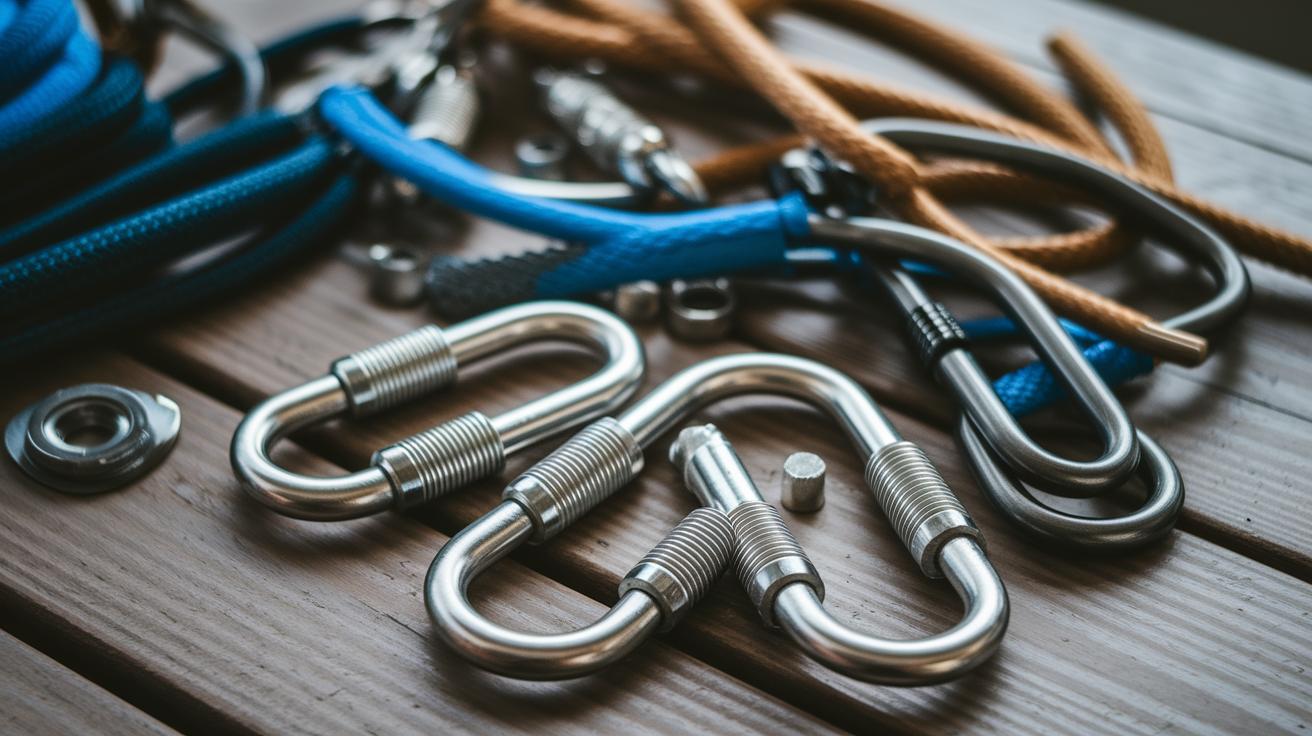
The hammock fabric is rarely the failure point. Hardware is. Cheap eye bolts pull out of wood, cheap carabiners snap open, cheap straps fray and tear. The good news is that proper hardware is inexpensive — usually $30 to $60 total for a full setup. Buy the right pieces once and they last decades.
The hardware checklist
Eye bolts: stainless steel, 500+ pound rating. The eye bolt is what attaches the suspension strap to your post. Stainless resists rust outdoors. The 500-pound rating gives you a 2x to 3x safety margin over the actual hammock load. Look for the rating stamped on the bolt itself, not just the package. Pre-drill a pilot hole sized to the bolt’s root diameter (the inner threaded core), then thread the bolt in by hand or with a tool through the eye.
Polyester webbing straps: 3,000+ pound break strength. Straps spread the load across a wider area of the post and protect tree bark on the rare anchor that’s actually a tree. Polyester is preferred over nylon for outdoor use — it doesn’t stretch under load and resists UV better. 1-inch or 2-inch wide webbing is the standard.
Locking carabiners: steel, 5,000+ pound gate strength. Aluminum carabiners are lighter but don’t tolerate the repeated load cycles of a hammock as well as steel. Look for a screw-gate or twist-lock mechanism — wire-gate carabiners can pop open under shock load.
Ground anchors (if installing on soft soil): Auger-style screw-in anchors rated 2,000+ pounds in firm dirt. They look like giant corkscrews and twist into the ground 12 to 18 inches.
Turnbuckles (optional): Steel turnbuckles between the eye bolt and the strap let you fine-tune sag with a few twists. Useful if you frequently adjust the hammock height for different people.
Weight capacity, explained
Most hammock manufacturers publish a “weight capacity” number on the spec sheet. Two things to understand:
The buffer. The published number typically includes a 20–30% safety margin over the actual rated breaking point — which means a “400-pound” hammock can usually hold around 500 pounds before fabric or stitching fails. That buffer is for dynamic loads (movement, bouncing, jumping in) which can briefly multiply static weight by 1.5x to 2x.
The weakest link. The hammock’s published capacity assumes the rest of your setup is at least as strong. A 400-pound hammock hung from a 200-pound-rated eye bolt fails at 200 pounds, not 400. Match all your hardware to or above the hammock’s rating.
Practical weight tier guidance for picking a hammock:
| Hammock type | Weight rating | Best for |
|---|---|---|
| Lightweight | Up to 250 lbs | Solo readers, light lounging, camping |
| Standard | 350 lbs | Most one-person backyard use |
| Heavy-duty / double | 450–500 lbs | Two adults, family lounging, pet weight buffer |
| Family / commercial | 600+ lbs | Multi-person, frequent kid activity, public spaces |
Add up your weight plus anything you’d typically have in the hammock with you (a book, a phone, a dog, a child climbing in for a story) and pick a hammock rated at least 30% above that total. A 200-pound adult and a 40-pound dog need a hammock rated for at least 312 pounds — so a 350-pound standard or 450-pound heavy-duty.
Stabilizing on Uneven Terrain
Most backyards aren’t perfectly flat. The good news is a hammock stand or set of posts works fine on uneven ground if you do a few minutes of leveling work first. The bad news is skipping that work means a hammock that slides sideways under load.
Measure the slope
Set a four-foot level on the spot where the stand will sit. If one end is more than half an inch high or low, you have a slope worth correcting. A digital inclinometer (a $25 phone-app-compatible tool, or the free phone-based ones in any iPhone) gives you the exact angle.
The goal: under 5 degrees of slope across the stand’s footprint. More than that and even shims start to fail.
Shim leveling for small slopes (under 2 inches)
Cedar shims (the tapered wood wedges sold by the bundle at any hardware store for under $5) tucked under the low feet of a stand level out the small bumps. Stack two or three if needed.
For permanent posts on a slope, build up the low side with extra concrete or with paver stones set into the soil under the post base. Don’t try to shim a sunk post — the load forces will eventually crack the shim.
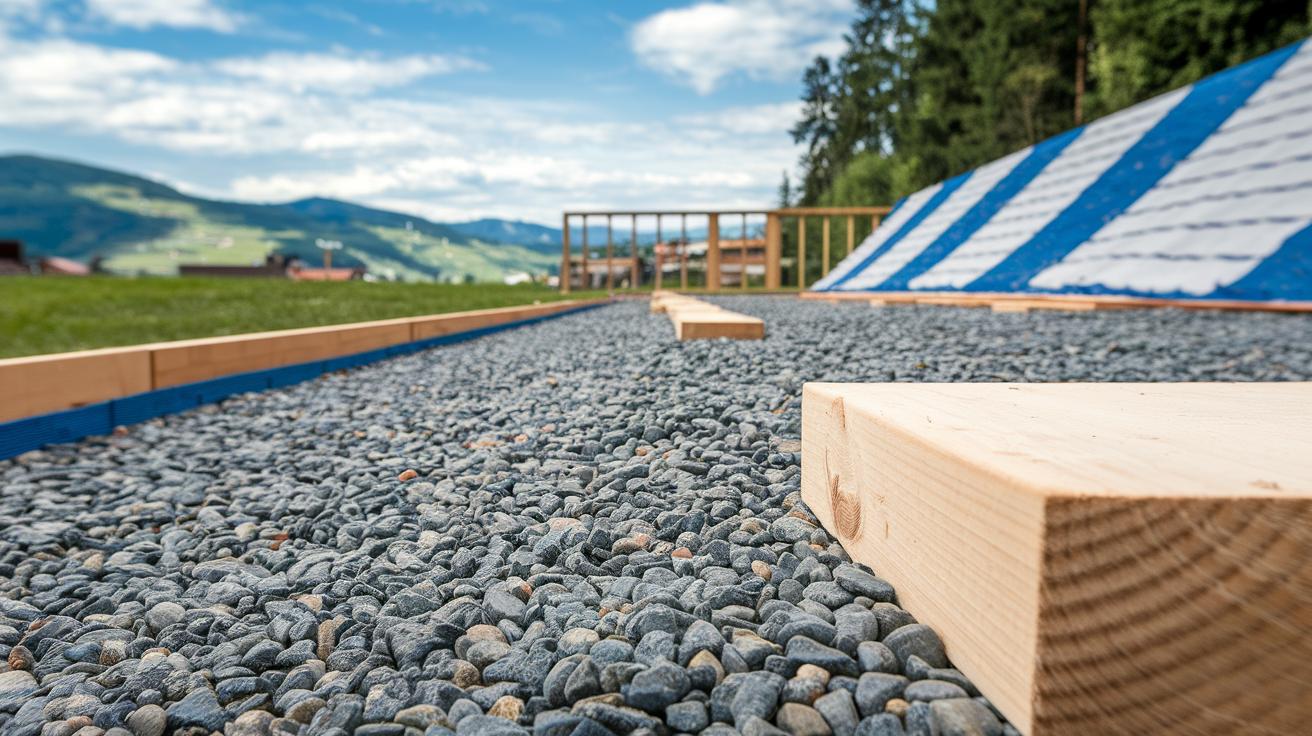
Gravel pad for medium slopes (2 to 4 inches)
A small gravel pad gives you a level, drained base on bumpy ground. Cost: about $30 in materials for a stand-sized pad.
- Mark a footprint 6 inches wider than the stand on each side.
- Dig down 4 to 6 inches into the soil, going deeper on the high side until the bottom is roughly level.
- Lay landscape fabric (geotextile) in the bottom — keeps grass and weeds from sneaking through.
- Fill with 3/4-inch crushed gravel and tamp down with a hand tamper.
- Check level on the finished pad. Add gravel where it dips.
Board foundation for larger slopes
For slopes steeper than 4 inches across the stand footprint, build a wood frame to set the stand on. Pressure-treated 2×6 lumber forms a rectangular frame; gravel and shims inside it raise the low corner. The stand sits on the frame, perfectly level.
Ground anchors for soft soil
If your soil is genuinely soft (sandy beaches, river-bottom yards, recently graded sites), the stand will sink under load over time. Auger ground anchors driven 12 to 18 inches into the soil at the corners of the stand, connected to the stand frame with short straps or chains, keep it locked in place.
The post-rain re-check
Heavy rain shifts soil. After any significant storm or after seasonal freeze-thaw, walk out and re-check the stand level with a four-foot level. Re-shim as needed. This 5-minute habit prevents the slow sideways migration that ruins setups over years.
Long-Term Care

Hardware fails slowly. The quarterly inspection catches problems before they become failures.
Every 3 months, do this five-minute walk-through:
- Pull on each suspension strap or rope. Look for fraying, thinning, or sun-bleached spots that suggest fiber breakdown.
- Wiggle each eye bolt. If it turns by hand, it’s loose — pull it out, fill the hole with epoxy or a wooden dowel, and re-drive it.
- Look at each carabiner. Steel ones can develop surface rust that doesn’t matter, but inspect the gate spring — if it doesn’t snap closed sharply, replace the carabiner.
- Lean on the stand or push the posts side-to-side. Any movement worth a second look gets investigated. For stands, tighten the joint bolts. For posts, dig around the base — soil may have washed out.
Fabric care. Cotton hammocks need washing once or twice a season — fill a bucket with mild soap and warm water, scrub gently with a soft brush, rinse, and hang to dry within 12 hours. Polyester hammocks mostly just need a hose-down and a few hours of sun. Don’t put hammock fabric in a washing machine unless the tag specifically allows it — the agitator destroys the suspension points.
Wood post sealing. Brush on a coat of clear exterior wood sealant once a year, ideally in spring before heavy use. The first year, two coats give the best protection.
Off-season storage. When the weather turns, the hammock comes inside. Loosen suspension straps to release tension, unclip the hammock, fold it cleanly, and store in a breathable cotton bag (not plastic — moisture trapped in plastic causes mildew). Keep the bag in a dry garage, shed, or closet. Hardware can stay outside but covers it with a waterproof bag if winters are wet.
For pairing the hammock setup with the rest of your relaxation space, our guide on creating a tranquil space in your yard covers seating, shade, and lighting that work alongside a hammock. And if you’re planning to landscape around the hammock posts, see backyard fence line gardening for plant layout ideas.
A well-built hammock setup is the kind of yard project that pays back every summer afternoon for a decade. The first weekend of sinking posts or assembling a stand is the only real work — after that, it’s just naps.
Hanging a Hammock Without Trees FAQ
What’s the best way to hang a hammock without trees?
For most backyards, the freestanding steel stand is the easiest path — $100 to $200, 30 to 60 minutes of assembly, no holes to dig. For a permanent setup, sink two wood or steel posts in concrete 12 to 14 feet apart. Both methods support a 400+ pound hammock rating with proper hardware.
How far apart do hammock posts or anchors need to be?
Set anchors at the hammock’s total length minus 2 feet. A 12-foot hammock wants 10 feet between anchors; a 13-foot hammock wants 11. That spacing gives the 30-degree suspension angle needed for a comfortable sag and the cradle shape that’s easy on your back.
What weight rating do I need for a backyard hammock?
Pick a hammock rated at least 30% above the combined weight of everyone (and any pets) who’ll use it. A 200-pound adult and 40-pound dog need at least a 312-pound rating — so a 350-pound standard or 450-pound heavy-duty hammock. Hardware (eye bolts, straps, carabiners) must match or exceed the hammock’s rating.
How do you level a hammock stand on uneven ground?
For small slopes under 2 inches, slip cedar shims under the low feet of the stand. For medium slopes (2 to 4 inches), build a gravel pad with landscape fabric below and crushed gravel tamped level on top. For steeper slopes, frame out a level wood platform with pressure-treated 2×6 lumber and shim within the frame.
How deep should hammock post footings be?
Footings should be 30 inches deep for both wood and steel posts. In freeze-prone climates, dig deeper than your local frost line (often 36 to 48 inches in the northern US — check with your municipal building department). Wood posts need a 12-inch diameter footing; steel pipes need 8 inches.
What hardware do I need to safely hang a hammock?
Stainless steel eye bolts rated 500+ pounds, polyester webbing straps with 3,000+ pound break strength, steel locking carabiners rated 5,000+ pounds gate strength. Optional but useful: turnbuckles for fine sag adjustment, and auger ground anchors rated 2,000+ pounds for soft soil. Total hardware cost: $30 to $60.
How often should you inspect a hammock setup?
Run a quarterly inspection: pull on straps for fraying, wiggle eye bolts for looseness, check carabiner gates, lean on the stand or posts for movement. Also re-check immediately after heavy storms, which can wash soil out from around posts or shift stand position on slopes.