DIY Pollinator Garden Layout: A Step-by-Step Plan
A well-planned pollinator garden doesn’t happen by accident. The difference between a bed that buzzes with bees and butterflies from March to November and one that just sits there comes down to layout: where you place each plant, how you group them by bloom time, and how much space you leave between them. This guide walks you through the step-by-step process of mapping your site, sketching your beds, building them, and planting them with purpose.
If you want to go deeper on which plants to choose and why — bloom-time sequencing, native versus ornamental, color theory for pollinators — the companion piece How to Design a Pollinator Garden That Works covers all of that. Use both together for a complete plan.
Blueprint for Your Pollinator Garden Layout
Before you dig a single hole, spend time on paper. A garden blueprint tells you where flowers will go, how they’ll overlap bloom times, and how much space each needs. It keeps you from crowding plants into a corner or leaving bare patches that weeds will happily claim.
-
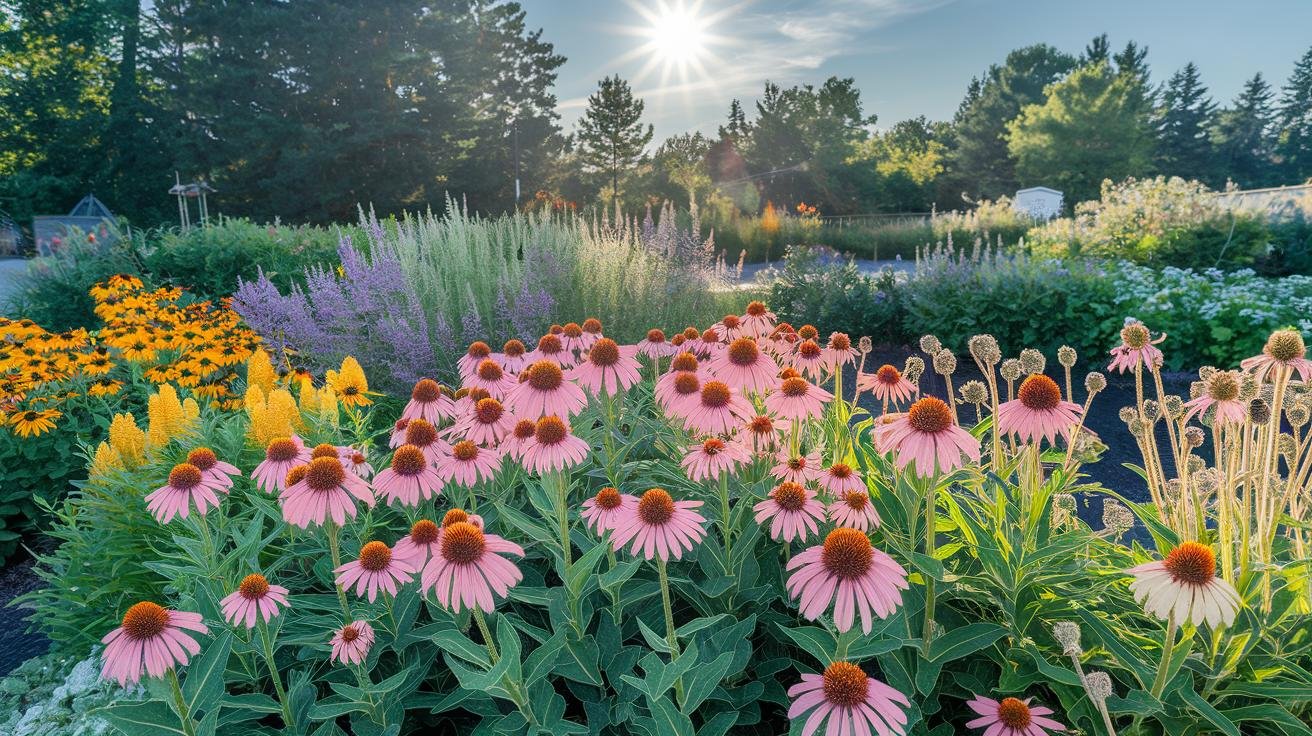
Site selection. Find a spot that gets at least six hours of direct sun daily. Most flagship pollinator plants — coneflower, milkweed, black-eyed Susan, bee balm — need full sun to produce the nectar and pollen pollinators are after.
-
Sun mapping. Spend a day noting where sun falls at 9 AM, noon, and 4 PM. Snap a photo at each time and jot the hours on a rough sketch. This reveals shaded corners you might not have noticed and confirms which spots truly qualify as full sun.
-
Microclimate check. Walk the area after a rain and note where puddles form (poor drainage), where the soil stays bone dry (good for drought-tolerant natives), and where wind tunnels run through. These microclimates tell you which plants will thrive and which will struggle in each zone.
-
Blueprint drawing. Grab graph paper (one square = one foot works well) or open a free garden-planning app. Sketch in the bed outlines, any existing trees or structures, and access paths. Curved beds tend to look more natural than rigid rectangles and give pollinators more edge habitat to land on.
-
Bloom-time grouping. On your sketch, mark which section will carry early-spring color, which covers the summer peak, and which holds the fall bloomers. Staggering bloom times means something is always open from the first crocus to the last aster — no nectar gaps that push pollinators elsewhere.
-
Spacing plan. Note the mature size of each plant before you dig. Smaller flowers like alyssum and pansies need 12–18 inches between plants. Medium perennials like salvia and bee balm want 18–24 inches. Taller perennials like hollyhocks and Joe-Pye weed need up to 36 inches. Adequate spacing improves airflow, reduces disease pressure, and gives each plant room to fill out naturally.
Paper and pencil still work perfectly for this. The advantage of a physical sketch is being able to cross things out, redraw curves, and shuffle planting zones before you’ve broken any ground.
Selecting Native Plants and Scheduling Blooms
Native plants are the foundation of an effective pollinator garden. They co-evolved with local pollinators, which means they produce the right kind of nectar at the right time, and local bees and butterflies know exactly how to access it. Here are five workhorses that belong in most pollinator gardens:
| Plant | Bloom Time | Primary Pollinators |
|---|---|---|
| Coneflower (Echinacea) | Early to late summer | Bees, butterflies |
| Milkweed (Asclepias) | Mid-summer | Monarch butterflies |
| Black-eyed Susan (Rudbeckia) | Mid-summer to fall | Bees, native bees |
| Bee Balm (Monarda) | Summer | Hummingbirds, bees |
| Lavender | Early to mid-summer | Bees, butterflies |
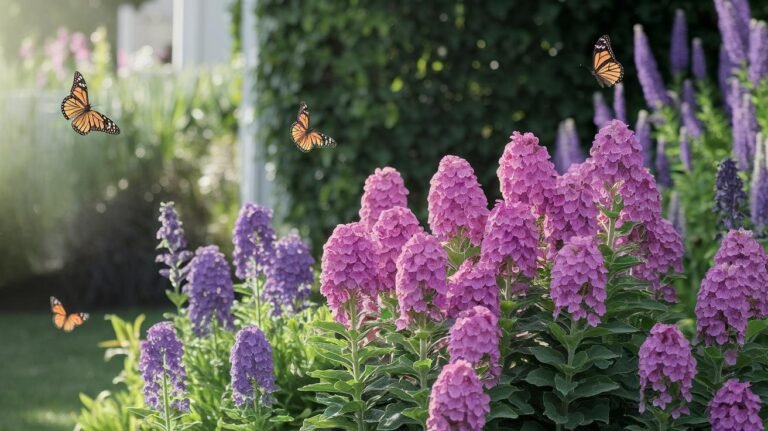
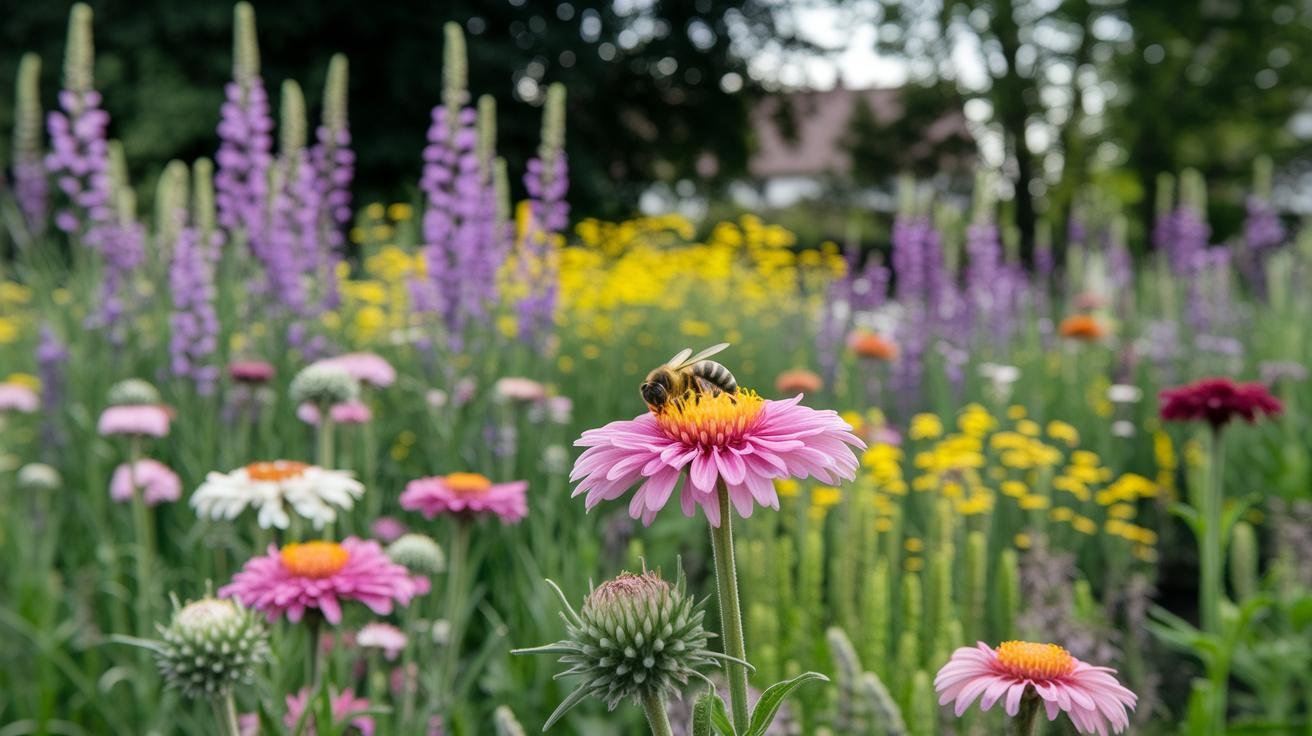
When laying out your bed, group plants by bloom season rather than scattering them randomly. Put your spring bloomers — crocus, columbine, native phlox — in one cluster. Let your summer stars carry the middle section, then anchor the back or sides with fall bloomers like goldenrod and New England aster. This creates a visual flow and ensures continuous nectar coverage.
A shallow saucer of water with pebbles for landing is worth adding near the blooms. Pollinators need water, and a simple saucer tucked between plantings gets heavy traffic. For a full plant list organized by bloom season and region, the guide to best native plants for pollinator gardens is a useful companion to your layout plan.
For shaded sections of the yard that still need color, take a look at butterfly garden plants for shade — shade-tolerant natives that still draw good pollinator traffic.
Preparing Soil and Building Beds
Good bed prep pays off for years. Start by clearing the area of weeds, pulling each one out by the root so they don’t come back. Rake out rocks, sticks, and debris until the soil surface is smooth, then break up any compacted clumps with a garden fork.
Work a two-inch layer of compost into the top six inches of soil. Compost improves drainage in clay soils and helps sandy soils retain moisture — two very different problems with the same fix. Check drainage after a good rain: water should absorb within a few hours. If puddles persist, add more compost or a handful of coarse sand and re-test.
For bed styles, you have three main options:
- In-ground beds use existing soil, cost nothing extra, and let deep-rooted natives establish more easily. They’re the best long-term choice if your soil is reasonable.
- Raised beds give you full control over soil quality, warm up faster in spring, and are kinder on your back. They’re worth the upfront cost if your native soil is heavy clay or heavily compacted.
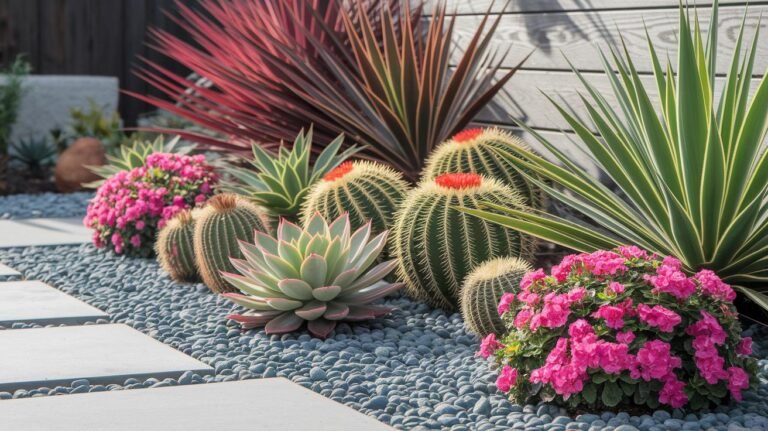
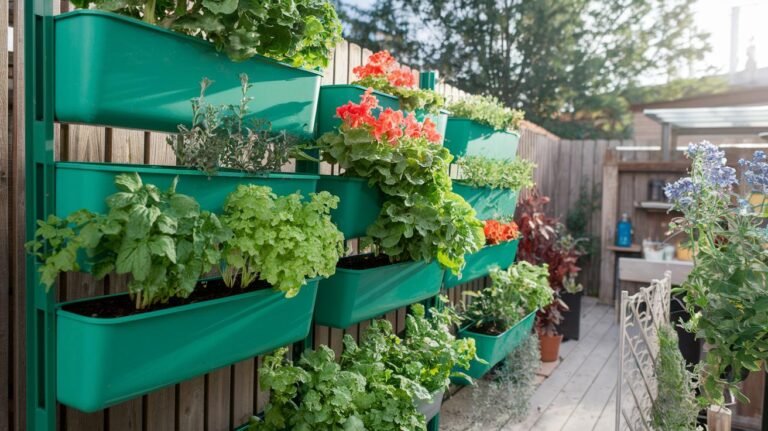
- Container gardens work for small patios and balconies. Use a mix of native perennials in large containers (12 inches deep or more) and expect to water more frequently than in-ground plants.
Finish by laying a two-inch layer of mulch — wood chips, straw, or shredded leaves all work. Mulch retains moisture, moderates soil temperature, and slows weed germination. Keep it pulled back an inch from plant stems so moisture doesn’t collect against them.
Arranging Plants and Companion Planting Strategies
How you arrange plants matters as much as which plants you choose. A few layout principles make a big difference in how much pollinator traffic your garden draws.
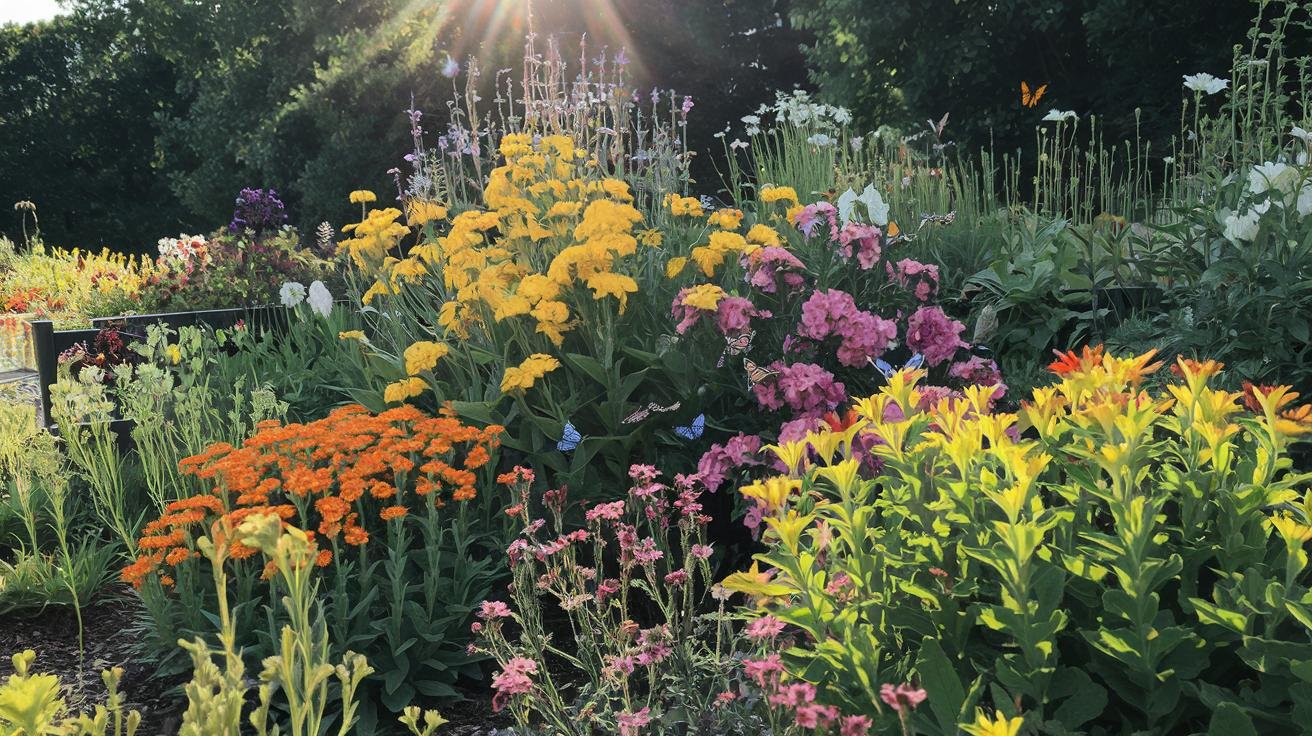
Layer by height. Put the shortest plants — creeping thyme, dwarf coneflower, alyssum — at the front edge of the bed where they’re visible. Mid-height perennials like salvia and bee balm belong in the middle. Save the tallest plants — hollyhocks, native sunflowers, ironweed — for the back so they don’t shade out shorter neighbors.
Plant in clusters. A single coneflower barely registers to a foraging bee from a distance. Five to seven of the same species grouped together broadcast a much stronger signal. Groups of three, five, or seven plants look more natural than even-numbered clusters and give pollinators a worthwhile landing zone.
Use companion planting to target specific pollinators.
- Tubular flowers — cardinal flower, trumpet vine, bee balm — draw hummingbirds. Place them near where you can watch from a chair or window. For more hummingbird-specific ideas, see hummingbird garden design ideas.
- Flat-topped blooms — daisies, coneflowers, yarrow — give butterflies an easy landing platform. Group these near the front or center where they’re accessible.
- Color zones help pollinators find what they’re looking for. Bees are drawn to blue, purple, and yellow. Butterflies favor warm reds and oranges. Cluster colors rather than mixing them randomly throughout the bed.
Stagger row orientation. Instead of planting in straight rows, offset each row so plants are staggered like a checkerboard. This improves air circulation, reduces disease pressure, and creates a more naturalistic look.
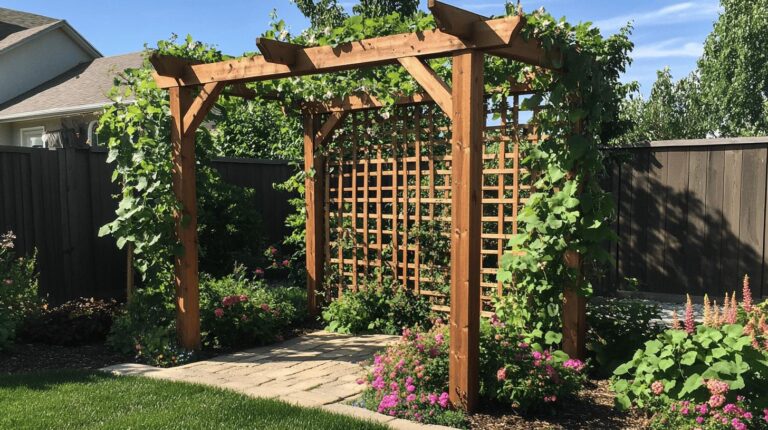
Trellises and vertical planters at the back of a bed add height without taking up ground space — good for small yards where you want maximum plant variety in a limited footprint.
Adding Pollinator Amenities
Plants alone draw pollinators in, but a few structural amenities turn a flower bed into genuine habitat — a place where pollinators don’t just visit but stay, nest, and overwinter.
- Water dish. A shallow saucer with smooth pebbles and clean water is one of the most-used features in any pollinator garden. Change the water every two to three days to prevent mosquito breeding. Position it in partial sun so it doesn’t heat up or evaporate too quickly.
- Hummingbird feeder. Hang a nectar feeder near red or pink tubular blooms. Keep it in partial shade to slow fermentation, and clean it every three to five days in warm weather.
- Bare-soil patch. A small area of undisturbed, loose soil in a sunny spot provides nesting habitat for ground-nesting native bees — which make up roughly 70% of all North American bee species. Even a square foot of bare earth makes a difference.
- Insect hotel. Bundle bamboo tubes, hollow stems, and pine cones in a weatherproof box or frame, and mount it at chest height in a sunny, sheltered spot. Mason bees and leafcutter bees use these heavily in spring and early summer.
- Mulch zones. Beyond moisture retention, a two-inch layer of wood chips or straw provides hiding spots and overwintering habitat for many ground-level insects.
You don’t need all of these at once. Start with a water dish and a bare-soil patch — both are free or nearly free — and add an insect hotel once the plants are established.
Maintaining Your Pollinator Garden Through the Seasons
A well-planted pollinator garden is one of the lowest-maintenance gardens you can have, especially once perennials are established. Here’s what each season actually requires:
- Early spring: Direct-sow any annuals that fill gaps (zinnia, cosmos, sunflower). Divide overcrowded perennials before new growth gets more than a few inches tall. Fill rain barrels and set up drip irrigation if you’re using it.
- Summer: Water deeply once or twice a week during dry spells — a slow, deep soak is better than daily shallow watering. Deadhead spent blooms on plants like black-eyed Susan and coneflower to extend the flowering period. Spot-check for pest pressure and address it with targeted, pollinator-safe methods (hand-picking, insecticidal soap on isolated plants) rather than broad-spectrum sprays.
- Fall: Resist the urge to cut everything back. Leave seed heads standing for overwintering birds, and leave hollow stems intact through winter to provide nesting habitat for native bees. Plant fall bloomers — goldenrod, asters, sedum — if any gaps appear in the bloom calendar.
- Winter: Apply a fresh layer of mulch after the first hard frost to protect roots. Cut back dead stems in late winter before new growth emerges — not before, so overwintering insects can complete their cycle.
For drought-tolerant stretches, lean on low-water natives: lavender, yarrow, and sedum hold up well in summer heat without much supplemental watering. Once your perennials are two to three years established, most of the garden takes care of itself — your main jobs become deadheading, dividing every three to four years, and refreshing the mulch layer each fall.
Frequently Asked Questions About DIY Pollinator Garden Layouts
How do I select the best site for my pollinator garden?
Choose a spot with at least six hours of direct sun daily and reasonable soil drainage. Proximity to a water source is helpful but not required if you’re willing to hand-water or install drip irrigation. Avoid low spots where water pools after rain — most pollinator natives prefer well-drained soil.
How do I map sun exposure and microclimate zones?
Walk the area at 9 AM, noon, and 4 PM on a sunny day and photograph or note which sections are in direct sun versus shade at each time. Areas shaded during the hottest part of the day are part-sun spots; areas consistently sunny are full sun. Also note damp patches, wind tunnels, and any heat-reflecting surfaces like walls or fences that create warmer microclimates.
What’s the best way to draft a garden blueprint?
Use graph paper at a scale of one square per foot, or a free online tool like Garden Planner or Canva. Draw your bed outlines, mark existing structures, then place plants by height (tallest at the back) and bloom season (spring, summer, fall zones). A rough sketch is plenty — the goal is to catch spacing problems before you’re holding a plant in your hand wondering where to put it.
How do I group plants by bloom time for continuous flowering?
Sort plants into three seasonal groups — early (crocus, columbine, phlox for March–May), mid (coneflower, milkweed, bee balm, lavender for June–August), and late (goldenrod, asters, sedum for September–November) — and cluster each group rather than scattering them. Overlap the clusters slightly so there’s never a hard boundary where blooming stops.
How much space should I leave between plants?
Smaller front-of-bed flowers like alyssum and low sedum: 12–18 inches. Medium perennials like bee balm, salvia, and coneflower: 18–24 inches. Large background perennials like hollyhocks, Joe-Pye weed, and native sunflowers: 30–36 inches. When in doubt, follow the tag — “mature spread” is the measurement that matters.
What tools help with sketching and planning a pollinator garden layout?
Graph paper and pencil are perfectly sufficient for most home gardens. Free digital options include GrowVeg, Garden Planner, or even a simple grid in Google Sheets. The main value of any planning tool is catching overcrowding or bloom-time gaps before planting day, not the tool itself.