How To Winterize A Wood-Burning Patio Fire Pit Effortlessly
Have you ever thought you could just cover your fire pit and forget about it until spring? That cozy ring of warmth can hide under snow and turn into a rusty mess.
So, with a few simple moves you’ll protect your wood-burning (burns logs for heat) patio fire pit from frost damage (when metal cracks in the cold). I once forgot to clear the ashes, and ended up with a pitted bowl. Never again.
You’ll save time next March, and your pit will look as good as new, you know. In this guide, I’ll walk you through five easy steps to winterize your fire pit without breaking a sweat.
Quick Winterization Checklist
-
Remove ashes. First wait until the coals are completely cool, then scoop out the gray dust and wood bits. It feels so satisfying to see that smooth pit after you clear the crunchy residue! (See Cleaning section below.)
-
Wash and dry. Use mild soap and a soft brush to scrub the inside until it looks bright and clean. Rinse away suds with water, then let it air dry for 24 to 48 hours so no damp spots stay behind. That chilly breeze might speed up the drying.
-
Apply sealant. Grab a high-temperature sealant or rust inhibitor and coat the inside and outside with a thin, even layer. This barrier helps your pit resist winter moisture and keeps it strong for next season. (See Sealants section.)
-
Install cover. Fit a breathable, waterproof cover over your fire pit and fasten the straps snugly. It’s like giving it a warm jacket to block wind and snow all winter long. (See Cover section.)
-
Store properly. Gather accessories like grill grates, fire tools, and any cushions or blankets and tuck them into a dry spot. A shed or garage works great and keeps everything ready for your first spring fire. (See Off-Season Care section.)
Cleaning the Fire Pit Interior Before Winterizing
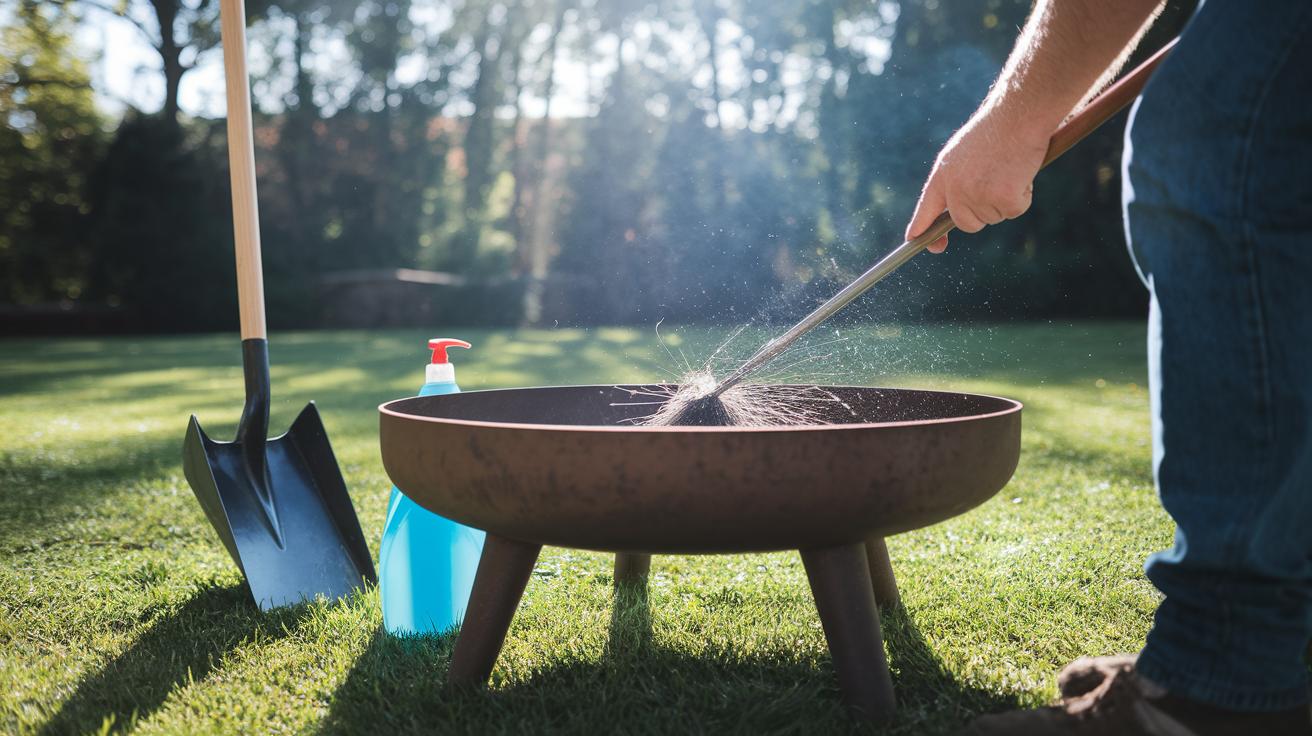
Before you tuck your fire pit in for its long winter nap, give it a good scrub. Those fine gray ashes (the powder left after a fire) trap moisture and can turn your pit into a rust magnet. We want a shiny pit come spring, not one full of little rust spots, right?
So, first, make sure the fire pit is stone-cold. No still-warm embers hiding in the corners. Then pull on a pair of sturdy work gloves and set up your tools:
- Metal scoop or small shovel
- Soft brush or sponge
- Mild dish soap
- Bucket of warm water
- Metal container with a tight-fitting lid (for ash storage)
Now comes the messy part. Scoop out every bit of ash and leftover wood bits. Those dusty leftovers feel like fine sand, and they hold water like a sponge. Drop them into your sealed metal container and close the lid. By the way, my dog once tried to sneak a taste of ash crumbs. Yuk.
Next, mix a few drops of dish soap into your warm water bucket. Dip your brush or sponge into the sudsy mix and gently wipe all interior surfaces. Pay extra attention to streaks of soot (the dark powder from smoke). You’ll see the pit brighten as you work. Avoid rough scrubbers with wire bristles, they can scratch the metal and leave tiny grooves where water hides.
Once the grime is gone, rinse off the soap with clean water. Tilt the pit so every drop runs out the drain holes. Then find a sunny spot or a breezy place in your yard. Let the pit air-dry for at least 24 hours. If you can wait 48, even better. A bone-dry pit means no surprise rust spots when you light your first spring fire.
Applying Rust Inhibitors and Sealants to Protect Your Fire Pit
After you scrub away that fine ash and grit, you might spot rusty spots where water snuck into tiny grooves. Use a wire brush or a commercial rust remover (liquid that eats away flaky rust). I once missed a stubborn patch and saw a little orange peek through, lesson learned.
Next, pick a sealant or rust inhibitor rated for at least 1200°F (able to handle high heat). Gather your tools before you start. Here’s what you’ll need:
- Wire brush or commercial rust remover to knock off flaky rust.
- Clean cloth to wipe away dust after scrubbing.
- High-temperature sealant or rust inhibitor rated for up to 1200°F.
- Paintbrush or spray applicator for an even, thin layer.
- High-heat paint for color touch-ups and an extra coat.
- Protective wax to buff on after the sealant cures.
Wipe the entire fire pit surface with that clean cloth so no particles linger. Then apply a thin coat of sealant. Follow the cure time on the container so you don’t rush it. Let it dry fully, no skipping those first layers.
If you want extra flair, add a thin layer of high-heat paint once the sealant is dry. Let it set, then buff on a protective wax. That glossy shield will laugh at winter moisture and keep your fire pit looking sharp.
But back to you. Your fire pit is now ready for many cozy nights outside.
Selecting and Securing a Durable Fire Pit Cover for Winter
Winter winds can turn your fire pit into a rusty eyesore. I like covers made from thick polyester or vinyl, both have UV inhibitors (sun-blocking agents) so sun or fading frost won’t break them down. Oops, I once used a plain tarp and woke up to a rusty rim. Now I go for a cover with a peaked top so snow just slides off instead of piling up. And those little mesh vents let air flow, stopping damp from building inside.
Here are six cover features to look for:
- Thick polyester or vinyl with UV-inhibitor coating
- Mesh vents to keep air moving (prevents moisture build-up)
- Peaked or angled top for easy snow-shedding
- Adjustable straps and buckles to hold it tight
- Heat-resistant fabric rated for glowing coals
- Multiple size options for a snug fit
Once you’ve got the right size, drape the cover so it hugs the sides without gaps. Snap or buckle the built-in straps tightly. If gusty winds are a thing, add a couple of bungee cords under the lip. Tuck the edges under the pit’s base to keep leaves and curious critters out.
With the right commercial cover, or even a smart DIY fix, you’ll keep rust and ice at bay until spring thaws your backyard again.
Off-Season Care and Ongoing Checks
Accessories Storage
Your tools have been by your side all summer, so give them some TLC before winter arrives. Wipe off the soot and dust, then let everything air dry in the crisp winter air – any damp spot can lead to rust. Once bone dry, tuck shovels, pokers, and grill grates into a sealed bin or sturdy plastic tote and slide them into your dry garage or shed. Oh, and remember to drain your propane tanks before storing them in a frost-free corner or approved locker – frozen valves are a real headache when you fire up again.
Furniture Protection
Your outdoor seats deserve a cozy spot, too. Pull cushions and blankets off chairs and benches and pack them into waterproof containers or heavy-duty plastic bags. Then stand furniture legs on pallets or a bed of gravel so water can’t pool at the base. I once left my old chairs on damp grass and the legs warped – learn from my oops moment.
Periodic Cover and Safety Inspections
Even snug under a cover, your fire pit still needs a look-in now and then. After each snowfall, brush off snow and ice so the weight does not crush the fabric. Lift a corner to check straps, buckles, and mesh vents, and give the pit mouth a glance – clear any slushy build-up before it sneaks inside. Spot fresh rust or tiny mortar cracks? Tackle them before they grow, and jiggle the spark screen to make sure it stays locked and keeps stray embers from slipping out.
Want more hands-on tips for a show-ready fire pit all season long? Check out the patio fire pit maintenance and cleaning guide for best practices on winter fire pit upkeep.
Inspecting and Repairing Stone or Brick Fire Pits Before Winter
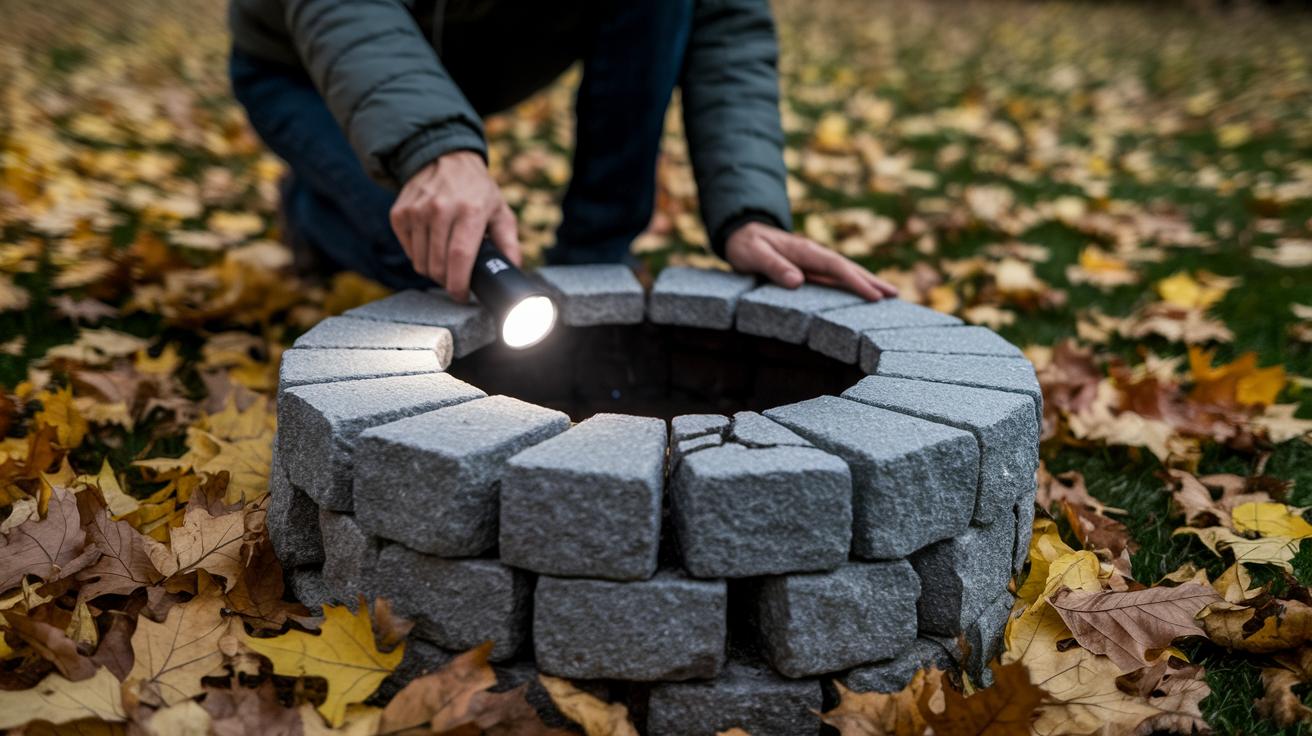
Slip on a pair of gloves and crouch next to your pit. Check each brick (solid clay block) for tiny cracks in the mortar (cement glue between bricks). Water can slip into those hairline cracks, then freeze, then expand, widening the split. Tap each brick gently with a wooden stick. If it sounds hollow, it’s loose. I once spotted a sneaky crack days before frost and thought, “Phew, no extra scrubbing come spring!”
Next, seal those cracks. Grab a masonry sealant (that’s a thick goo that fills gaps) rated for freeze-thaw cycles. Load it into a small caulking gun and squeeze a bead into each crack. Smooth it out with a damp finger, ever notice how satisfying that feels? Let it firm up by following the tube’s directions.
Then coat the whole surface with sealant. Paint it on with a brush until water beads up like tiny glass marbles. This keeps moisture out and shields your fire bricks (heavy clay bricks right by the fire).
Now let’s fix the base drainage. Scoop out leaves, twigs, and loose dirt from under the pit. Add a 2-inch layer of gravel (little stones) beneath it. Think of it like a sponge bed: water drains down through the stones instead of pooling around your pit.
Finally, seal gaps around the perimeter. Run a bead of grout (thick mortar) where the pit meets the stone floor. That stops water from sneaking under. A dry pit means a happy pit come spring.
Final Words
Putting the five-step winter fire pit checklist into action gives your pit a fresh start and lasting protection.
A clean interior, rust inhibitor coat, secure cover, and smart off-season checks keep everything ready for cozy nights.
We even showed how to fix cracks in stone or brick pits so no water sneaks in.
With this guide for how to winterize a wood burning patio fire pit you’ll wrap up prep smoothly.
Here’s to warm moments by the fire, every season.
FAQ
What steps are in a quick winterization checklist for wood burning fire pits?
Remove cooled ashes; wash and dry interior; apply a high-temp sealant; fit a breathable cover; store accessories in a dry spot.
How do I clean the fire pit interior before winterizing?
Use a metal scoop to remove cooled ashes, scrub with mild soap, rinse, air-dry for 24–48 hours, and seal the ashes in a metal container.
How can I apply rust inhibitors and sealants for winter protection?
Brush away rust, choose a sealant rated to 1200°F, apply evenly by brush or spray, allow full cure per instructions, then add a coat of high-heat paint or wax.
Which features should I look for in a durable winter fire pit cover?
Pick heavy-duty polyester or vinyl with UV inhibitors, breathable vents, an angled snow-shedding shape, a snug fit, secure tie-down straps, and waterproof seams.
How should I handle off-season care and ongoing checks for my fire pit?
Store tools and cushions in dry bins, drain and stow propane tanks frost-free, elevate nearby furniture, clear snow/ice from the cover, and inspect straps, vents, rust, or cracks.
What should I inspect and repair on stone or brick fire pits before winter?
Check mortar and bricks for hairline cracks, fill with freeze-thaw–rated sealant, seal surfaces, add gravel for drainage, and seal gaps against moisture.