How to Adjust Soil pH After Testing Your Garden
A soil pH reading turns the guesswork out of why plants underperform. When pH drifts outside the 6.0–7.0 range where most vegetables and ornamentals absorb nutrients efficiently, the problem looks like a fertilizer issue — pale leaves, slow growth, lackluster harvests — but adding more fertilizer doesn’t help because the nutrients are already in the soil and just can’t be taken up. The fix is correcting the pH first, then letting the plant access what’s already there.
This guide walks through interpreting your test result, choosing the right amendment, calculating how much to apply based on soil type, applying it correctly, monitoring progress, and maintaining pH over time with organic materials. Each step builds on the one before, so follow the sequence rather than jumping to application before you’ve confirmed your amendment rate.
Interpreting pH Test Data and Identifying Amendment Needs
A soil test result places your pH in one of three zones. A reading below 6.0 means acidic soil that needs lime to raise pH. A reading above 7.0 means alkaline soil that needs sulfur to lower pH. A reading between 6.0 and 7.0 means you’re in the target range and no amendment is needed — focus on maintaining that balance rather than adjusting it.
| pH Range | Soil Condition | Amendment Needed |
|---|---|---|
| Below 6.0 | Acidic | Lime |
| 6.0–7.0 | Neutral | None |
| Above 7.0 | Alkaline | Sulfur |
The 6.0–7.0 range matters because nutrients like nitrogen, phosphorus, and potassium dissolve and become plant-available most readily within it. Outside that range, nutrients bind to soil particles and can’t be absorbed through roots regardless of how much fertilizer you’ve applied. Beneficial soil microbes — the organisms that break down organic matter into the forms plants can use — also thrive in this same pH band, so correcting pH supports both nutrient availability and soil biology at once.
Use this sequence after you have your reading. For guidance on collecting samples and running the test itself, the soil pH testing methods for home gardens guide covers sampling depth, mixing technique, and meter vs. kit comparison.
- Compare your reading to the 6.0–7.0 range and label the result: acidic, neutral, or alkaline.
- Select your amendment: agricultural lime or dolomitic lime for acidic soil, elemental sulfur or aluminum sulfate for alkaline soil.
- Calculate your application rate based on soil type and desired pH change (see the Calculating Amendment Rates section below).
- Schedule the application in fall or early spring so the amendment has 3 to 6 months to work into the soil before planting.
- Plan a retest 3 to 6 months after application to confirm the shift and determine whether a second application is needed.
Raising vs. Lowering Soil pH
When to Raise Soil pH
A reading below 6.0 calls for lime. The two main options are agricultural lime (calcium carbonate) and dolomitic lime. Agricultural lime raises pH steadily and is the standard choice for most gardens. Dolomitic lime provides both calcium and magnesium — if your soil test shows a magnesium deficiency alongside low pH, dolomitic lime addresses both issues in a single application. If magnesium is adequate, agricultural lime is sufficient and slightly less expensive.
Both forms are available as powder or pellets. Pelletized lime is easier to spread and creates less dust during application. Powdered lime works faster because the smaller particle size reacts more quickly with soil, but it requires a dust mask during application. Either form should be worked into the top 6 to 8 inches of soil for maximum effectiveness.
When to Lower Soil pH
A reading above 7.0 means the soil is too alkaline and needs sulfur to bring it down. Elemental sulfur — pure sulfur powder — works gradually as soil bacteria convert it into sulfuric acid. This process takes a few weeks to a few months depending on soil temperature and microbial activity, but it produces a stable, lasting pH drop without the risk of over-correction.
Aluminum sulfate acts faster than elemental sulfur because it doesn’t require bacterial conversion — it acidifies the soil directly on contact with water. This speed makes it useful when you need a quick correction, but it can stress plant roots if over-applied. Use aluminum sulfate when timing is critical and elemental sulfur when you want a controlled, gradual adjustment. For both materials, apply at the lower end of the recommended rate and retest before adding more.
Calculating Amendment Rates for Precise Soil pH Adjustment Across Soil Types
Soil resists pH change — a property called buffer capacity. Sandy soils have low buffer capacity and shift pH with relatively small amounts of amendment. Clay soils have high buffer capacity and require significantly more material to achieve the same shift. Applying the same rate to both soil types is a common mistake that leads to under-correction on clay and over-correction on sand.
| Amendment | Soil Texture | Rate per 100 sq ft |
|---|---|---|
| Agricultural lime | Sandy loam | 5 lbs |
| Dolomitic lime | Clay loam | 15 lbs |
| Elemental sulfur | Any loam | 1–3 lbs |
Use this formula to calculate how much you need for your specific plot:
- Determine the desired pH change (for example, 1.0 unit).
- Identify your soil’s buffer factor: approximately 1 for sandy soil, 2 for loam, 3 for clay loam.
- Multiply: desired pH change × buffer factor × garden area in square feet.
- Divide the result by 100 to get the pounds of amendment needed.
Example: raising pH by 1.0 unit in 200 sq ft of clay loam (buffer factor 3): 1 × 3 × 200 = 600; 600 ÷ 100 = 6 lbs of agricultural lime.
For raised beds and containers, convert your soil volume to an effective area first. Measure the volume in cubic feet, then divide by the bed depth in feet. A 2-foot-deep bed with 50 square feet of surface area holds 100 cubic feet of soil. 100 ÷ 2 = 50 sq ft effective area, which you then plug into the formula above. This prevents under-dosing deep beds and over-dosing shallow pots.
Application Techniques for Soil pH Corrections
For mid-to-large garden beds, a spreader gives the most even distribution. A broadcast spreader fans lime or sulfur out in a wide arc as you walk — good for open areas. A drop spreader places the amendment in precise rows along the edges of beds without overspray onto paths or neighboring plantings. Walk at a steady pace and overlap each pass by a few inches to prevent thin patches.
For narrow beds, containers, or sections that require precise placement, hand application works well. Scoop amendment into a gloved hand or handheld spreader and fan it gently along the row. A garden trowel tilted at an angle can also direct granules evenly along a planting strip.
After spreading, mix the amendment into the top 6 to 8 inches of soil with a garden fork or small tiller. Thorough incorporation speeds the reaction between the amendment and soil particles. If you’re managing a no-till bed, apply the amendment to the surface, water it in deeply, and allow earthworms and soil microbes to work it down over several weeks — the process takes longer but avoids disturbing established root systems and soil structure.
Safety during application: Wear gloves and a dust mask whenever handling powdered lime or sulfur. Both materials are fine-particle and irritate lungs if inhaled. Choose a dry, calm day — wind carries powder off-target and rain immediately after application can wash it into storm drains. On sloped ground, water the amendment in gently rather than letting runoff carry it away from the application area.
Monitoring Progress and Tracking pH Changes
Amendments take time to change pH. Lime needs 3 to 6 months to react fully with soil — testing too early will show little change even if the lime is working. Schedule the first retest at the 3-month mark and adjust the application rate based on what you find. Applying in fall for spring planting is the most reliable schedule, as the amendment has the entire dormant season to incorporate and react.
Keep a running log of test dates, pH readings, amendment types, application rates, and weather at the time of application. Record which beds received which treatment. Patterns emerge over time — some beds may shift readily while others consistently require a second application — and a log prevents you from guessing at what worked the previous season.
Watch for plant-level signals between tests. Yellow leaves with green veins (chlorosis) often indicate iron or manganese lockout caused by pH that is still too high. Slow growth and poor yields after adequate fertilization suggest pH that is still too low and nutrients are still unavailable. Notice early fruit drop or dull flavor in vegetables — these often reflect nutrient uptake problems tied to pH, not watering or fertilizer deficiencies.
Earthworm activity is a reliable positive indicator. If you see earthworm trails and casts throughout the bed, soil biology is healthy and pH is likely in a productive range. A hard, compacted soil with few earthworms visible during cultivation suggests conditions are still unfavorable for the microbial life that drives nutrient cycling.
Organic Amendments and Sustainable Soil pH Management Practices
Chemical lime and sulfur make large, fast corrections. Organic materials work more slowly but build long-term soil structure and biology alongside modest pH adjustments. Used consistently, organic amendments reduce how often chemical corrections are needed.
Peat moss gently lowers pH over time and improves moisture retention in sandy or rocky soil. Work it into raised beds or containers in 2 to 3 inch layers at the beginning of each season. It’s particularly effective in containers for acid-loving plants like blueberries.
Coffee grounds add mild acidity and organic matter. Scatter a thin layer around acid-preferring plants — blueberries, tomatoes, roses — and work it lightly into the surface. Avoid piling them thickly; a compacted mat of coffee grounds repels water. For consistent container blends, mix coffee grounds with peat moss to create a slow-release acidifying medium.
Compost buffers pH rather than sharply raising or lowering it, making it valuable as a maintenance tool once you’ve corrected pH into the target range. A 2 to 3 inch layer of finished compost worked in each season supports the microbial activity that keeps nutrients cycling. For a deeper look at liquid compost applications and their impact on soil biology, the compost tea fertilizer guide covers brewing and application timing. The organic fertilizer for lawns guide also covers slow-release organic nutrient sources that complement pH correction work.
Pine needle mulch adds modest acidity over time as needles break down. Applied as a 2 to 3 inch mulch layer over garden beds, pine needles also reduce moisture loss and moderate soil temperature — practical benefits beyond pH adjustment.
Cover crops — clover, vetch, rye — protect bare soil between plantings and add nitrogen and organic matter when chopped and turned in at flowering. Their root systems also help break up compaction and improve the drainage and aeration that keep pH stable across the root zone. A simple annual rotation of cover crops, compost, and mulch reduces how dramatically pH swings between seasons and makes chemical corrections a less frequent necessity.
Frequently Asked Questions About Adjusting Soil pH
What does soil pH below 6.0 indicate and how do I correct it?
Soil pH below 6.0 indicates acidic conditions that prevent most plants from absorbing nutrients efficiently. Correct it by applying agricultural lime (calcium carbonate) for a standard pH lift, or dolomitic lime if your soil test also shows a magnesium deficiency. Work the lime into the top 6 to 8 inches of soil and wait 3 to 6 months before retesting to measure the full effect.
What does soil pH above 7.0 indicate and how do I correct it?
Soil pH above 7.0 indicates alkaline conditions. Elemental sulfur is the standard corrective — soil bacteria convert it to sulfuric acid over several weeks, producing a gradual and stable pH drop. Aluminum sulfate acts faster but can stress roots if over-applied, so use it only when a quick correction is necessary and apply at the low end of the recommended rate.
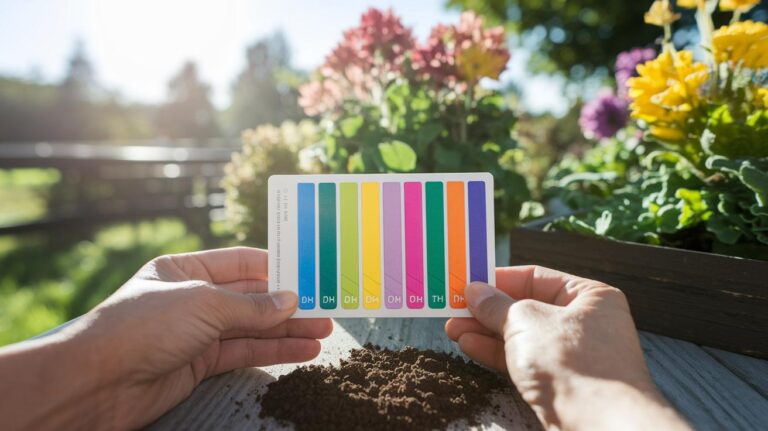
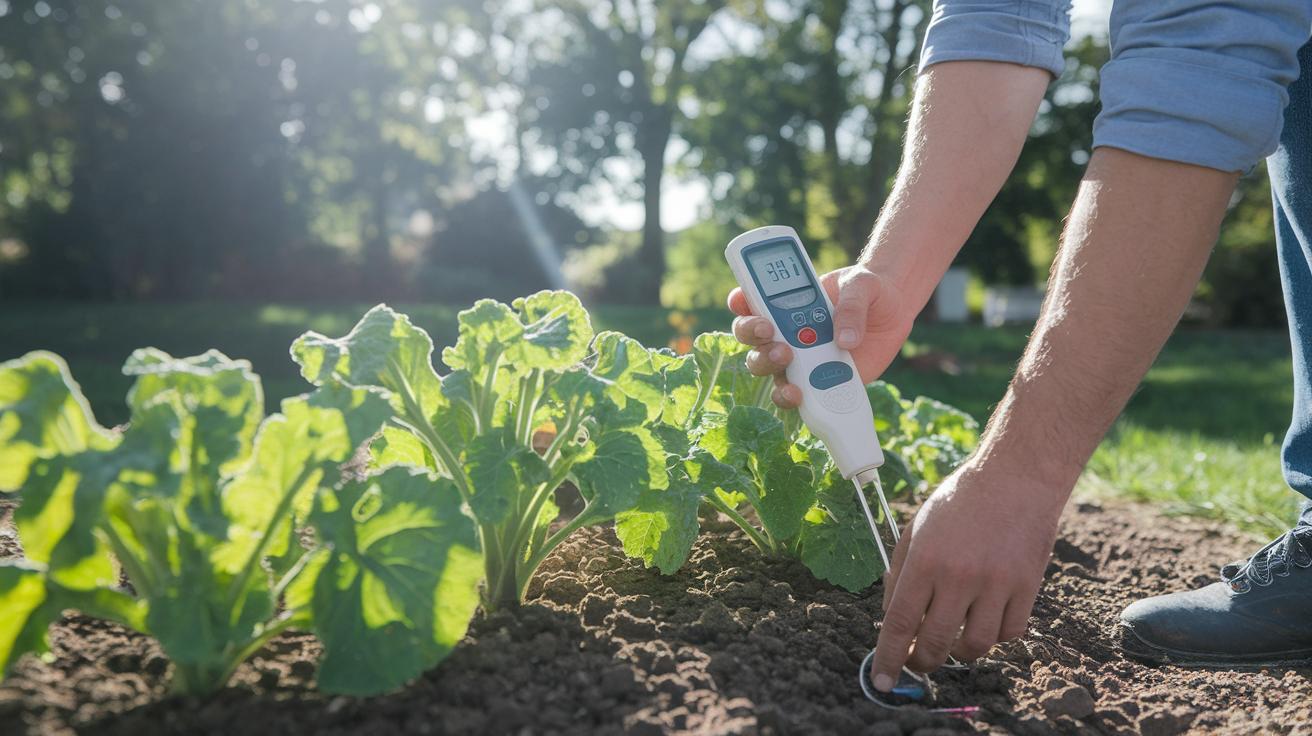
How do I test my garden soil pH at home?
Collect samples from 6 to 8 inches deep across several spots in the garden bed, mix them together for an average reading, and test with a digital pH meter or a home test kit. For the most accurate results, avoid sampling immediately after rain or fertilizer application. University extension labs also process soil samples by mail and provide detailed amendment recommendations alongside the pH reading.
Why is the 6.0–7.0 pH range ideal for most plants?
Most plants absorb nitrogen, phosphorus, and potassium most efficiently within the 6.0–7.0 range. Outside this range, these nutrients bind to soil particles and can’t pass through plant roots even when they’re present in adequate amounts. Beneficial soil microbes that break down organic matter into plant-available nutrients also thrive in this pH band, supporting both nutrient cycling and soil structure.
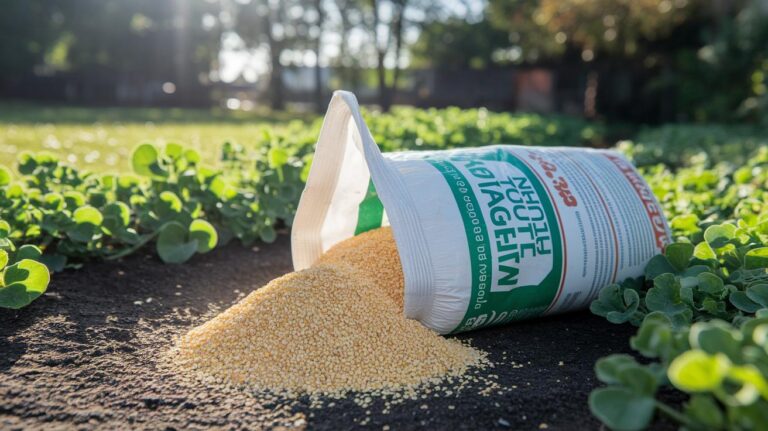
How do I decide amendment rates for lime or sulfur?
Amendment rates depend on your soil texture and the size of the pH shift needed. Sandy soil requires about 5 lbs of lime per 100 sq ft for a 1-unit pH increase; clay loam requires about 15 lbs for the same shift. Elemental sulfur rates typically run 1 to 3 lbs per 100 sq ft. Use the formula: desired pH change × soil buffer factor (1 for sandy, 2 for loam, 3 for clay) × area in sq ft, divided by 100, to find your specific application amount.
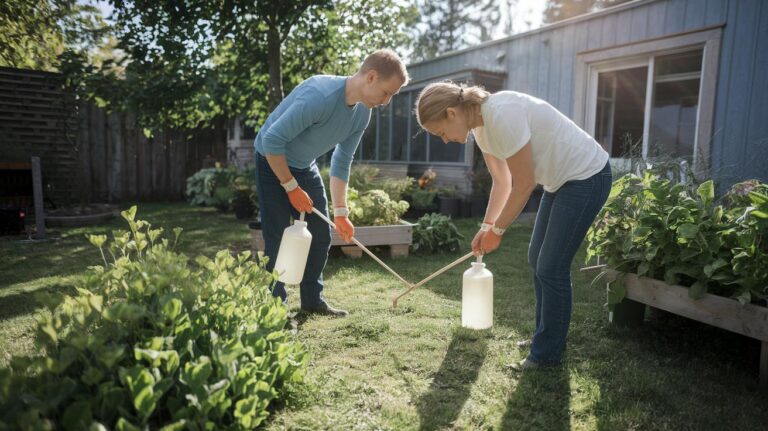
How should I apply pH amendments in my garden?
Spread amendments evenly with a broadcast or drop spreader for large beds, or by hand with gloves for narrow rows and containers. After spreading, work the amendment into the top 6 to 8 inches of soil with a fork or tiller. For no-till beds, apply to the surface and water in deeply to let earthworms carry it down over several weeks. Always wear a dust mask and gloves when handling powdered lime or sulfur, and choose a calm day to prevent wind drift.
When is the best time to apply lime or sulfur safely?
Apply in fall or early spring — at least 3 to 6 months before planting — so the amendment has time to react with the soil before seedlings arrive. Fall application is preferred because the amendment works through the dormant season with no competition from active plant roots. Avoid applying before heavy rain on sloped ground, as runoff can carry lime or sulfur away from the target area before it’s incorporated.
How often should I retest soil pH and monitor plant health?
Retest 3 to 6 months after each amendment application to measure the actual pH shift before adding more material. After the target range is reached, test once per year — ideally in early spring before planting — to catch any drift before it affects the season’s crops. Watch for yellow leaves with green veins (chlorosis), poor yields after fertilization, or slow establishment as signals that pH may have shifted outside the target range between scheduled tests.
What organic materials can I use to adjust soil pH over time?
Peat moss and coffee grounds gently lower pH over time while improving moisture retention and adding organic matter. Pine needle mulch also lowers pH modestly as needles decompose. Finished compost buffers pH and supports soil biology rather than sharply shifting it in either direction, making it a maintenance tool for keeping pH stable once the target range is reached. Cover crops like clover and vetch add organic matter and nitrogen when turned in and reduce pH swings between seasons.