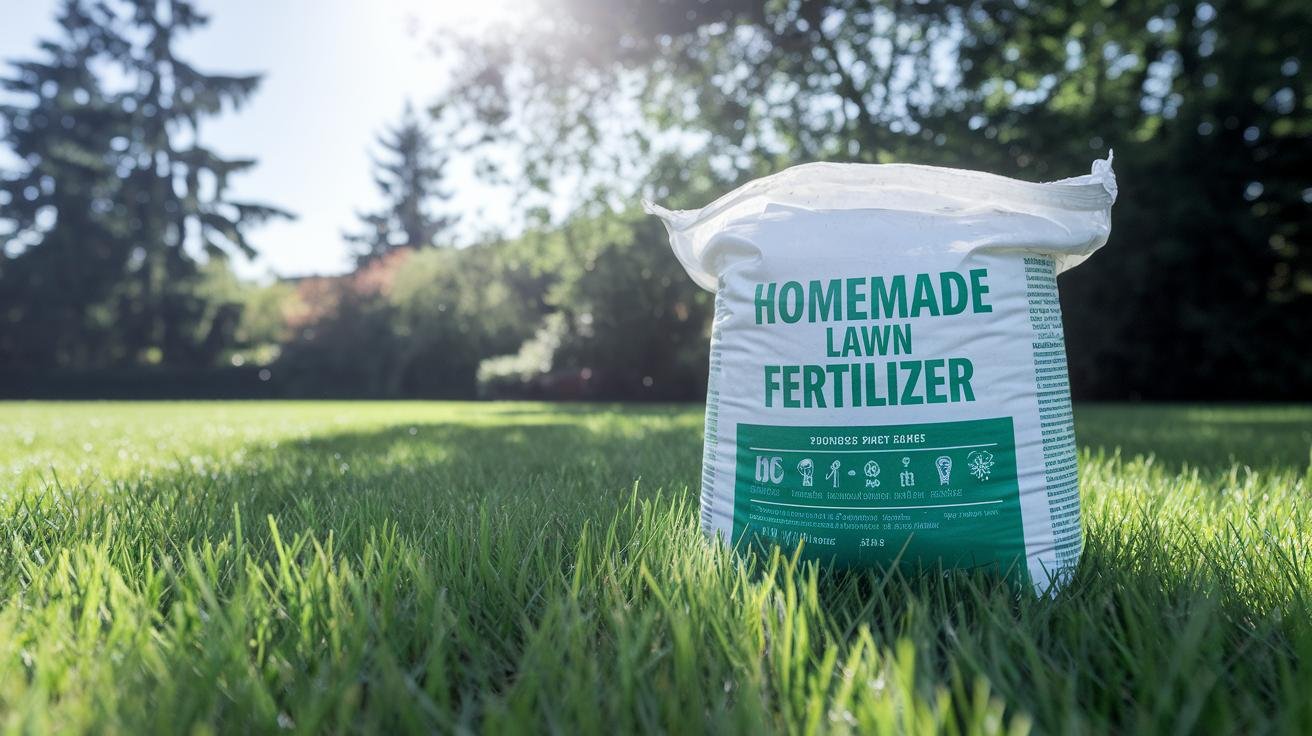
Homemade Lawn Fertilizer: Powerful DIY Growth Boost
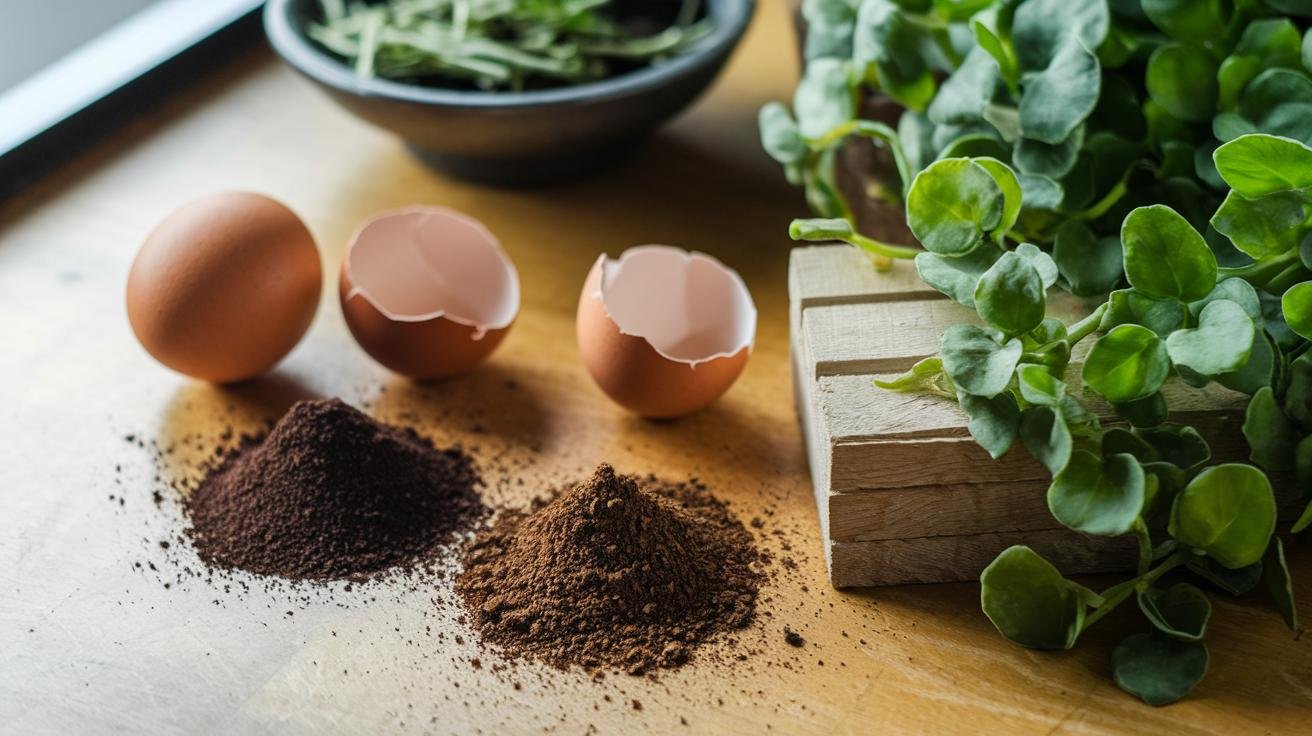
Have you ever wondered if your kitchen scraps could feed your grass? What if coffee grounds, crushed eggshells (the leftover calcium from breakfast), and Epsom salt (a simple garden magnesium booster) could wake up your lawn? It’s not about fancy store-bought bags of fertilizer. It’s about using what you already have.
So, in this post, I’m sharing two easy do-it-yourself lawn recipes. One is a mist you spray on each blade. And the other is a sprinkle you gently rake into tired patches. Each simple blend helps your grass soak up nutrients so blades turn greener and roots grow deeper.
By the way, I once spilled a pile of coffee grounds on my patio. Oops. But on the lawn? That rich, earthy scent can bring your yard back to life! Ready to skip harsh chemicals, save some cash, and get a lush, vibrant lawn?
DIY Lawn Fertilizer Recipes Using Household Ingredients
Hey neighbor, ready to feed your lawn with pantry items? Let’s mix a quick liquid blend that your grass will drink up. Combine one scoop of Epsom salt (magnesium sulfate that helps plants take in nutrients), one scoop of baking soda (sodium bicarbonate you use in baking), and one scoop of ammonia (a common nitrogen cleaner) with two scoops of water. Stir until it looks clear, then pour into a spray bottle.
This DIY mix is a liquid organic lawn fertilizer that sends magnesium, sulfur, and a bit of nitrogen straight to each blade. Spray on a calm morning so drops land softly and dry before your next watering.
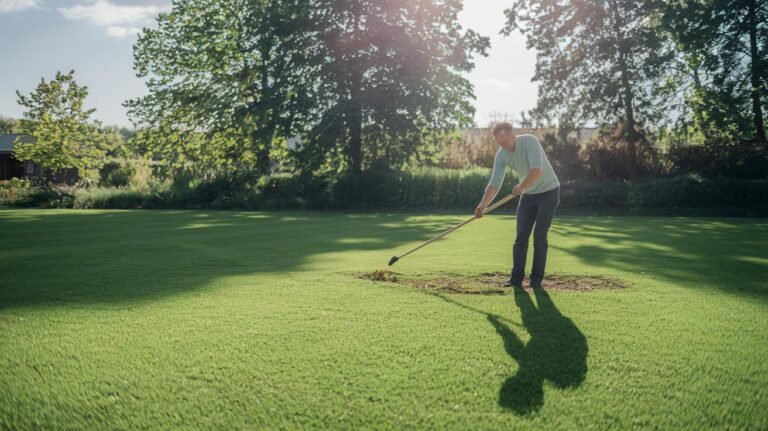
If you like a sprinkle style instead, gather compost (decayed organic matter that enriches soil), fresh grass clippings, used coffee grounds, and crushed eggshells. Right after mowing, scatter the grass clippings to give nitrogen back to the soil. Then add a thin layer of coffee grounds (no more than half an inch) to boost nitrogen and keep the soil fluffy. Next, sprinkle crushed eggshells for calcium and to balance acidity.
By the way, my cat naps on my clippings while I work. Back to your mix, gently rake it into the topsoil so nutrients can reach the roots in spring or fall.
| Recipe | Ingredients | How to Use |
|---|---|---|
| Liquid Salt-Baking Soda Spray | Epsom salt, baking soda, ammonia, water | Shake bottle, mist over grass |
| Granular Kitchen Mix | Compost, grass clippings, coffee grounds, eggshells | Scatter, then rake lightly into soil |
| Compost Tea Fertilizer | Compost, water | Steep one to two days, strain, spray |
Want a living brew? Try compost tea fertilizer. Mix one part compost (decayed organic matter that feeds soil) with five parts water.
Let it steep for one to two days, and you’ll notice an earthy scent as it brews. Give it a swirl now and then, then strain out the solids and pour the rich liquid into a spray bottle.
This gives your lawn friendly microbes that hang out near the roots and feed slowly. Aim to mist your grass every two to four weeks during the growing season for a steady green boost.
Nutrient Contributions of Key Homemade Fertilizer Ingredients
| Ingredient | Nutrient Benefit |
|---|---|
| Grass clippings | Packed with nitrogen (N, the stuff that makes leaves grow lush and green) |
| Coffee grounds | More nitrogen plus improved soil texture (how it feels and holds air and water) |
| Eggshells | Loaded with calcium (Ca, to build strong cell walls and balance soil pH) |
| Epsom salt | Offers magnesium (Mg, which fuels photosynthesis) and sulfur (S, for protein building) |
| Wood ash | Rich in potassium (K, to keep stems sturdy and help in dry weather) |
| Compost tea | Full of living microbes and a balanced mix of N, phosphorus (P, for strong roots), and K |
Here’s a quick nutrient guide:
- N fuels green blades.
- P builds strong roots.
- K helps plants handle dry spells.
- Ca toughens cell walls.
- Mg powers photosynthesis.
Homemade Lawn Fertilizer: Powerful DIY Growth Boost
Cool-Season Grass Fertilizer Timing
In spring, your fescue and Kentucky bluegrass wake up hungry. Feed them first in March or early April. Then plan a second round in September or October for a fall boost.
Water the lawn lightly a day before feeding so your homemade mix can soak right in. Have you smelled that damp, earthy scent before mowing? It’s the smell of growing grass.
To make your spray, steep one part compost (decayed organic matter that enriches soil) in five parts water for 24 hours. Then stir in a tablespoon of Epsom salt (magnesium sulfate that fuels photosynthesis) per gallon. Mist it over your grass when the temperature is under 75°F. The roots will slurp up the nutrients, not the wind.
Wait two weeks before you feed again. Then watch soft, green blades pop up without any burn risk.
Warm-Season Grass Fertilizer Timing
Warm-season grasses like Bermuda and zoysia love heat. Start feeding from late May through July, once the soil hits about 60°F. Mix two cups of fresh grass clippings, half a cup of used coffee grounds, and one cup of compost (decayed organic matter that enriches soil) for every 100 square feet.
Rake the mix in gently around the grass crowns. Oops, I once spilled a bucket of coffee grounds. Grass didn’t mind a bit. Then water right away so nitrogen, phosphorus, and potassium sink deep. Repeat every four to six weeks. But skip feeding on scorching or drought days to avoid stress.
When nights turn cooler, it’s time for a winterizer. Blend three parts bone meal (crushed animal bones that add phosphorus) with one part wood ash (for calcium and potassium). Spread it in early fall to bulk up the roots for winter survival.
By the way, have you tested your soil pH lately? A light sprinkling of lime nudges acidity toward the ideal 6.5. That tweak helps your winter mix lock into the soil until spring wakes up again.
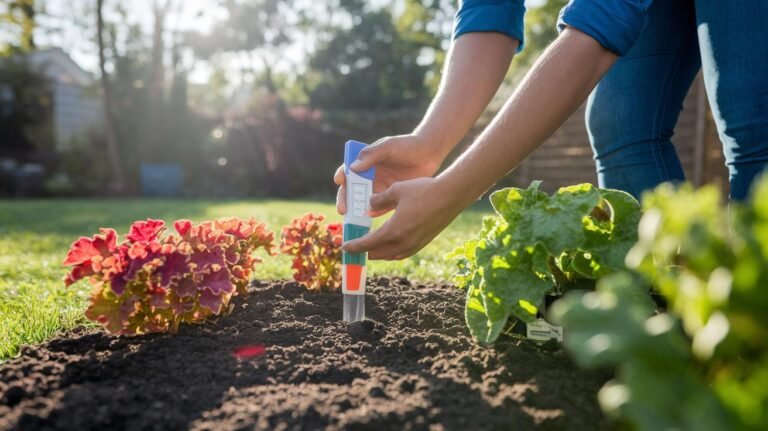
Testing Soil and Adjusting Homemade Fertilizer Ratios
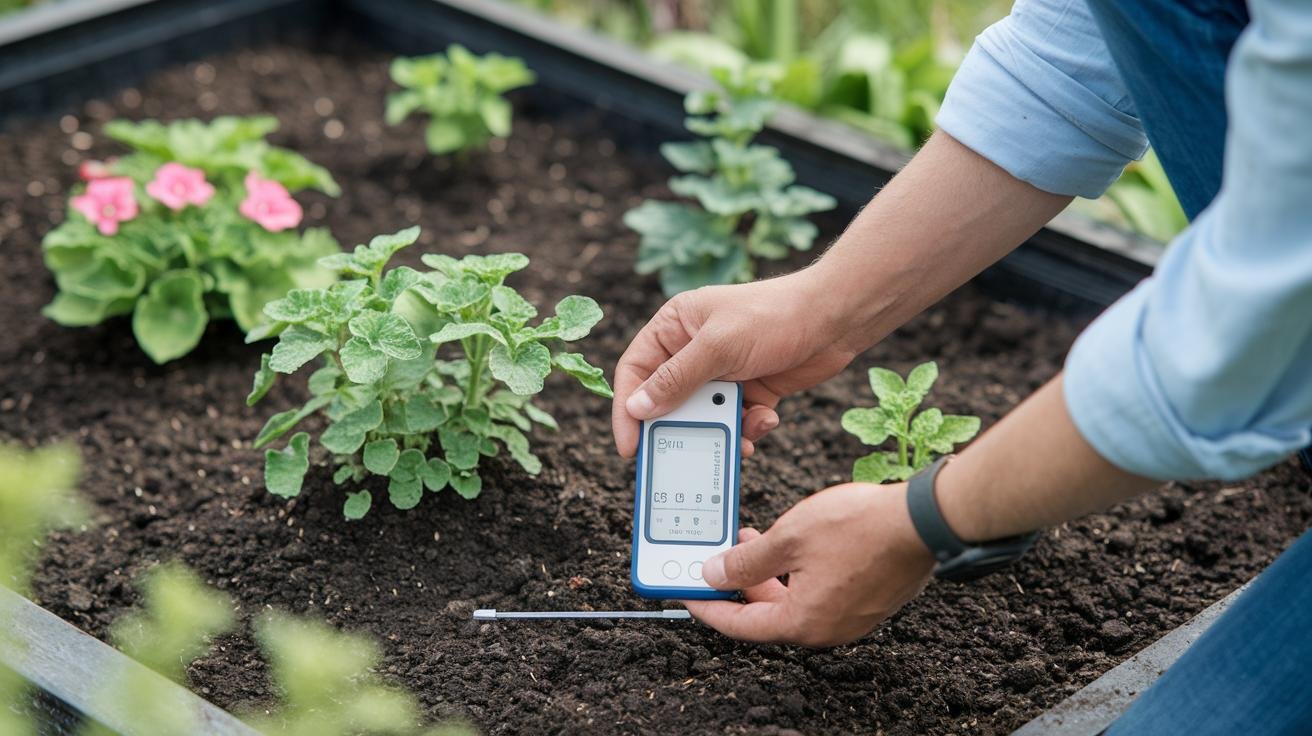
Grab a soil test kit (a tool for checking soil pH, which is a measure of acidity, and N-P-K, which stands for nitrogen, phosphorus, and potassium). Scoop a handful of soil from a few spots in your yard and mix it in a clean container. Then dip in the test strips or probes and watch the colors change. Aim for a pH between 6.0 and 7.0, that’s where most grasses soak up nutrients best. If your N, P, or K numbers fall outside that sweet zone, you’ll know whether to boost leaf-loving nitrogen or root-building phosphorus.
If your soil pH is below 6.0, sprinkle garden lime (calcium carbonate) and work it in gently. That lifts the alkalinity so plants aren’t scrunching their roots. If your pH climbs above 7.0, stir in a little elemental sulfur to nudge things back toward acidity. These tweaks make sure your next batch of homemade lawn tonic lands right in the comfort zone.
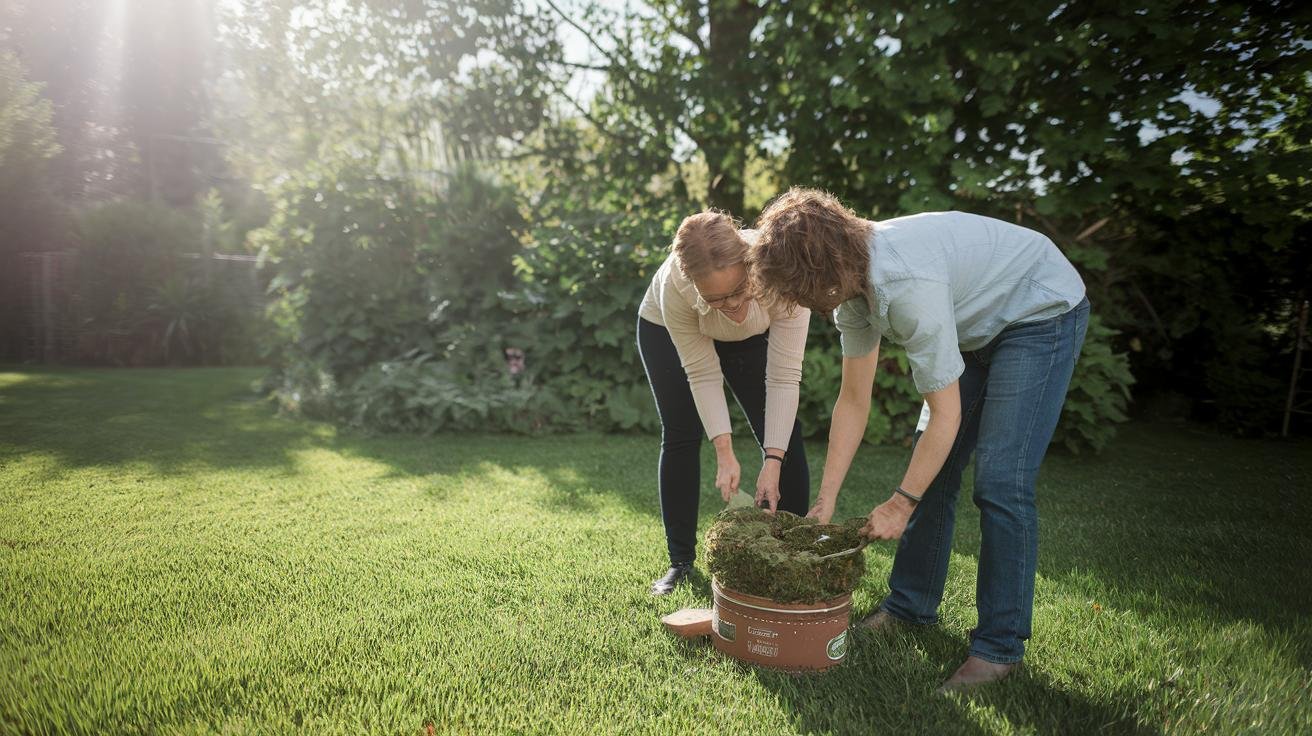
Next, fine-tune your nutrient mix. Add a splash more Epsom salt (magnesium sulfate) if magnesium is low or toss in extra crushed eggshells for calcium. Want happier soil life? By the way, stirring in compost tea (liquid made by soaking compost) or a thin top-dressing of worm castings (earthworm droppings that feed helpful microbes) really wakes up clay or sandy spots. These tiny helpers hold moisture and carve out air pockets. After you finish your tweaks, give the lawn a light watering and retest in a month. That way your homemade mix stays dialed in and your grass stays smiling.
Application Techniques and Equipment for DIY Lawn Fertilizer
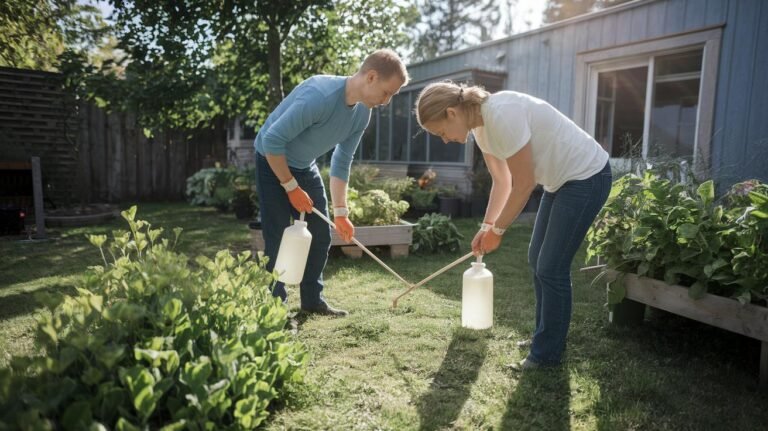
Before you begin, grab your tools and feel that cool morning breeze, gardening is more fun with the right kit. For granular fertilizer (small grain fertilizer), use a broadcast spreader (a tool that tosses grains evenly). Fill it halfway, then test on the driveway. Watch the grains land in a neat line and tweak the setting until it looks just right.
If you’re using liquid fertilizer, pick a pump sprayer rated for garden use. Mix one part fertilizer with ten parts water, that simple. I like to do this on a still morning or late afternoon so the grass can soak up nutrients without any sunburn. A gentle breeze helps drops settle on the blades where you want them.
Once you’ve fed the lawn, give it a light drink within 24 hours. Think of your soil like a sponge: mist it gently so it’s damp but not soggy. This step lowers burn risk and helps the food sink down where roots can reach it.
When you’re done, rinse your hoses, spreader, and sprayer with plain water. That quick cleanup keeps lines clear and parts working next time. Oops, I once skipped this and ended up with clog after clog. A little scrub and a final rinse keeps your tools happy and ready for round two.
Homemade Lawn Fertilizer: Powerful DIY Growth Boost
Oops, I once poured way too much of my homemade lawn food and watched the grass wilt.
Too much DIY mix can scorch grass (burn the green blades) when roots gulp down a big dose of salt or nitrogen (plant food) at once.
Measure your ingredients and stick to a gentle feeding plan.
And watch the forecast: heavy rain can wash your nutrients into storm drains, but a long drought leaves roots too thirsty to absorb a huge meal.
Slow, steady feedings keep your yard happy and green.
Runoff (water carrying away nutrients) can harm streams and ponds.
Lay down a buffer zone of grass clippings by driveways or garden beds so water slows and goodness settles where roots can use it.
Then give your lawn a light drink within twenty-four hours so nutrients sink down into the soil instead of drifting off.
Feeding right before a dry spell also locks in more of that boost.
When leaves turn yellow or brown spots pop up, your lawn might be hungry for nitrogen (the stuff that helps plants grow) or just craving water.
Blotchy grass often means shallow roots.
Hold your mix close to the base of each blade and water gently to help it sink in.
For a quick pep talk, try a lighter dose of grass clipping tea (water steeped with fresh clippings) or a sprinkle of coffee grounds.
If pale stripes stick around, ease up on timing or dose until everything balances.
And remember: steady watering can clear up a lot of what looks like a deficiency.
Here’s a perk: homemade mixes cost under ten dollars per feeding, while store-bought bags run about thirty dollars each.
That savings is why gardeners love DIY.
You can even double your yield by scaling up pantry staples instead of buying a best organic lawn fertilizer bag.
Plus, feeding on your own schedule puts you in charge, no mystery labels, no hidden chemicals, just your eco-friendly routine.
Final Words
In the action of blending compost, coffee grounds, and Epsom salt, you’ve put together liquid, granular and tea-style homemade lawn fertilizer recipes that fit any yard.
You’ve learned which mix feeds cool versus warm grasses, how to check soil pH, and the right spreader or sprayer steps for even coverage.
Armed with these simple steps and a dash of curiosity, your grass will soak up every bit of homemade lawn fertilizer, and your outdoor space will shine greener than ever.
FAQ
How can I make a basic liquid lawn fertilizer using household ingredients?
A basic liquid lawn fertilizer uses 1 part Epsom salt, 1 part baking soda, and 1 part ammonia mixed with 2 parts water. Apply every 2–3 weeks to boost magnesium and sulfur for greener blades.
What granular homemade lawn fertilizer recipes can I try?
Homemade granular mixes often combine crushed eggshells, coffee grounds, and wood ash. Spread thinly with a calibrated broadcast spreader to add calcium, nitrogen, and potassium and improve soil structure.
How do I brew compost tea for my lawn?
Compost tea is made by steeping 1 part mature compost in 5 parts water for 24–48 hours, then straining and spraying the liquid to introduce beneficial microbes and balanced nutrients to your lawn.
How do household scraps like coffee grounds and eggshells benefit my lawn?
Coffee grounds add nitrogen and improve soil texture, while crushed eggshells supply calcium and reduce acidity. Grass clippings left on the lawn recycle nitrogen naturally as they decompose.
When should I apply homemade fertilizers to cool-season versus warm-season grasses?
Cool-season grasses like fescue and bluegrass get homemade feed in spring (March–April) and fall (September–October), while warm-season lawns like Bermuda and zoysia benefit from feeds in late spring and early summer.
How do I test soil and adjust homemade fertilizer ratios?
Soil test kits measure pH and N-P-K levels. Aim for pH 6.0–7.0, then adjust acidity with lime or sulfur and tweak your homemade mix ratios to correct any nutrient imbalance.
What equipment and calibration steps are needed for applying DIY lawn fertilizers?
Calibrate your broadcast spreader per granular recipe rates and use a pump sprayer set at 1:10 fertilizer-to-water for liquid blends. Always clean equipment after use to prevent clogging.
How can I prevent nutrient burn or runoff when using homemade fertilizers?
To prevent nutrient burn and runoff, apply homemade fertilizer before light rain and water within 24 hours. Maintain buffer zones near waterways and follow recommended mix ratios.
How does the cost of homemade lawn feeds compare to commercial products?
Homemade lawn feeds often cost under $10 per application compared to $30+ for commercial products, making household ingredient recipes a wallet-friendly way to boost lawn health without sacrificing quality.