
Best Spikeball Sets: A Roundnet Buyer’s Guide
Compare the best Spikeball sets—the Standard 3-ball kit, the tournament Pro, and the kid-friendly Rookie—so you buy the right roundnet set the first time.
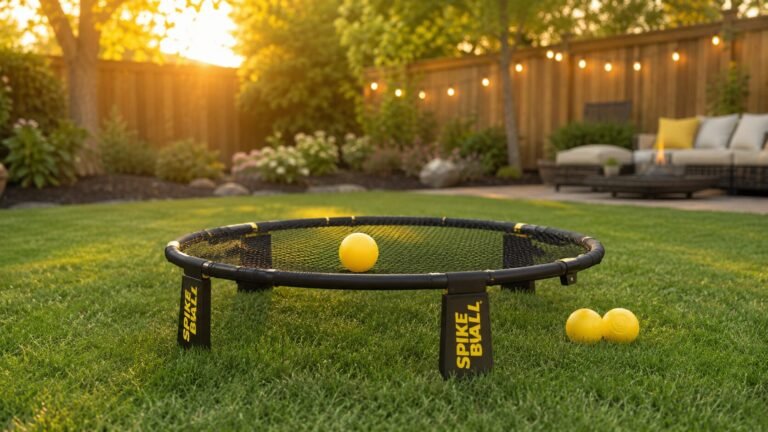
Compare the best Spikeball sets—the Standard 3-ball kit, the tournament Pro, and the kid-friendly Rookie—so you buy the right roundnet set the first time.
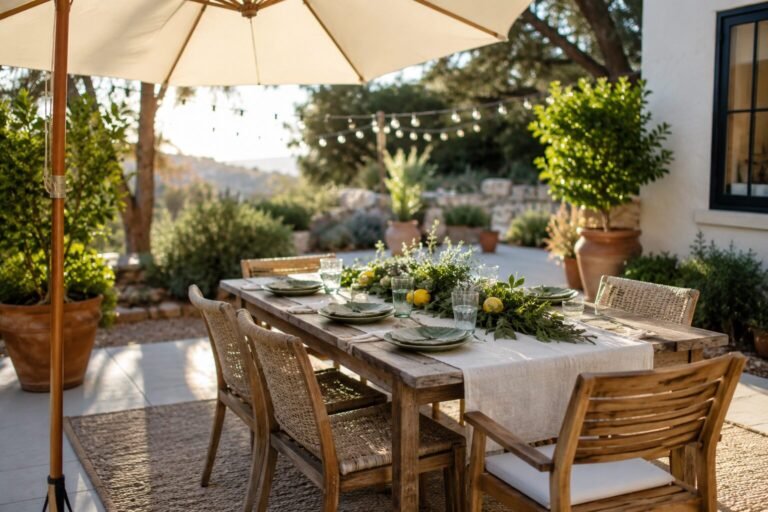
There’s a particular kind of evening I keep chasing as a host — the one where guests drift onto the patio, find a spot that feels like it was waiting for them, and simply stay. Nobody’s perched awkwardly on a too-low step or squinting into the sun. The table looks like someone cared. That feeling…

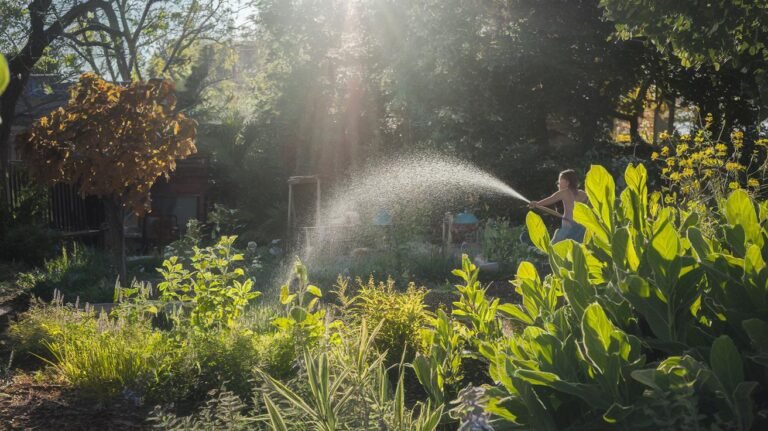
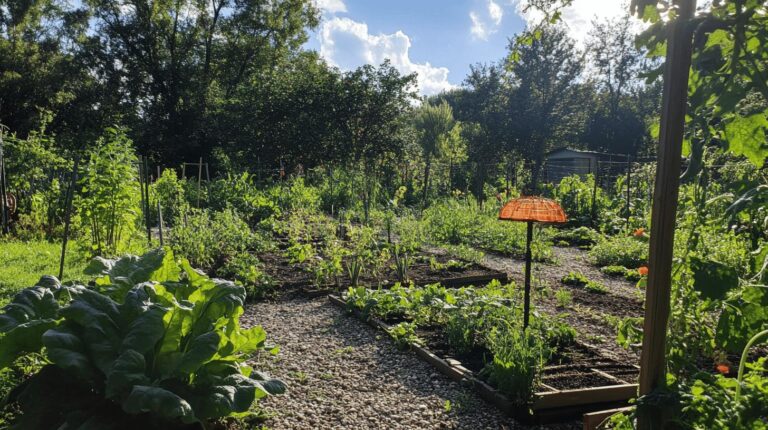
Start a garden the right way: soil basics, weekly care routines, pruning principles, and a season-by-season checklist for first-year gardeners.
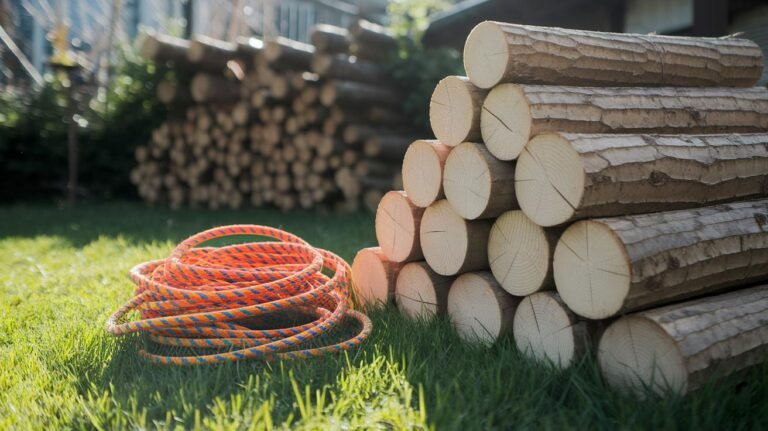
The materials and equipment for a DIY backyard obstacle course: lumber, PVC, ropes and nets, ninja gear, and budget-friendly options that actually hold up.
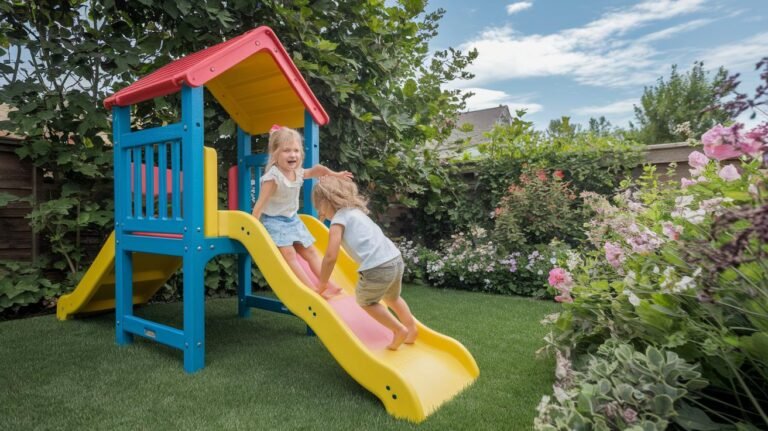
How to choose a backyard jungle gym: wood vs metal vs plastic, safety and sizing, the right pick for each age, plus top sets for toddlers to big kids.
Brew compost tea fertilizer at home. Aerated vs. non-aerated methods, equipment, application rates, troubleshooting, and soil-health benefits inside.

Pick a lawn fertilizer that won’t hurt dogs or cats. Safe ingredient categories, certification labels, application timing, and DIY recipes inside.
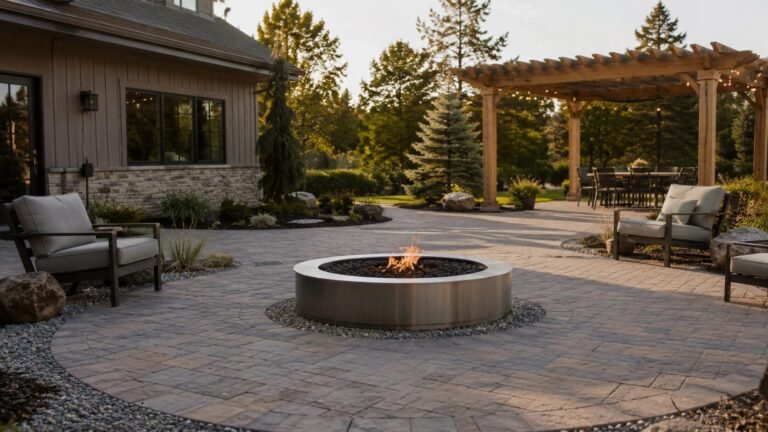
Place a patio fire pit safely with clear horizontal, vertical, and foliage clearances. Base materials, fuel storage, gear, and seasonal checks inside.
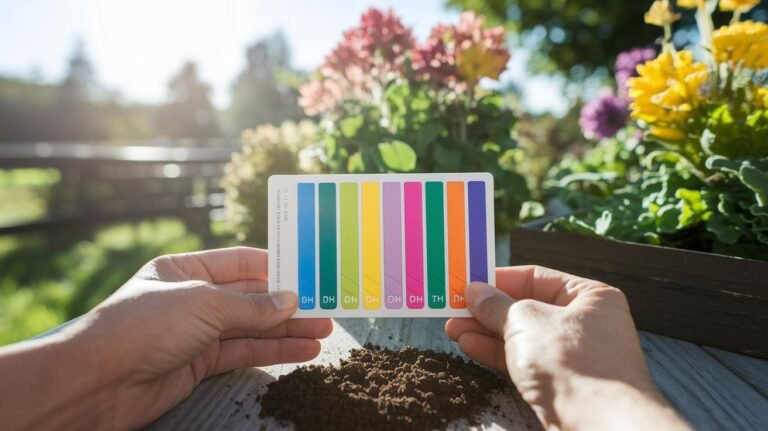
Everything about soil pH: the ideal range for vegetables, four ways to test it at home, and exactly how to raise or lower it with lime and sulfur.
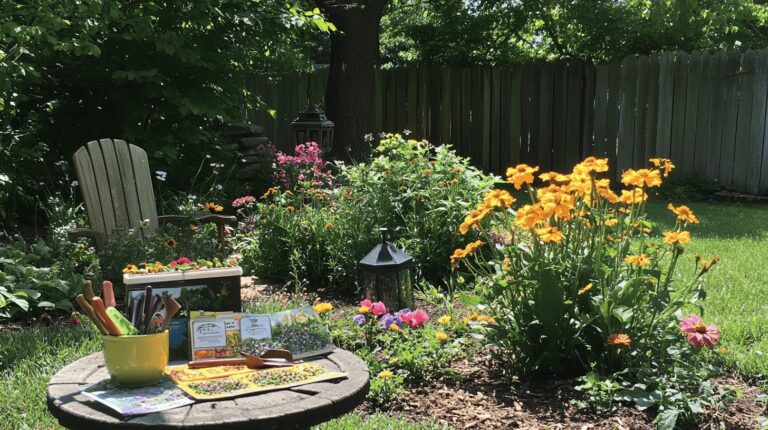
Plan a productive spring garden by zone with frost-tolerant picks, soil prep, planting calendars, companion planting, and a season-long schedule.
Identify and control common garden pests with eco-friendly methods, homemade DIY sprays, beneficial insects, and safe options for kids and pets.
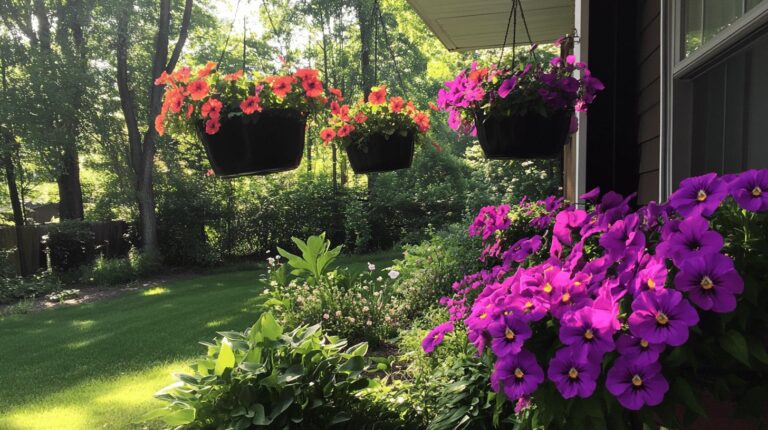
Plan a hanging basket garden by sun, plant choice, and basket type. Watering routines, seasonal swaps, common problems, and assembly steps inside.