How to Plan a Xeriscape Garden for Your Yard
Xeriscape landscaping is a garden design approach that minimizes the need for supplemental water through smart plant selection, grouping by water needs, efficient irrigation, and moisture-saving hardscape. Done well, a xeriscape yard cuts outdoor water use by 30–60% compared to a traditional turfgrass landscape — without looking like a desert. The term was coined by Denver Water in 1981 (from the Greek “xeros,” dry), and the principles work just as well in humid climates as in arid ones. Here’s how to plan one, what to plant, how to set up irrigation, and what to expect on maintenance.
What Xeriscape Landscaping Actually Means
Xeriscape isn’t “cactus garden” or “all gravel, no plants.” It’s seven design principles, all aimed at matching water use to plant need:
- Plan and design — map sun, slope, and existing conditions before picking plants.
- Soil improvement — amend soil to drain well and hold moisture appropriately.
- Efficient irrigation — drip lines and timers instead of sprinklers and hoses.
- Plant zoning by water needs — group plants that want the same amount of water (the “hydrozone” principle).
- Mulch heavily — 3–4 inches around all plantings to slow evaporation.
- Reduce or replace turf — lawn is the thirstiest plant most yards grow.
- Maintain appropriately — mowing high, pruning thoughtfully, watering on schedule.
The result is a yard that, once established, mostly cares for itself. Drought-tolerant plants don’t need daily watering. Mulched beds don’t need weekly weeding. Drip irrigation runs on a timer and skips watering after rain. By year two or three, most xeriscape gardens are spending one-third the water and one-third the maintenance time of the traditional lawn-and-foundation-plantings design they replaced.
It’s also worth saying clearly what xeriscape isn’t. It isn’t zero-water gardening. It isn’t “zero-scape” with gravel and rocks only. Most xeriscape yards have just as much plant life as conventional yards — the plants are just chosen and arranged so they need less supplemental water. For coping with extreme heat specifically, our walkthrough of how to water your garden during a heat wave covers the watering-side techniques that complement the xeriscape planting approach.
Planning Your Garden Around Hydrozones
A hydrozone is an area of the garden where all the plants want the same amount of water. Most yards naturally have three or four:
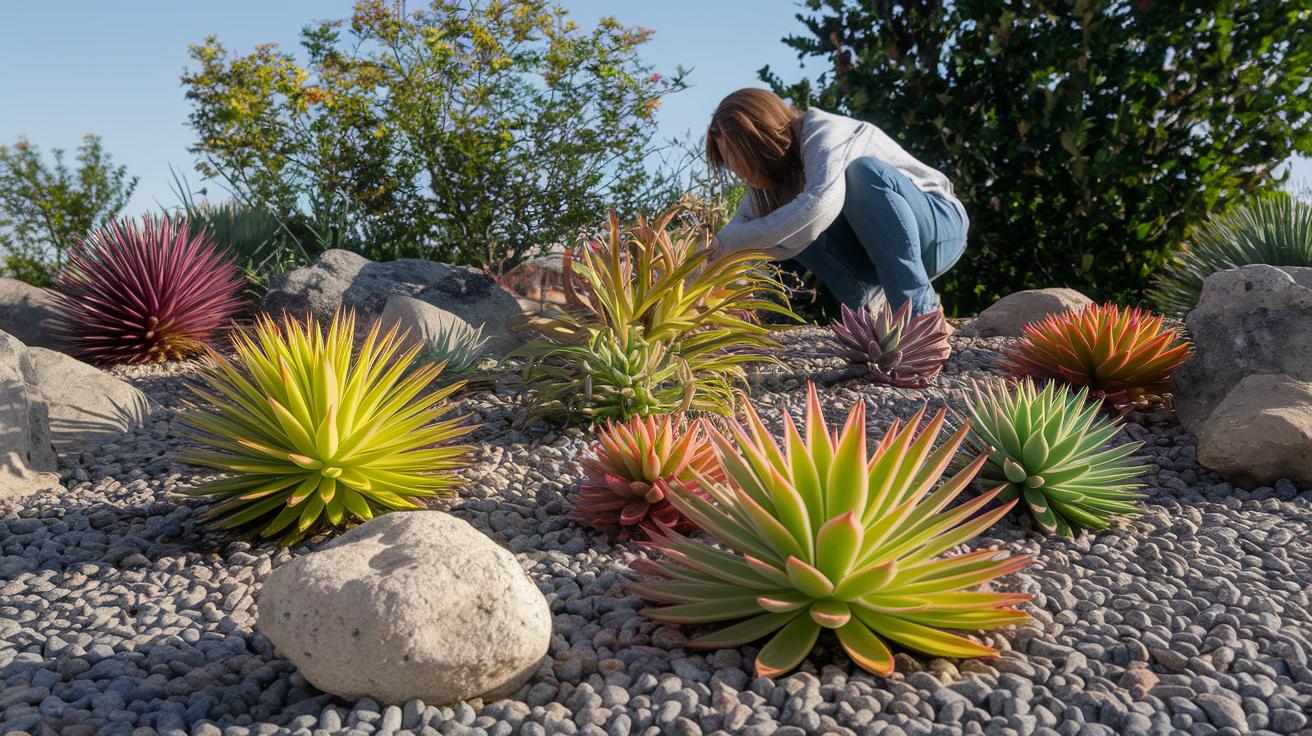
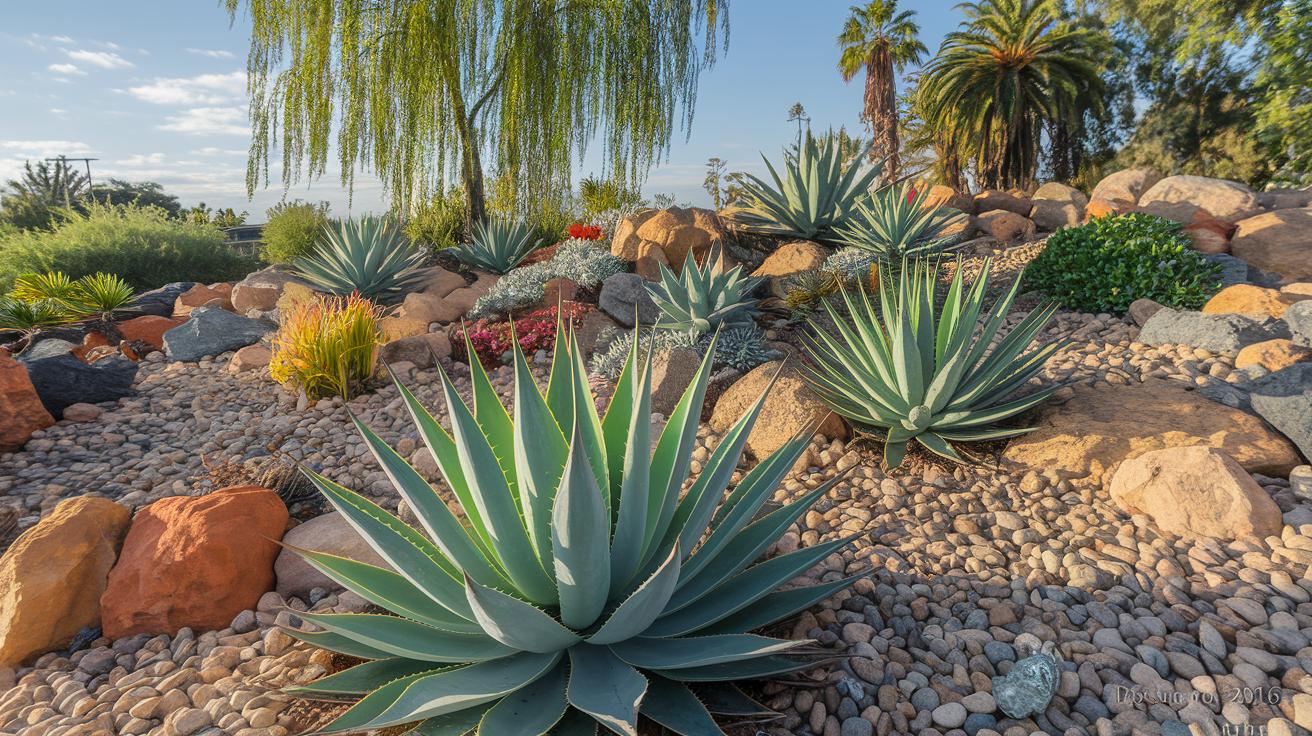
- Very low water zone: Native shrubs, succulents, ornamental grasses. South- and west-facing exposures, far from any irrigation source.
- Low water zone: Drought-tolerant perennials, mature trees, established shrubs. Most of a well-designed xeriscape sits here.
- Moderate water zone: Vegetable beds, herbs, traditional perennial borders. Located near the house or a water source where irrigation is convenient.
- High water zone (optional): A small lawn area, pots that get used for flowers, a thirsty specimen tree. Kept small on purpose.
The planning step that matters most is sketching the yard and labeling each area by sun exposure, soil type, and slope. Walk the yard at three different times of day (morning, midday, evening) and note which spots get direct sun versus shade at each. Test soil texture in different areas by squeezing a handful — sandy soil crumbles, clay forms a ball, loam holds shape briefly then falls apart.
Once the map is sketched, assign each area a hydrozone. Then assign plants. The mistake first-time xeriscapers make is picking plants first and trying to fit them into the yard — instead of picking the conditions first and finding plants that match.
Choosing Drought-Tolerant and Native Plants
Two principles for plant selection in xeriscape:
Match plants to your climate, not the climate you wish you had. A succulent that thrives in Phoenix won’t survive Connecticut winters; an East Coast native won’t handle Texas summers. Check the USDA zone and choose plants that evolved for your region.
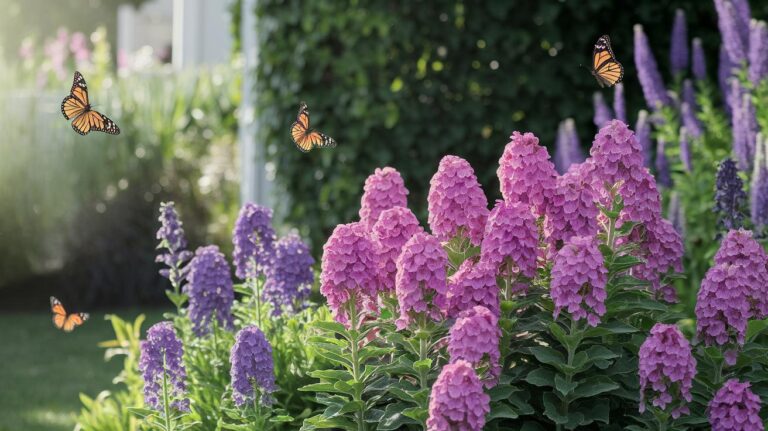
Lean heavily on natives. Native plants evolved in your local climate and need almost no extra water once established. They also support native pollinators and wildlife in ways imported ornamentals can’t. Our roundup of the best native plants for pollinator gardens covers region-specific picks that thrive without irrigation.
Strong xeriscape candidates by category:
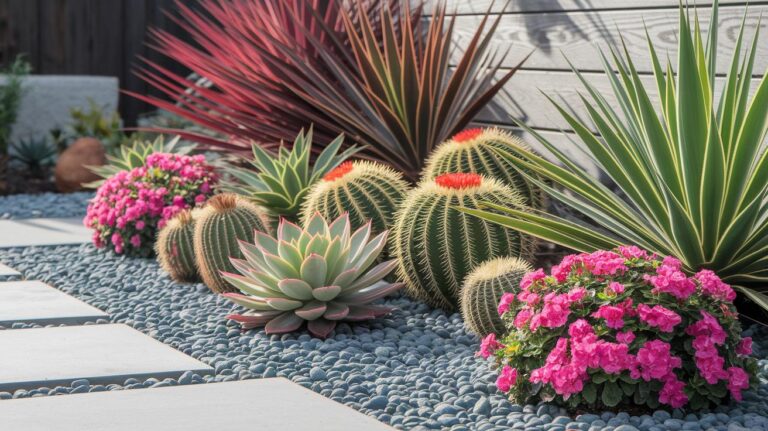
- Succulents and cactus — agave, yucca, hens and chicks (sempervivum), sedums. Best in full sun, well-drained soil. Hardy varieties work in Zones 4–11; tropical varieties in 8–11 only.
- Drought-tolerant perennials — lavender, Russian sage, salvia, coneflower, gaillardia, sedum. Most are hardy in Zones 4–9. For heat-tolerant picks specifically, see 13 easy perennials that thrive in scorching heat.
- Ornamental grasses — little bluestem, Mexican feather grass, blue fescue, prairie dropseed. Move beautifully in wind, anchor designs visually.
- Native shrubs — manzanita (West), serviceberry (East), Texas sage, beautyberry. For pollinator support specifically, native flowering shrubs like firecracker bush attract hummingbirds while requiring almost no supplemental water in Zones 8–11.
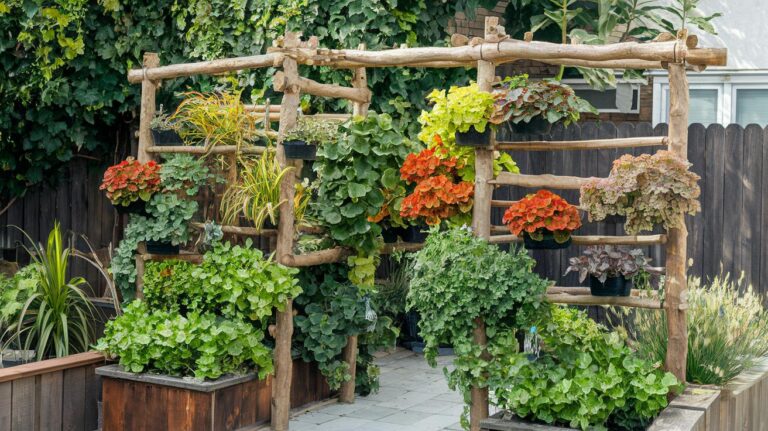
- Ground covers — creeping thyme, ice plant (Delosperma), woolly yarrow, sedum. Replace lawn in low-traffic areas.
- No-mow grasses — buffalo grass (warm-season), blue grama, fine fescue (cool-season). Replace traditional lawn entirely.
One specific selection tip: in your “very low water” zones, use mostly natives. Save non-native ornamentals for the moderate-water zones where you’d be watering occasionally anyway.
Drip Irrigation and Rainwater Harvesting
Two technologies do most of the water-saving work in a xeriscape: drip irrigation and rainwater capture.
Drip irrigation delivers water at low volume directly to each plant’s root zone, with no evaporation loss and no wet foliage. Compared to overhead sprinklers, drip irrigation uses 30–50% less water for the same plant performance. A basic drip kit covers a 200-square-foot bed for $40–$80 (tubing, emitters, fittings); add a $20 timer and the whole system runs unattended for the season.
Setup basics:
- Half-inch poly tubing forms the main line along the bed edge.
- Quarter-inch tubing branches off to each plant.
- Pressure-compensating emitters at the plant base deliver consistent water regardless of run length or elevation change.
- A timer at the hose bib controls run frequency and duration; smart timers add weather skipping and zone-specific settings.
For low-water zones, set the timer to water deeply but infrequently — once a week for established plants, every 3–4 days during establishment. Frequent shallow watering trains roots to stay near the surface where they dry out fast; infrequent deep watering pushes roots down where soil stays moister.
Rainwater harvesting captures roof runoff during storms and stores it for use during dry stretches. A 55-gallon rain barrel under a downspout fills from about 1/2 inch of rain on a typical-sized roof — enough water to irrigate a 200-square-foot bed for a week in summer. Larger cisterns (200–500 gallons) buffer entire growing seasons.
Quick setup: position the barrel under a gutter downspout, install a debris screen at the inlet, and an overflow pipe to direct excess water to a planting basin or swale. Open the spigot to fill watering cans or connect to a drip system for slow-release irrigation. A simple ball valve at the spigot controls flow.
Check local rules before installing — a few western states have specific rainwater-collection regulations, but most U.S. states allow at least one or two barrels per household without issue.
Mulch, Gravel, and Hardscape Choices
Mulch and hardscape do quiet work in a xeriscape — slowing evaporation, reducing weeds, and absorbing rather than shedding rainfall.
Mulch types and depths:
- Shredded bark (3–4 inches): The default for ornamental beds. Lasts 2–3 years before needing top-up. Looks tidy.
- Wood chips (3–4 inches): Free or cheap from local arborists. Coarser look. Decomposes more slowly than shredded bark.
- Gravel (2–3 inches): For very-low-water zones with succulents and Mediterranean plants. Drains fast, looks intentional, doesn’t decompose.
- Decomposed granite (2–3 inches): Compacts firm, works well for paths and around drought-tolerant plants.
- Pine needles or fall leaves (3–4 inches): Free if you have them. Slightly acidic, good around acid-loving plants like blueberries.
Hardscape for moisture management:
- Permeable pavers — pavers laid with gaps that let rain seep through to the soil below. Excellent for patios and driveway aprons. Cost 20–30% more than standard pavers but cut runoff substantially.
- Crushed stone paths — let water through, look natural, and contain almost no weeds.
- Dry stone walls — stack stones without mortar so water seeps through. Useful for terracing slopes and reducing erosion.
- Boulders and stones — absorb solar heat during the day and radiate it back at night, moderating soil temperatures for nearby plants. Functional and visually anchoring.
- Gravel swales — shallow channels lined with gravel that catch runoff and channel it to planting basins. The most underrated xeriscape feature; turns storm runoff into root-zone water.
One specific moisture-management technique worth knowing: a “mulch well” or “basin” — a shallow bowl-shaped depression around each plant, filled with mulch. The depression catches rainwater and concentrates it at the root zone instead of letting it run off. Especially useful on slopes and around newly planted shrubs.
Budget and DIY vs. Pro Installation
Xeriscape installation cost ranges widely depending on yard size, current condition, and whether you DIY or hire a pro.
DIY budget breakdown for a typical 500-square-foot conversion (front yard, replacing turf):
- Turf removal: $50–$200 (sod cutter rental + labor)
- Soil amendment (compost): $80–$150
- Drip irrigation kit: $60–$120
- Timer + rain sensor: $30–$80
- Plants (mix of perennials, shrubs, ground covers): $300–$700
- Mulch (3–4 yards): $80–$160
- Total: $600–$1,400
Professional installation for the same project runs $5–$15 per square foot — $2,500 to $7,500 for 500 square feet. The price gap reflects labor cost, design service, equipment (mini-excavators for big projects), and warranty.
Hiring a pro makes sense when: (1) the yard has significant grading or drainage issues, (2) you want a custom design rather than a stock plant palette, (3) you don’t want to learn drip irrigation. DIY makes sense when: (1) the yard is reasonably flat, (2) you can spend a few weekends on it, (3) you’re comfortable using basic tools and reading a soil map.
Three rebate options worth checking before starting any xeriscape project:
- Municipal water utility rebates — many western U.S. cities offer $1–$3 per square foot of turf removed.
- State or federal cost-share programs — vary by region; check your state’s environmental or natural resources department.
- Manufacturer rebates — drip irrigation manufacturers occasionally offer rebates for full-system purchases.
A modest rebate of $1 per square foot on 500 square feet ($500) covers most of a DIY budget on its own.
Year-Round Maintenance
A well-designed xeriscape becomes lower-maintenance every year as plants establish and self-sufficient soil microbe communities develop. The seasonal rhythm in years 1–3:
- Early spring (March–April): Prune dead stems from perennials and shrubs. Refresh mulch where it’s thinned. Apply a light dose of balanced organic fertilizer at planting bases.
- Late spring (May): Check drip irrigation for clogged emitters, leaks, or rodent damage. Reset the timer for warming weather (longer runs, same frequency).
- Summer (June–August): Hand-pull weeds before they set seed. Deep water during multi-week dry stretches (every 10–14 days for established plants). Skip fertilizing during heat.
- Early fall (September–October): Plant new additions — best window for shrubs and perennials to establish before winter. Reset timer for cooler weather (shorter runs, less frequent).
- Late fall (November): Top-dress with 1/4 inch of compost. Cut perennials back to 6 inches for winter. Drain rainwater barrels if hard freezes are common.
- Winter: Disconnect drip lines if pipes might freeze. Plan next year’s additions. Order plants and supplies for spring planting.
By year 3, most established xeriscape plants need almost no supplemental water — natural rainfall handles them through most of the year, with deep watering only during 3+ week dry stretches. Total maintenance time drops from roughly 2 hours per week (a conventional lawn-and-bed yard) to 30–60 minutes per week (a mature xeriscape).
Building Your Xeriscape Plan
The conversion from conventional landscape to xeriscape is best done in phases rather than all at once. A workable three-year approach:
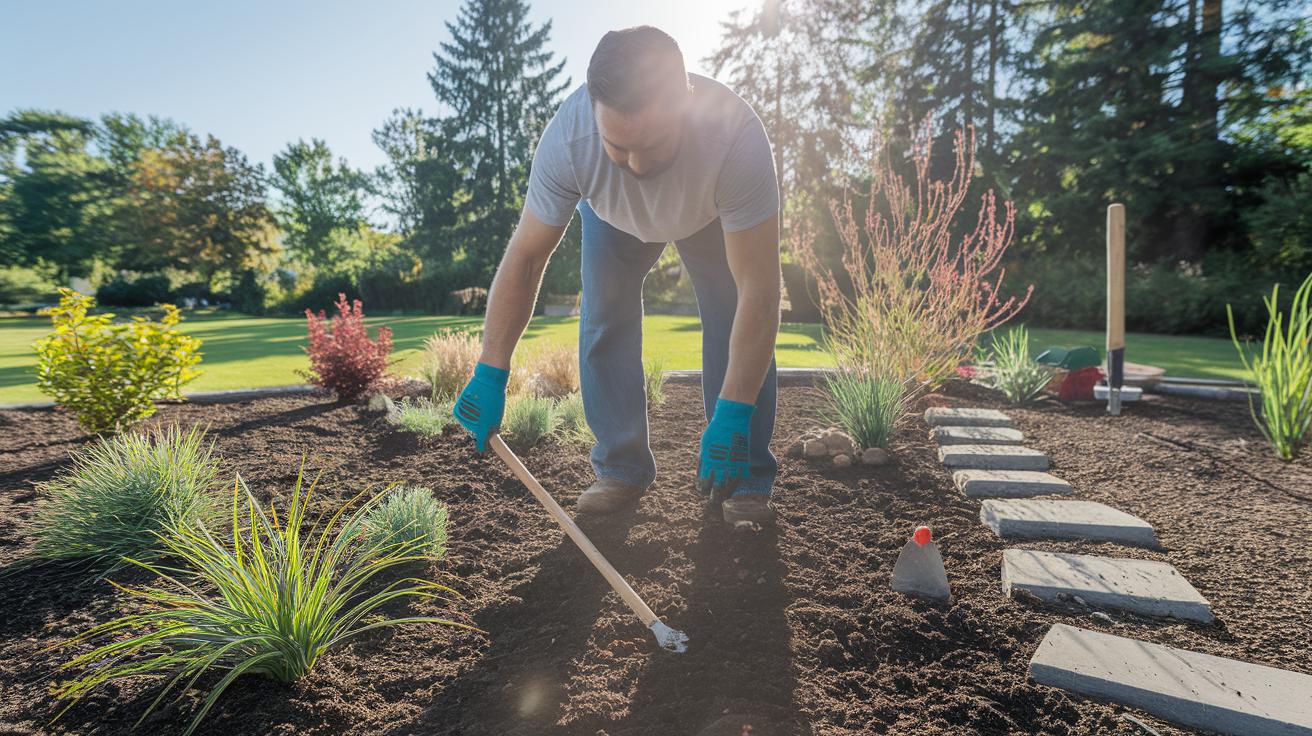
Year 1: Convert one bed (200–500 square feet). Remove turf, amend soil, install drip irrigation, plant a starter palette of natives and drought-tolerant perennials, mulch heavily. This is the learning year — you’ll see how plants perform in your specific yard and which species you want to lean on long-term.
Year 2: Expand to a second bed using the lessons from year 1. Replace the largest section of remaining lawn. Add a rain barrel under a downspout. Continue learning which plants thrive and which struggle in your conditions.
Year 3: Convert the remaining areas. By now you have a clear sense of which plants work and a working drip system you can extend. Add hardscape elements (paths, swales, dry stone borders) to tie the whole yard together visually.
By the end of year 3, water use is down dramatically (typically 40–60% versus the original lawn-heavy design), maintenance time is down by similar margins, and the yard looks more intentional and habitat-rich than what came before. Most homeowners who convert in phases say the biggest surprise is how much they like the look — xeriscape gardens often read as more “designed” than the conventional yard they replaced.
Common Questions About Xeriscape Landscaping
What is xeriscape landscaping?
Xeriscape landscaping is a garden design approach that minimizes the need for supplemental water through plant selection, hydrozone grouping, efficient irrigation, and moisture-saving hardscape. The term was coined by Denver Water in 1981 (from the Greek “xeros,” dry). Well-designed xeriscape gardens cut outdoor water use by 30–60% compared to conventional lawn-heavy yards.
What plants work best in a xeriscape garden?
Strong xeriscape plants include succulents (agave, yucca, sedum), drought-tolerant perennials (lavender, Russian sage, coneflower), ornamental grasses (little bluestem, Mexican feather grass), native shrubs (manzanita, Texas sage, serviceberry), ground covers (creeping thyme, ice plant), and no-mow grasses (buffalo grass, fine fescue). Match plants to your USDA zone and use native species wherever possible.
How much water does xeriscape landscaping actually save?
A well-designed xeriscape cuts outdoor water use by 30–60% compared to a conventional turfgrass landscape. The savings come from four main sources: drip irrigation (30–50% reduction vs. sprinklers), turf replacement (lawn is the thirstiest plant in most yards), mulch (cuts soil evaporation by half), and rainwater capture. Most yards reach peak savings in years 2–3 as plants establish.
How much does xeriscape landscaping cost?
DIY xeriscape conversion for a 500-square-foot area runs $600–$1,400 (turf removal, soil amendment, drip irrigation, plants, mulch). Professional installation runs $5–$15 per square foot, or $2,500–$7,500 for the same area. Many western U.S. cities offer turf-removal rebates of $1–$3 per square foot that offset much of the DIY cost.
Can xeriscape gardens work in humid climates?
Yes. Xeriscape principles work in any climate — they’re about matching plants to local conditions and minimizing supplemental water. Humid-climate xeriscape uses different plants (native East Coast species like butterfly weed, switchgrass, and serviceberry rather than Southwest natives like agave) but the same design principles around hydrozones, mulch, and drip irrigation.
What is a hydrozone in xeriscape design?
A hydrozone is an area of the garden where all plants need the same amount of water. Most yards naturally have 3–4 hydrozones: very low water (succulents, natives), low water (drought-tolerant perennials), moderate water (vegetable beds, traditional perennials), and high water (small lawn areas, thirsty pots). Grouping plants by hydrozone lets you set drip irrigation timers efficiently for each zone.
What is the cheapest way to xeriscape?
DIY conversion is the cheapest path. Remove turf yourself with a sod cutter rental ($50–$80 per day), amend soil with bulk compost ($30–$50 per cubic yard), install basic drip irrigation from a kit ($60 for a starter), use locally sourced mulch (often free from city programs or arborists), and start with small native plant divisions or seedlings rather than gallon containers. A modest first-year project can come in under $400.
How do I maintain a xeriscape garden?
Spring: prune dead stems, refresh mulch, light fertilizer. Summer: hand-pull weeds, deep water during dry stretches. Fall: plant new additions, top-dress with compost, cut perennials back. Winter: disconnect drip lines if pipes freeze. Total maintenance drops to 30–60 minutes per week for a mature xeriscape garden — roughly one-quarter the time a conventional lawn-and-bed yard requires.