The Best Soil Mix for a Raised Garden Bed
You can build the sturdiest raised bed in the neighborhood, but what you fill it with is what actually grows your vegetables. This is the single biggest advantage of gardening in a raised bed — you’re not stuck with whatever clay or sand your yard handed you, you get to mix the perfect growing medium from scratch. Get the recipe right and everything downstream gets easier. Here’s exactly what goes in, why, and how to keep it productive year after year.
As an Amazon Associate, Backyard Superstar earns from qualifying purchases at no extra cost to you.
The Proven Recipe
You don’t need to overthink this. A reliable, time-tested raised-bed mix is roughly equal parts of three things: good topsoil for body and minerals, compost for fertility and life, and an aeration material like coarse perlite or sand to keep it from compacting. Many gardeners swear by the classic “Mel’s Mix” version — a third compost, a third coconut coir or peat, and a third coarse vermiculite — and it works beautifully, especially in shallower beds. Either way, the principle is the same: structure, fertility, and air, in balance.
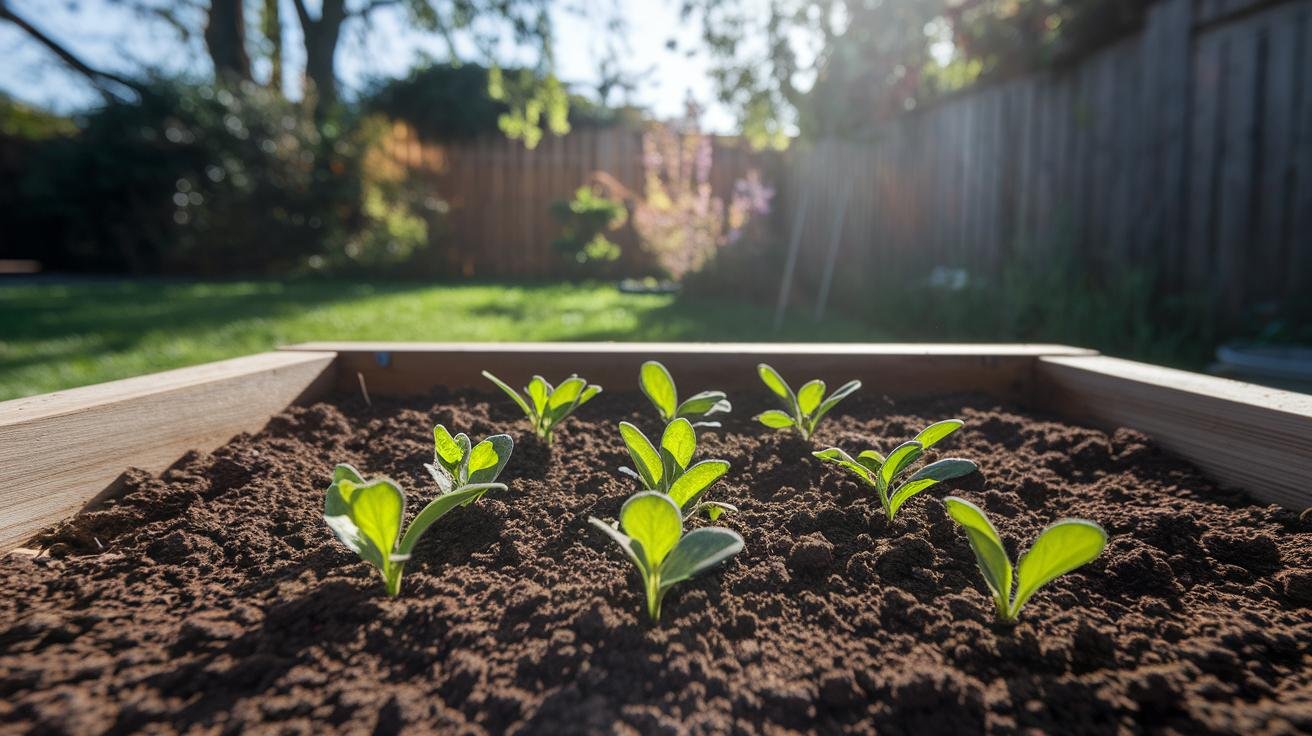
What you’re aiming for is a dark, crumbly texture that holds together when you squeeze a handful but falls apart when you poke it — that’s loam, and it drains well while still holding moisture. Pure topsoil compacts into a brick; pure compost stays too soggy and settles. The blend is what gives you the best of both.
Compost Is the Engine
If the mix has a heart, it’s the compost — that’s what feeds your plants and keeps the soil biologically alive. Not all compost is equal, though, and a few types each bring something different:
Homemade compost from kitchen scraps and yard waste is the gold standard because it’s free and full of diverse nutrients and microbes. Worm castings (vermicompost) are the premium stuff — a little goes a long way, and there’s almost nothing better for seedlings and heavy feeders. Well-rotted manure from a trusted source adds serious richness, but the key word is rotted; fresh manure is too “hot” and will burn your plants, so it needs to age for months first. A mix of compost sources beats relying on any single one.
However you source it, plan on compost making up about a third of the bed, and don’t skimp — it’s the most important ingredient in the whole bed.
Mind the pH
Most vegetables are happiest in soil that’s slightly acidic to neutral, in the range of about 6.0 to 7.0, where nutrients are most available to plant roots. A good compost-rich mix usually lands close to this naturally, but it’s cheap and easy to confirm with a test kit, and far better to know than to guess. If it’s off, garden lime nudges acidic soil up and elemental sulfur brings alkaline soil down — both work slowly, so adjust and retest rather than dumping a lot in at once.
Amendments Worth Adding
A few extras genuinely earn their place. A handful of worm castings gives seedlings a gentle boost, kelp meal and rock minerals add trace nutrients that pay off over time, and a slow-release organic fertilizer mixed in at planting keeps heavy feeders fed. You don’t need a shelf full of products, though — rich compost does most of the heavy lifting, and the amendments are just fine-tuning.
DIY Mix vs. Bagged Soil
For a small bed or two, buying bagged raised-bed soil is convenient and gets you planting today — just check that it’s actually a complete raised-bed blend and not pure potting mix or straight compost. Once you’re filling multiple or deeper beds, buying topsoil and compost in bulk and mixing your own gets far cheaper per cubic foot, and you control exactly what goes in. Most people start with bags and graduate to bulk as their garden grows.
Keep the Soil Alive
Raised-bed soil isn’t a one-time purchase — it’s a living thing that gets used up as your plants grow. Every season, the level drops a little as organic matter breaks down, so top it off with a fresh inch or two of compost each spring. Mulch the surface to protect it, and in the off-season a cover crop feeds the soil and prevents it from going lifeless over winter. Treat the soil as the long-term investment it is, and it only gets better year after year.
Frequently Asked Questions
What is the best soil mix for a raised bed?
Roughly equal parts quality topsoil, compost, and an aeration material (perlite or coarse sand). Compost is the most important third.
Can I just use compost in a raised bed?
No — pure compost holds too much water and settles. Blend it with topsoil and an aerator for the right structure.
How much compost should I add?
About a third of the mix when filling, then a fresh inch or two on top each spring to replenish it.
Is bagged or homemade soil better?
Bagged is easy for one or two beds; mixing your own from bulk topsoil and compost is cheaper and gives more control for bigger gardens.
Get the blend right — structure, fertility, and air, with compost at the core — keep it topped up, and your raised bed will reward you with healthier, more productive plants every season. With the soil sorted, you’re ready to build and plant your bed.